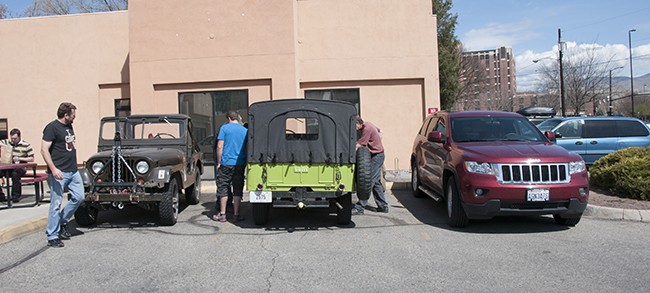
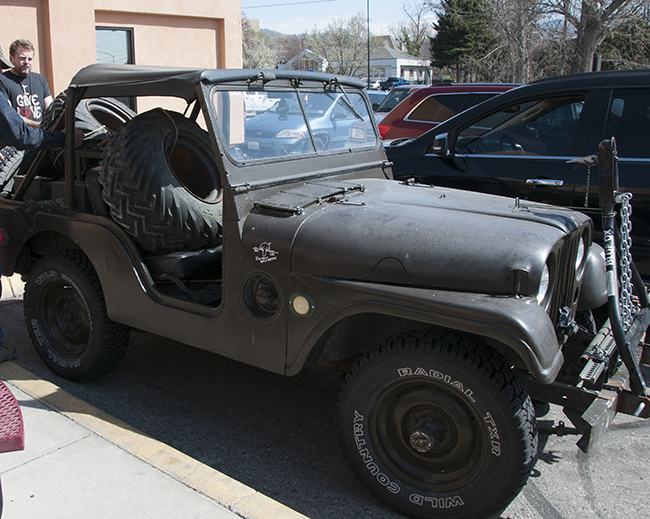
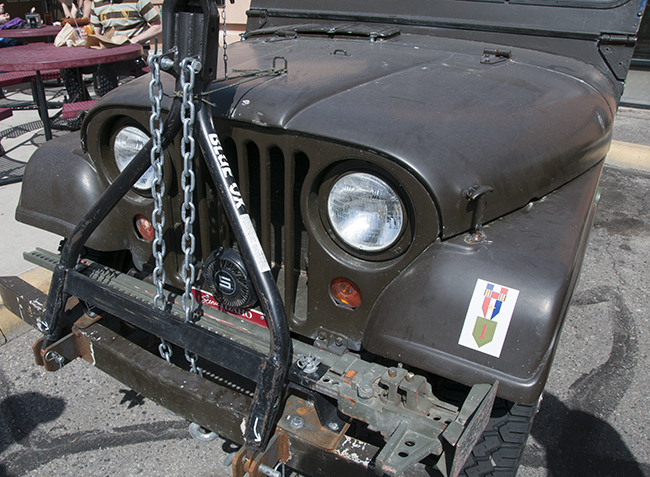
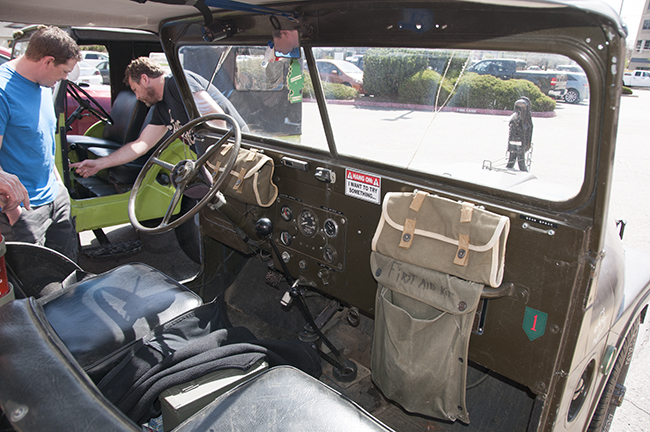
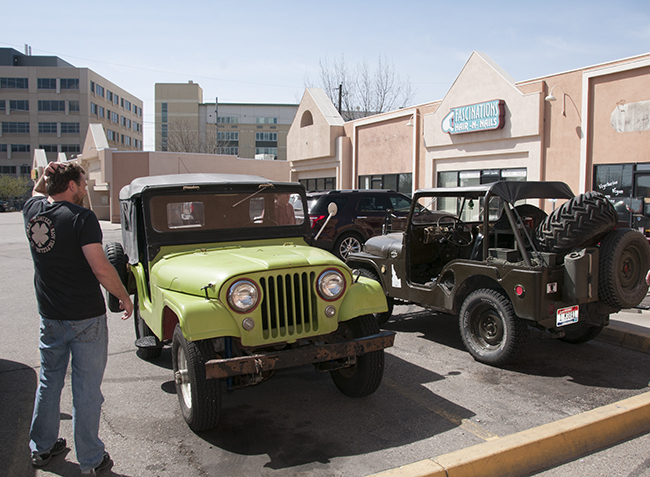
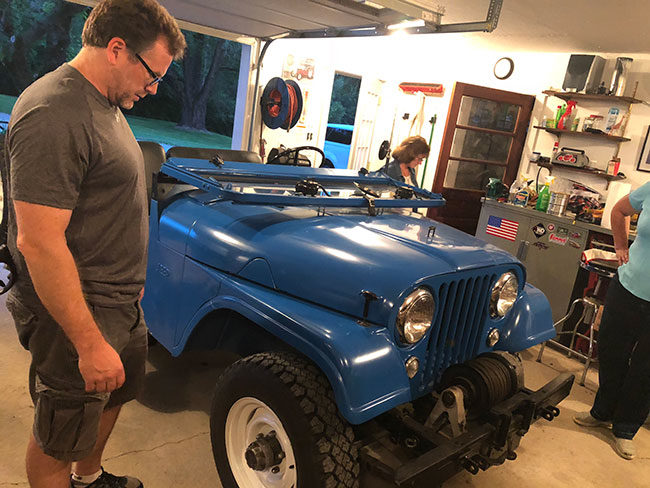
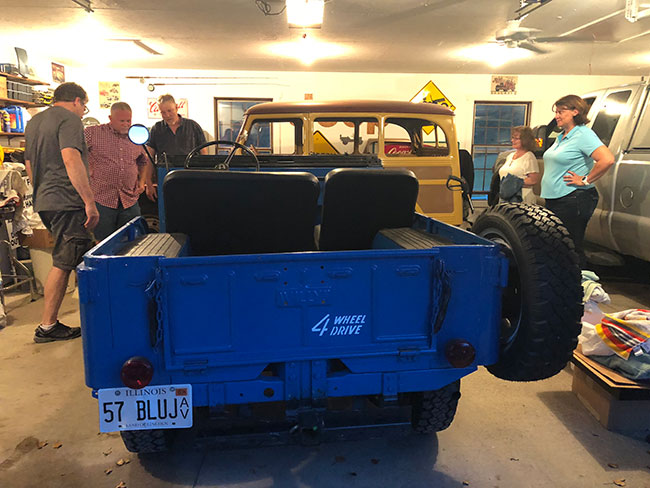
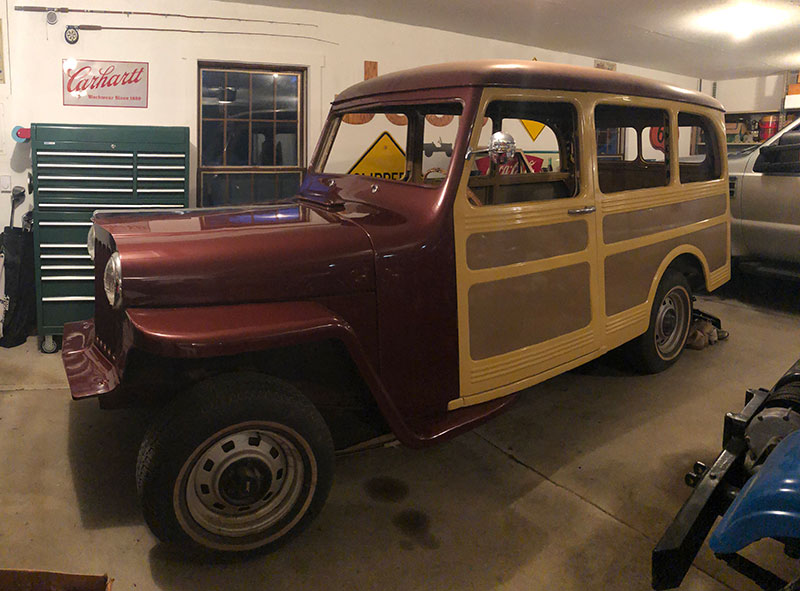
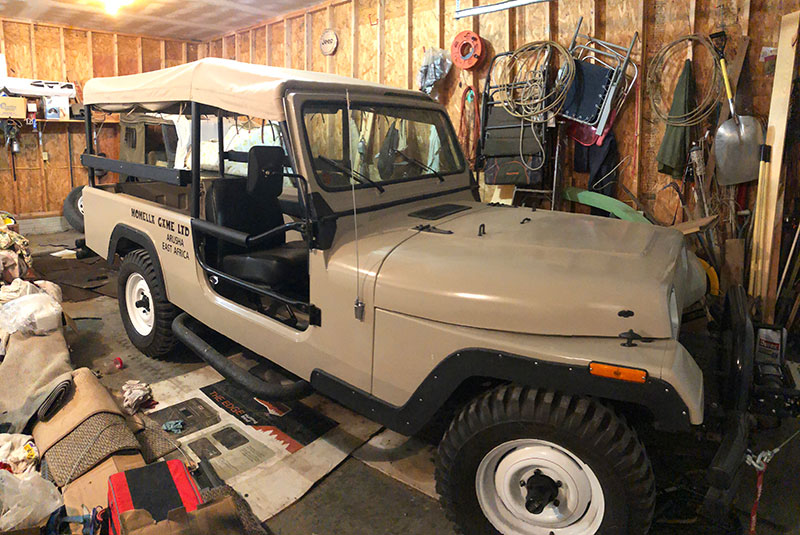
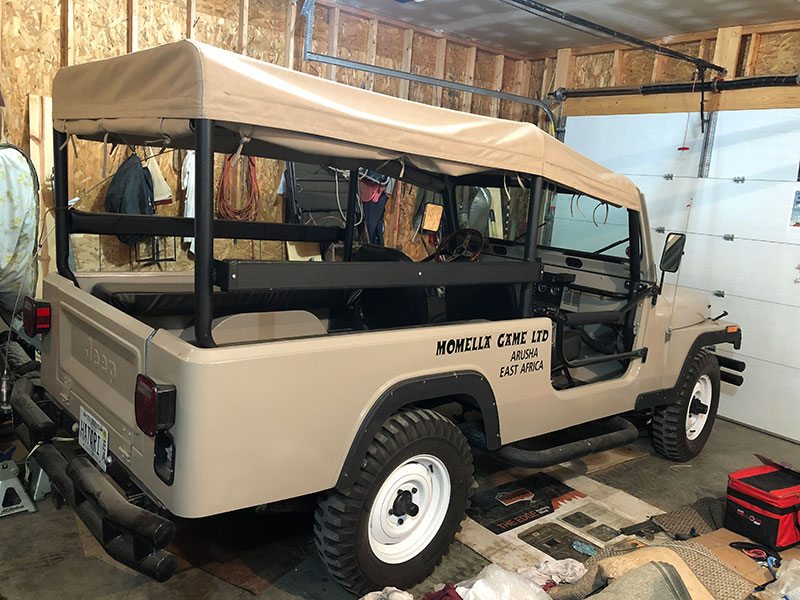
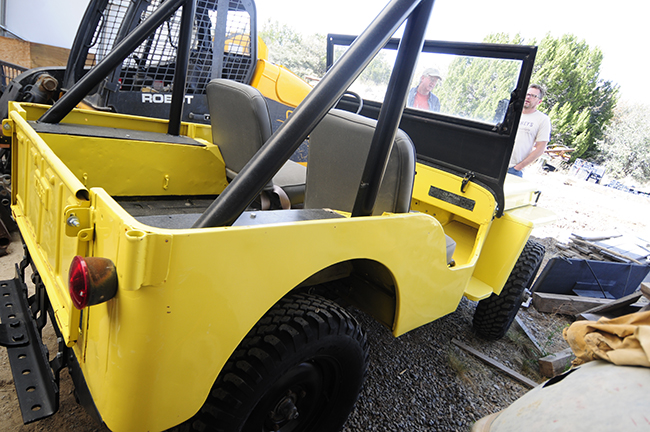
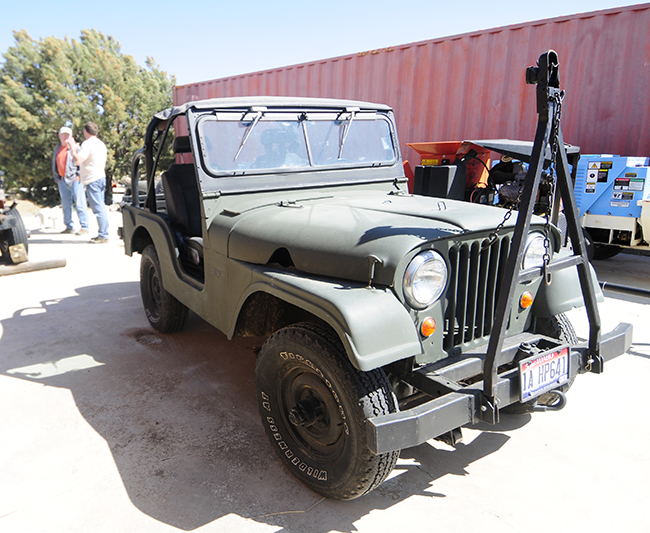
Checking out Jack's M-38A1 and Randy's CJ-5 at the Boise Fry Company in Boise, ID.
Day 16 April 2nd: We spent Tuesday night, April 2nd, in Salt Lake City.
Day 17 (final) April 3rd: On Wednesday April 3rd, we arrived home in Pasco after 5,198 miles of adventure. However, earlier in the day we had one last meeting and a large bet to settle. A little history . . .
In February of this year I spotted a set of mounted Terra Tires in Boise for only $50. Since he lives in Boise, I asked Josh if he could pick them up for me, but he told me his wife was having a baby that day. I asked if they could reschedule the whole baby thing since the tires were a great deal, but for some reason they didn't think that was a good idea.
So, I asked Jack if he could pick them up, which he did for me (thanks Jack!). It just so happens that my darling wife was listening to me as I made final arrangements for the tires. I told Jack that we'd pick them up in early April on our way back from our Southwest trip.
After finishing my phone call, I hung up, only to see Ann giving me an odd look. She asked why we were going to Boise on our way back when we were supposed to return through California from the FC event. Well, that didn't register with me. My brain suddenly kicked into high gear, sorting through thousands of jeeps posts and other useless information in an attempt to remember any conversation regarding a trip through California. Finally, there was a brief hint of some conversation months ago about us celebrating a honeymoon by driving north up highway 1.
Now, having been in several relationships with women one thing I have learned to do is fess up right away if you think you've screwed up. So, I told Ann that I had forgotten about the honeymoon trip. While you can imagine that went over well, I countered by explaining the value of getting the tires for only $50 and how important it was to meet with Jack and his friends. While not swayed by my arguments, she did agree that it wasn't practical to go through California on this trip. I breathed a sigh of relief!
But then, she threw down the gauntlet. She told me she didn't think the tires would not fit in the back of the jeep since we'd be full of camping gear and clothes.
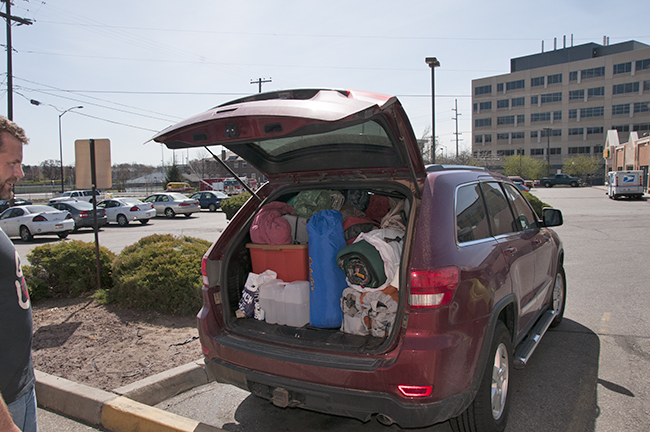
And thus, for the weeks before and during our trip, every time I mentioned Boise or the tires she teased me about having to rent a uHaul trailer to bring them home. I replied, confidently, that one way or another I'd get them into the jeep, even if I had to tear out the seats and ship them home. I really hoped I didn't have to do that.
Our jeep before we tried packing the tires. It was pretty full. I was confident though.Could I fit these tires into the back of our full jeep?
At 1pm on Wednesday we showed up to have lunch with Jack, Randy and Josh at the Boise Fry Company (they have great burgers and fries)! Jack beat us to the restaurant. In the back seat of his M-38A1 were the tires. One look at them and Ann was sure she would win the bet. Ever confident and cocky, I began to unpile everything from the jeep.
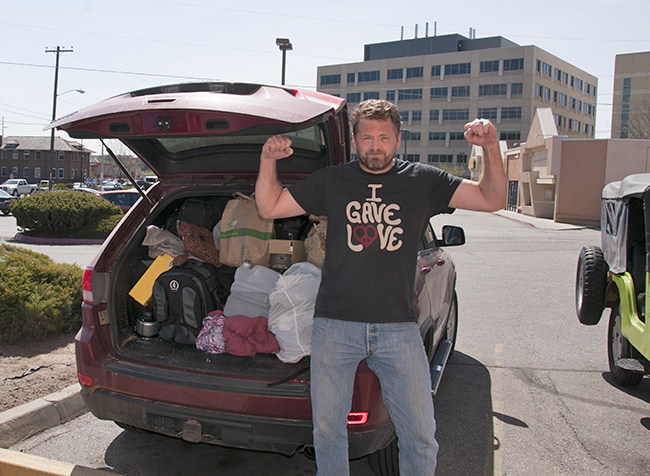
I'm pleased to report that after re-arranging, packing, pushing, flattening, twisting, praying, and jumping up and down, I successfully managed to get the terra tires into the back of the jeep. They are now in Pasco awaiting transport to be tested on Biscuit in Renton. Yeah!
Victory! By dropping down the seats I was able to push stuff farther towards the ceiling. My wife lost graciously :-)
After the tires were packed, we checked out Jack's M-38A1 and Randy's CJ-5, both in fine condition. Then we ordered some burgers, ate, talked jeeps, and enjoyed the warm spring Boise sun. It was a fine ending to a great trip. Thanks to all three guys for taking the time to meet with us!
With the great Southwest Trip over, we now have our sights set on the Eastern Seaboard. We have chosen a departure date just yet, but will announce it soon. It should be a great time and another fun adventure.
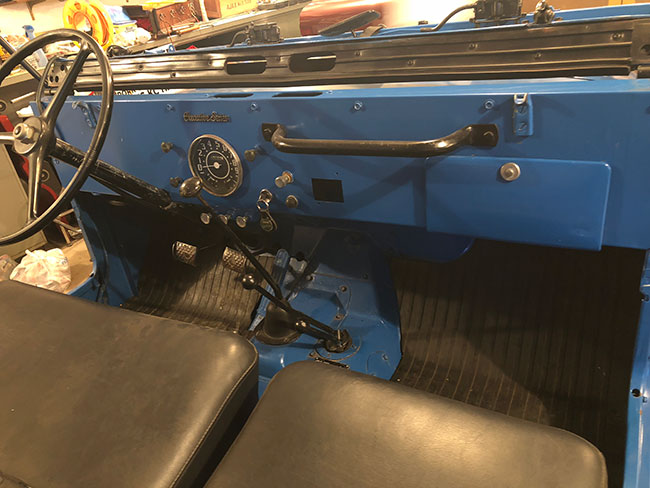
Jack added a lawn mower starter to his jeep after being teased for using a part from a lawnmower (but I can't remember which part!).The great dash debate: We all got to wondering whether a CJ-5 dash and a M-38A1 dash were interchangeable. It took us a few minutes to remember that we had both right in front of us and could compare them. It was the first time I realized how much taller a M-38A1 dash is. But, it seems like the CJ-5 dash would fit onto a M-38A1. To fit the M-38a! dash onto the CJ-5 you'd have to add holes for the bottom left and bottom right bolts. Has anyone ever swapped the dashes?
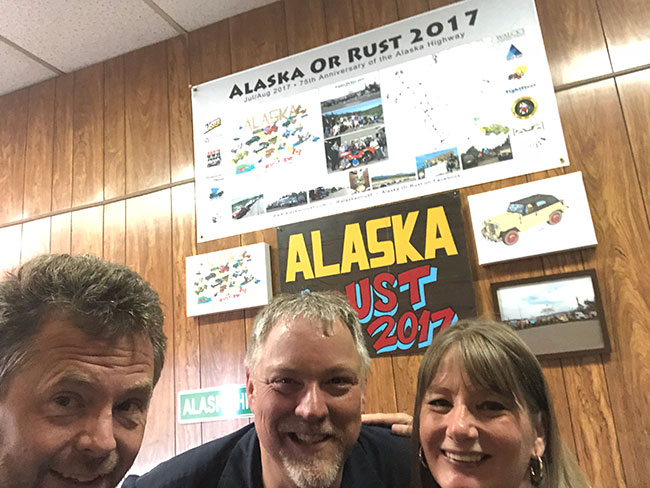
David, Russ and Ann in front of Russ' "Alaska Or Rust Shrine". Russ lives in Paris, Illinois. The Post title is a French translation of the famous line from Casablanca, "We'll always have Paris."
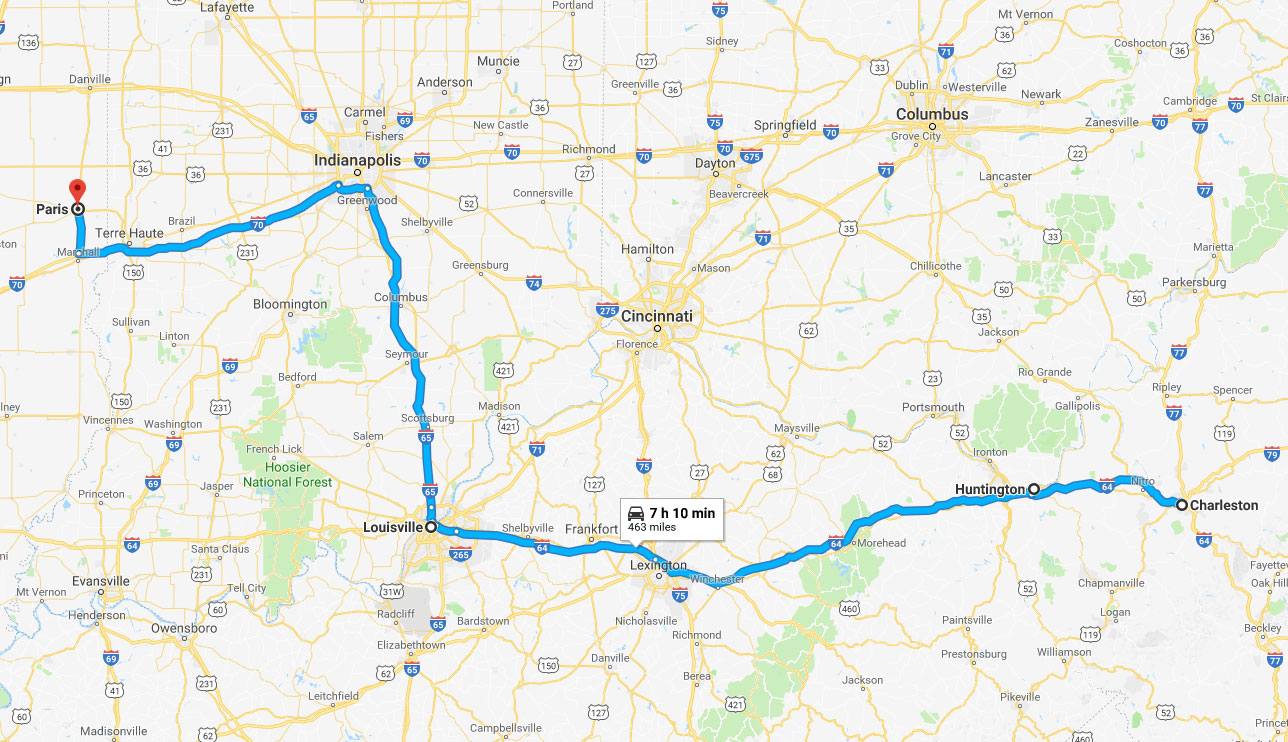
Day 31: On Tuesday we drove from Charleston, West Virginia, to Paris Illinois.
On Tuesday May 29th, we drove from Charleston, West Virginia, to Paris Illinois.
On Tuesday, we started from Charleston early, as we had a long drive to Paris. Our first stop of the day was Huntington, West Virginia, for gas. It turns out the city is considered by some to be an epicenter for opioid addiction. We saw this firsthand.
In Huntington, we randomly chose a Speedy Mini-Mart just off the freeway. As I gassed up the jeep, Ann went inside for a bathroom break. Of the 10 people I saw either milling about outside at the edge of the station's property or having parked and walked inside, 6 looked addicted to something (funky skin color, haunting eyes ... something wasn't right). Inside the Mini-Mart, The conversation between a customer and the cashier included the difficulties of coming down too fast. We couldn't get out of there fast enough.
A couple hours later, we headed into the heart of Louisville from the east, then turned north to cross the river into Indiana. This sent our nav system into a panic, partly because, according to our nav, we were not longer on a bridge. Instead, we were driving on the river itself. The nav system restarted navigation several times trying to make sense of the situation. It took a couple miles before everything righted itself.
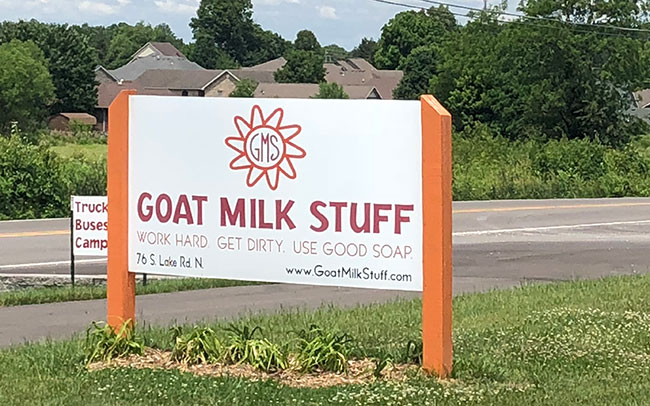
Sometime later, while still heading north, we spotted a sign for Goat Milk Stuff. The billboards looked intriguing enough to learn more, so we took a short detour.
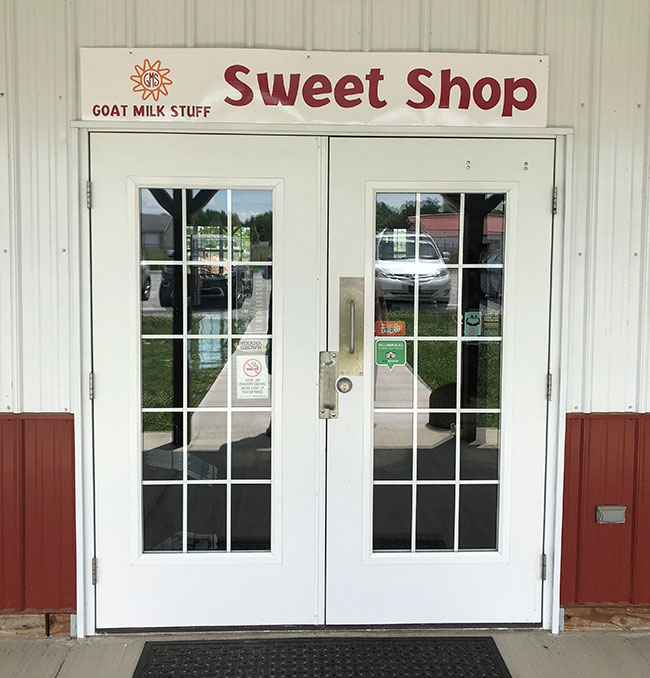
There are two buildings, one for goat-based health and beauty products, and the other for goat-milk related products and sweets.
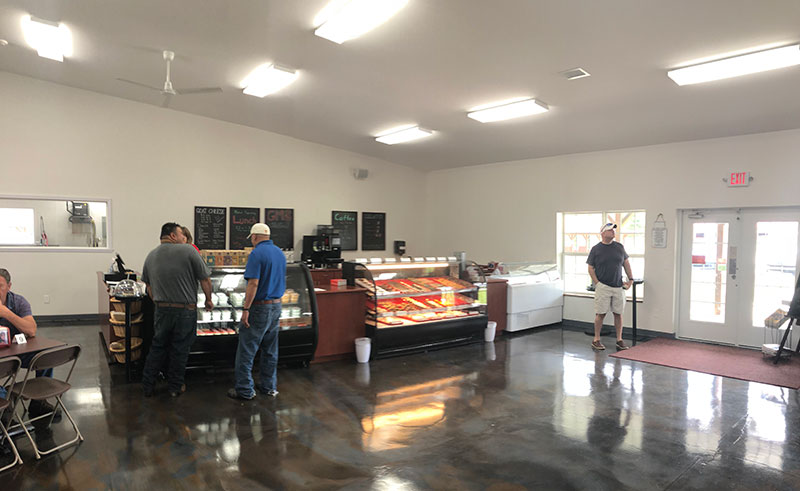
The place wasn't packed with foods, but what was there tasted good. As goat cheese goes, it wasn't very "goaty". Instead, the cheese was smooth and tasty. The store offered free samples. We left with garlic goat cheese.
Bob Christy, this is for Mindy, for you :-)
With our goat needs satisfied, we left for Paris Machine, a business started in 1944 by Russ Lawton's grandfather. Russ, along with Cowboy, accompanied us on the trip to Alaska last year with Charlene, the yellow Jeepster.
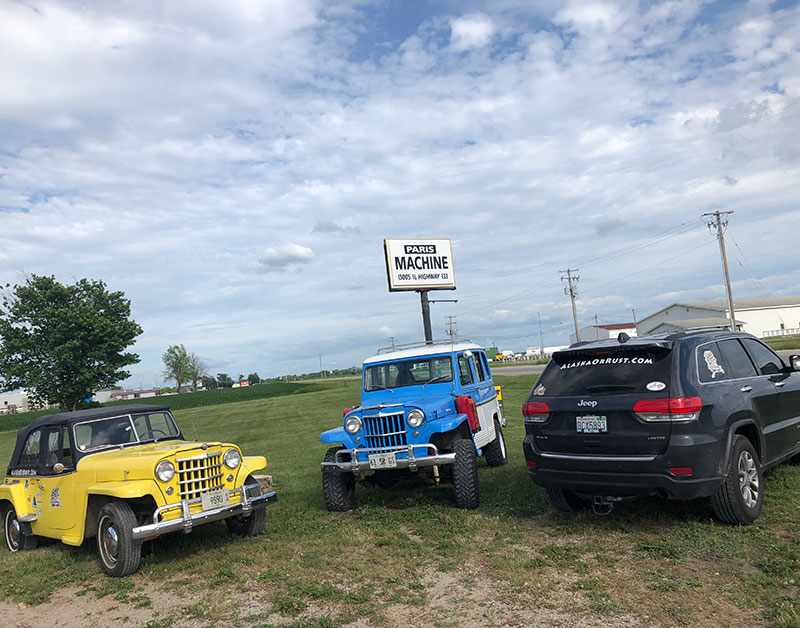
To make sure Ann and I didn't miss his shop, Russ put out a couple beacons near the entrance.
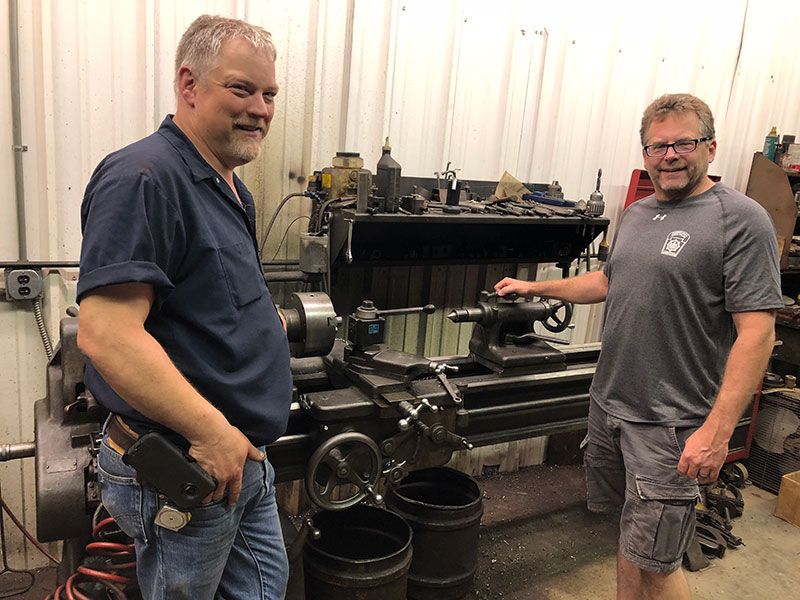
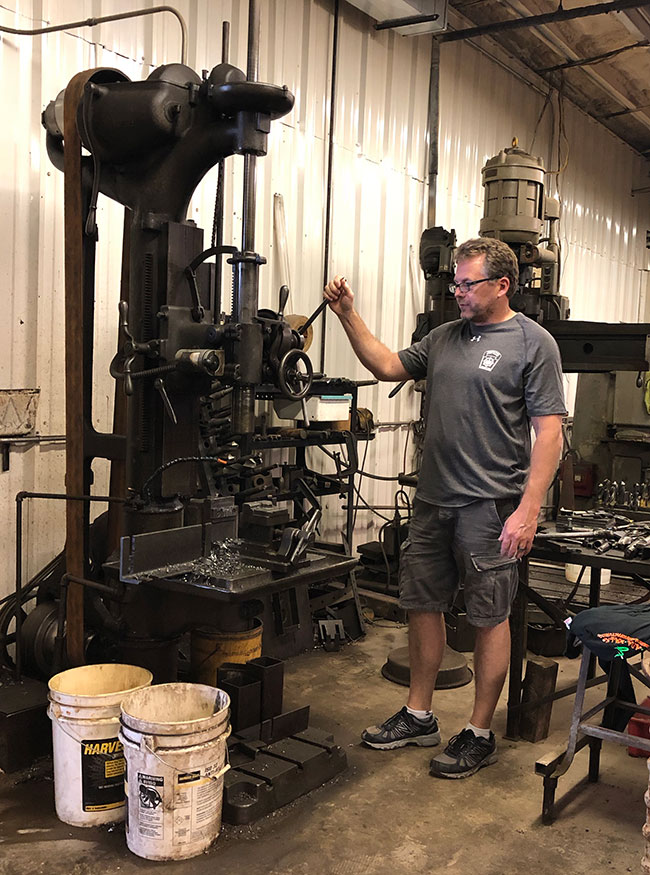
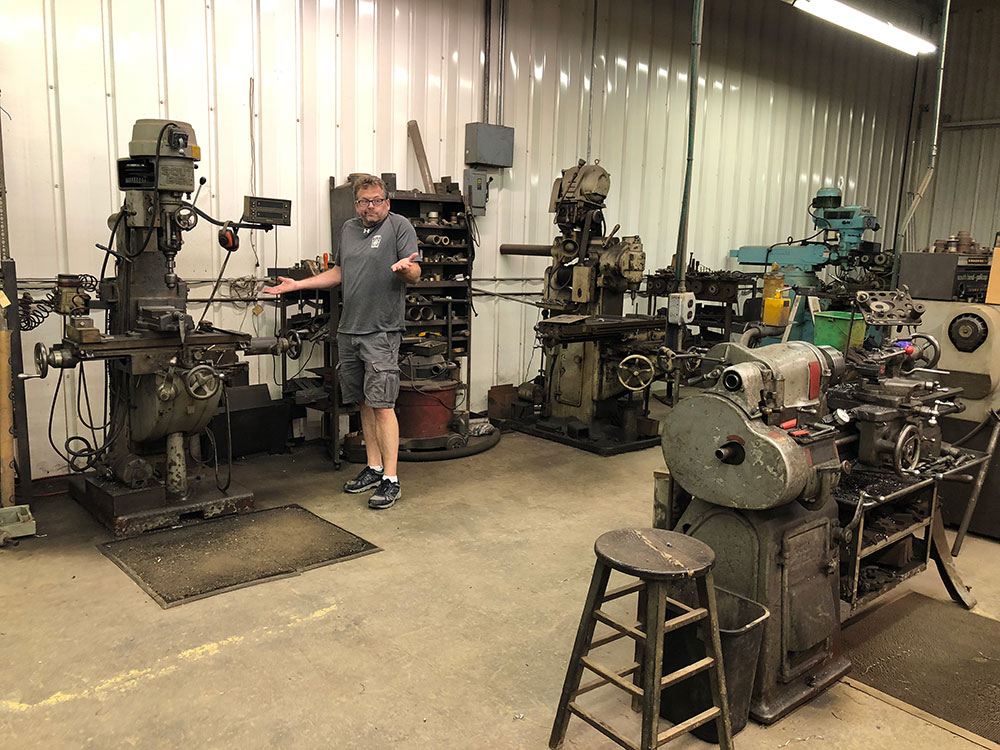
As we stepped inside Paris Machine, there seemed to be an endless series of metal working machines, at least three of which date back to 1944 (the three used to start the business). Russ has found that many of his most trust worthy machines are the old ones. They just work.
As we toured the several-building facility, Russ echoed the same concerns that other folks in the trades have made: Finding dependable youngsters with basic tool knowledge who want to get their hands dirty learning a trade is near impossible. I've heard the from Jeep mechanics, Air Force personnel, and other trades people.
For me, having all this equipment was a dream. It's no CNC, but I wouldn't know what to do with that stuff. I still remember building my first jeep with a hacksaw, cutting 1/2" thick chucks of metal for various purposes. That will teach a person patience. As Joe Bee said when he visited Russ, "I could build some stuff here".
I couldn't wait to get my hands on Russ' machines. I was a kid in a candy store!!
Russ showed us how his new (old) Piranha machine works. Since I've never been around a real machine shop, I was in awe.
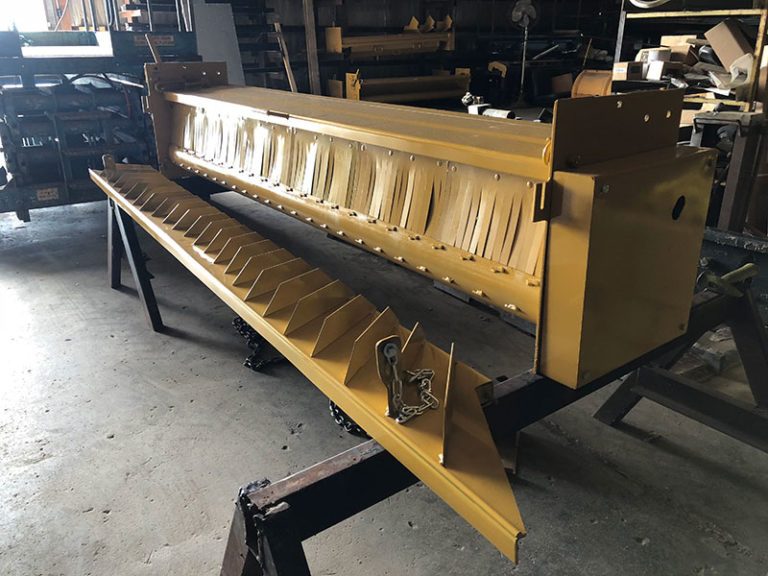
One of the ways Russ is adding to his bottom line is through the manufacture of spreaders like this:
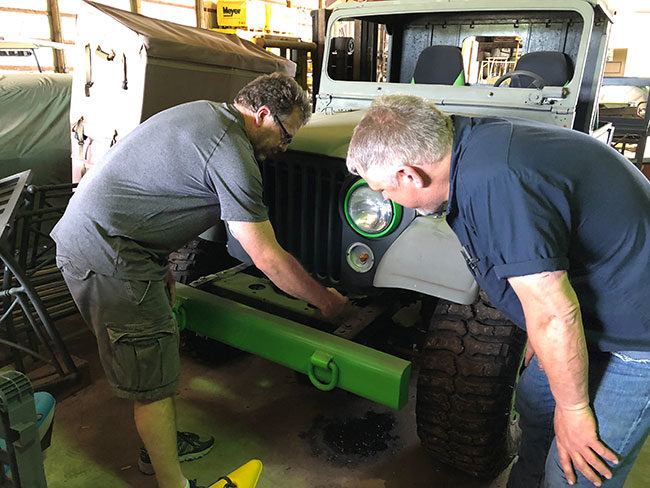
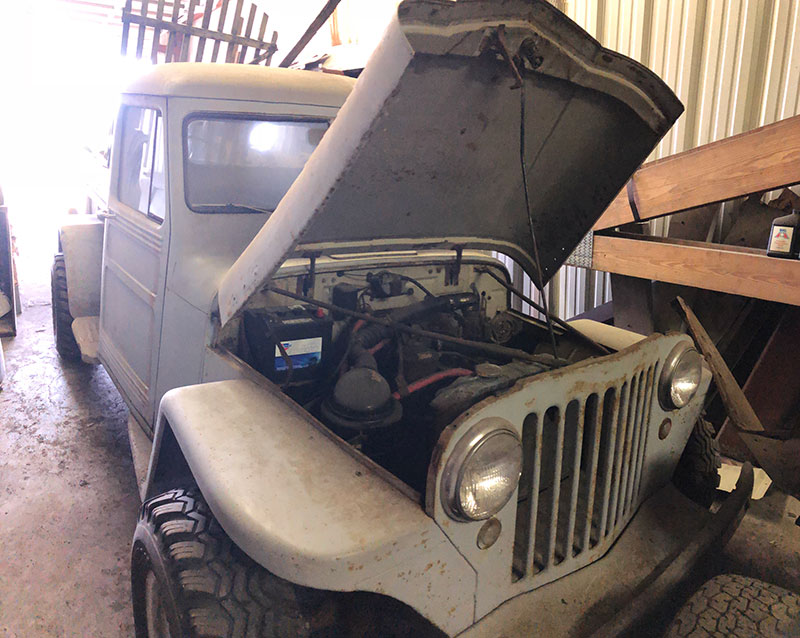
We eventually got to Russ' jeeps. Besides the Blue/white wagon and yellow Jeepster, Russ has a couple projects, including a CJ-6, a truck, and a wagon. Here I am pointing out the problem with the saginaw steering box I ran into on Lost Biscuit: Those mid 1970s boxes will loosen, leading to cracking along the front cross member welds. Ann thought it was funny that I was suggesting to a machinist like Russ how to fix it.
Poor Russ had to drag me kicking and screaming from his shop, as it was time for dinner. I wasn't ready to go, as I had things to build, but a man has to eat.
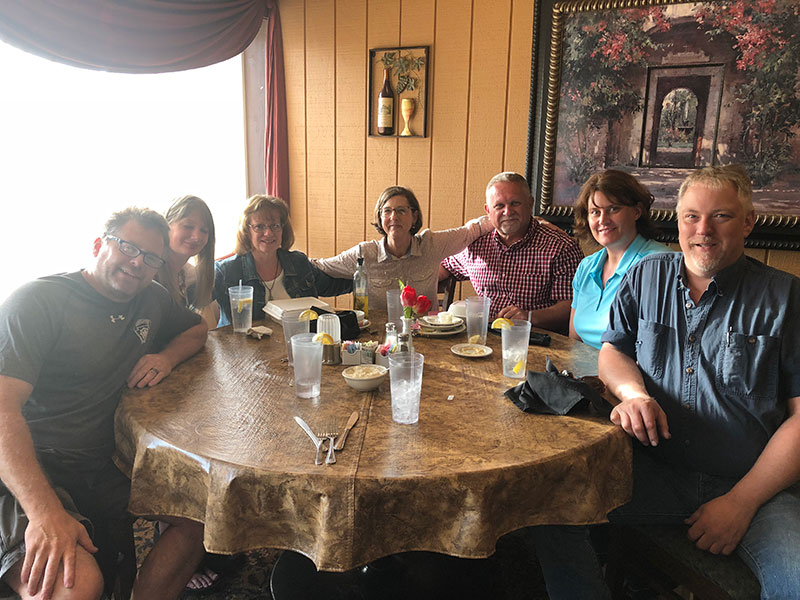
At the Tuscany restaurant in Paris, Ann and I were joined by Russ, Stacy, Donna, Kathy and Dave, all good friends who have jeeps. Everyone belongs to the local Red, White and Blue Jeep Club in Paris.
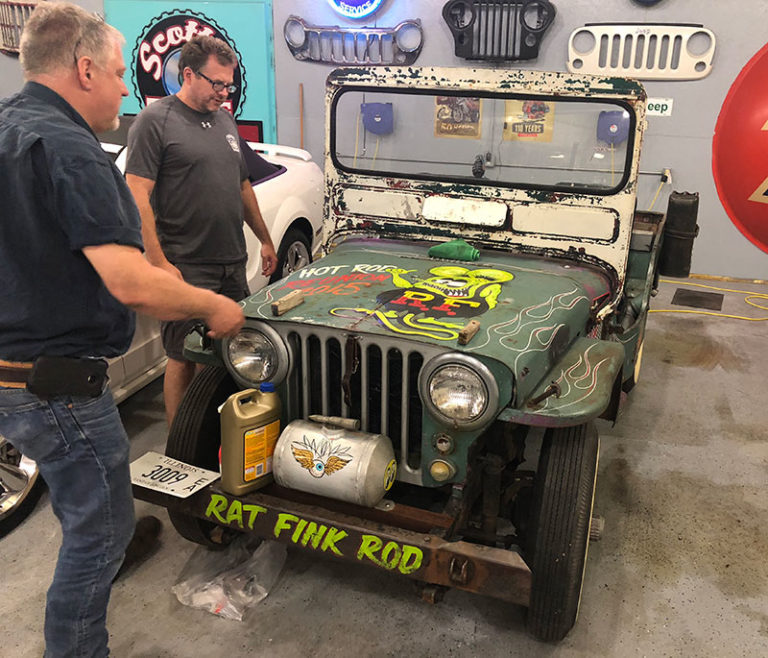
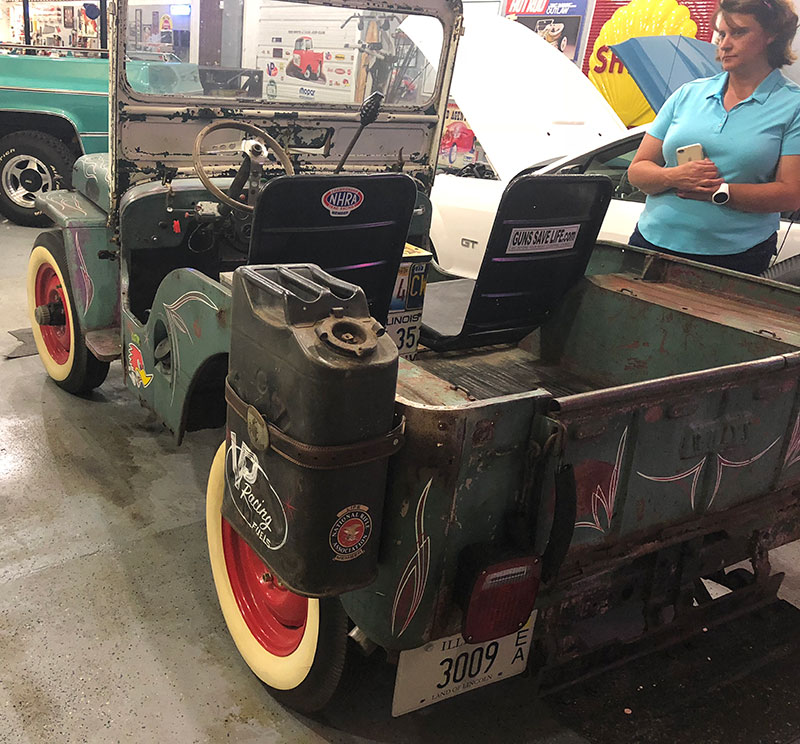
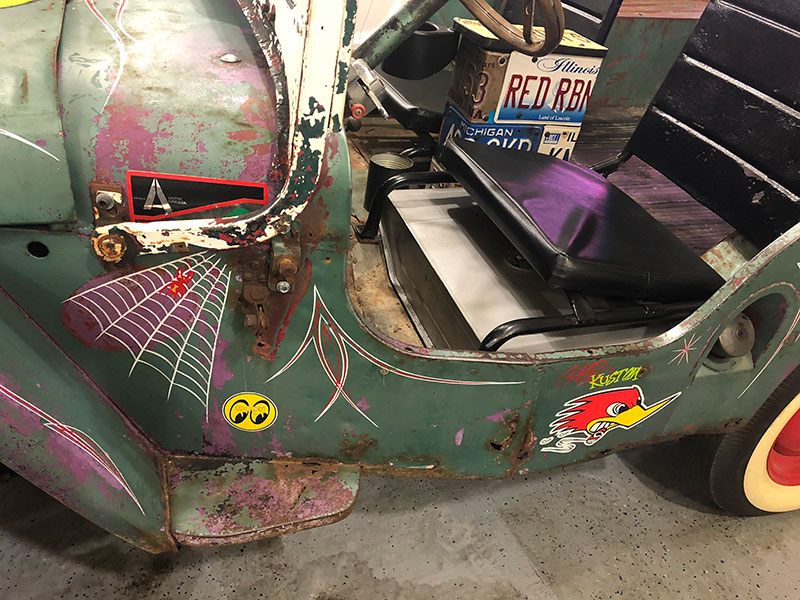
After dinner, we stopped by another member of the club, Scotty, who has a beautiful shop with some neat vehicles, including Russ' very first jeep, a CJ-3A to which Scotty added some Rat Fink art (apparently, once a jeep enters Paris, it never leaves; It just gets bought and sold amongst members).
Scotty also has a few other vehicles:
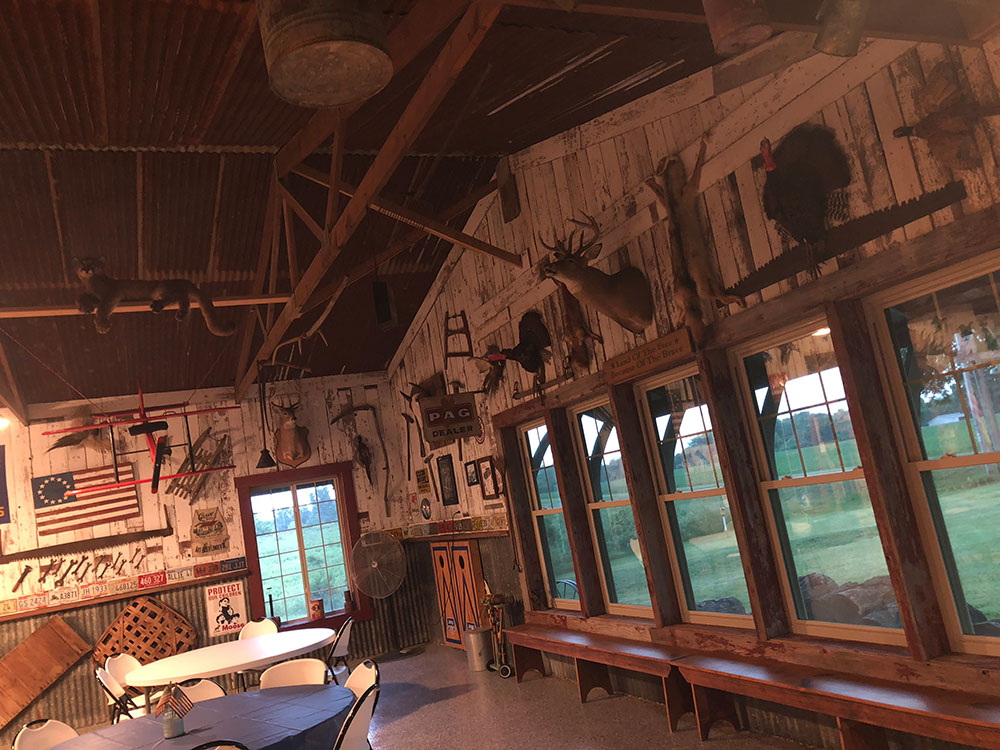
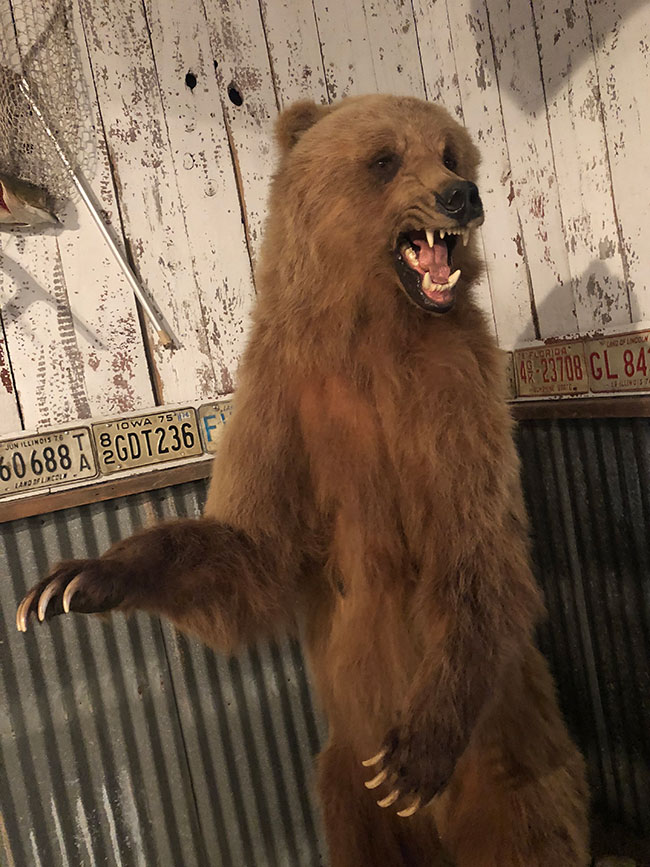
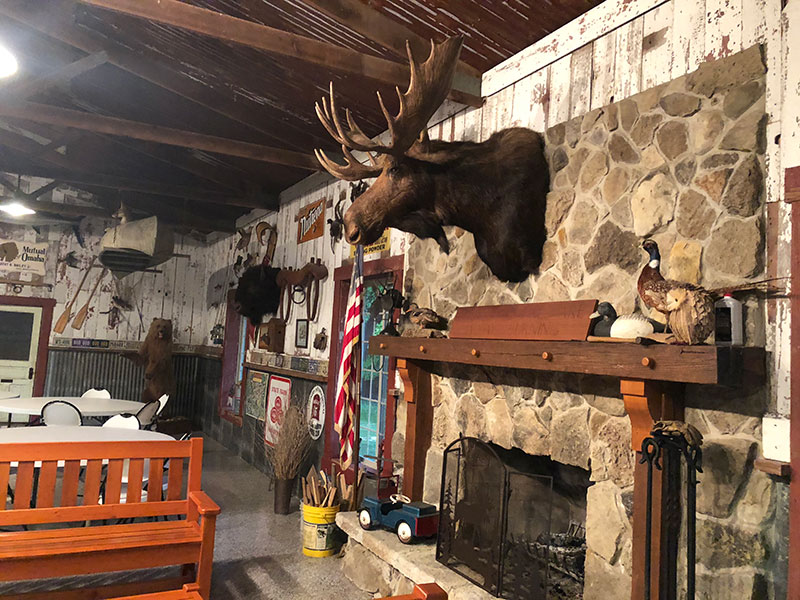
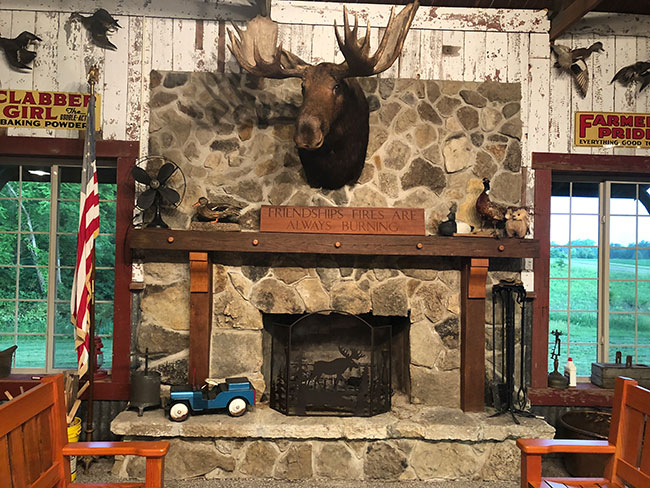
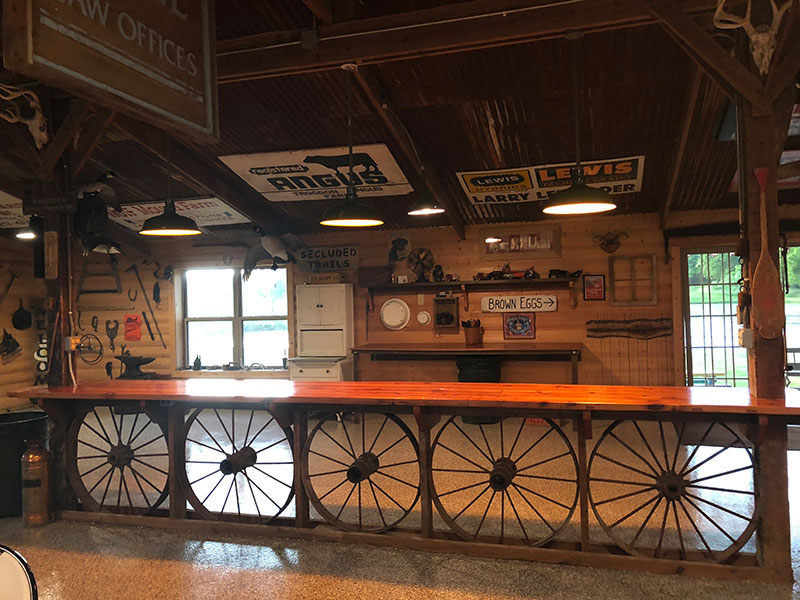
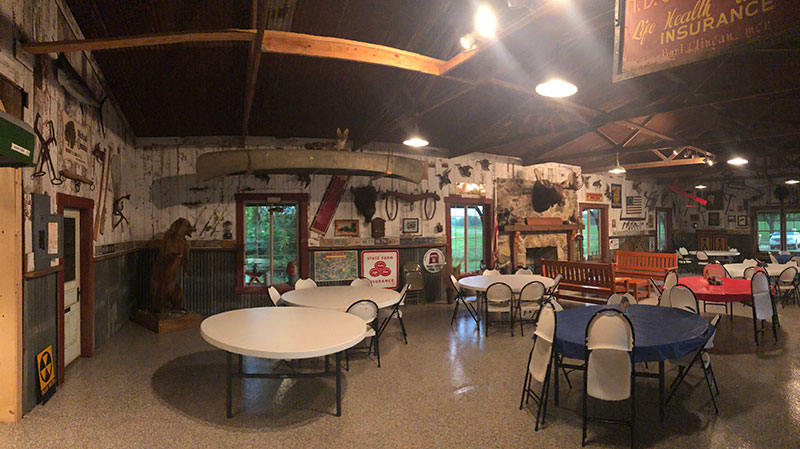
Once again, Russ had to drag me out kicking and screaming, as I wasn't done, but we had more to see. This time, it was the group's clubhouse/party place. The "barn" was originally, not surprisingly, a barn, that has been transformed by Scotty and the rest of the crew into a wonderful space for relaxing. The walls are filled with stuff (note to my mother: I think we have everything we need, but the barn and stuffed animals, to build something similar).
From the clubhouse, we dropped by Dave and Kathy's place, where Dave showed off his jeeps. The 1957 CJ-5 has the King Sealy 0-9 speedometer, though Dave noted it wasn't working quite right. I forgot to mention to him that I happen to have a NOS version of that speedometer that I don't need.
Dave is also rebuilding an early wagon. He has a photo of his mother in front of a similar wagon many years ago, so he hopes to finish it and stage her in front of it, holding the framed photo of his mother dressed in a similar outfit holding the frame photo he keeps of her in the garage. It would make a great photo.
From Dave's, we headed southwest to Cowboy's place for the night. Cowboy wasn't around today, as he's out helping get the Willys Jeep Rally ready in Oxford, Ohio. But, his wife Donna was gracious enough to host us in their country home. Not surprisingly, there I found more jeeps. It was late and dark when we arrived, but I did get photos of Cowboy's "Hatari" Scrambler.
Just behind the Scrambler is Cowboy's beloved stock M-38A1 "Old Blue". It was partially trapped, so I couldn't get good photos.
By the time we finished later Tuesday night, I was exhausted, hence the delay in this morning's post.
On Wednesday we had planned to drive up to the Hall of Fame Route 66 museum. However, Ann was having some intestinal issues yesterday and I could use some sleep. so we've decided to skip that this trip and, instead, head more directly to Jim's place in St. Louis, where we plan to spend the evening. Besides, there's another good Route 66 museum in Oklahoma City, so we'll go there.
This is a detailed list of the products, purchases, and decisions I've made. I've added links to posts which contain pictures or more information regarding the part. It will continue to be updated over time.
Frame: I'm using a 1973 CJ-5 Frame that was part of a running CJ-5 I purchased. I stripped and sold most of the parts, retaining mostly just the axles, frame, gas tank, and misc pieces. I stripped the frame of everything, including the shackles, cleaned it, then painted it. During the process I added permanent front and rear bumpers, a new front cross member, and a new engine mount system. The frame is plenty beefy for the V6, so I didn't do any additional boxing in except for the area from the new cross member to the new front bumper. Here's an overview of the changes to the front of the frame as well as images of the backend. Here's the painted frame.
Front Axle: This is a stock Dana 30 from a 1973 CJ-5. Except for changing the spring pads, this is a stock Dana 30. I chose this because I had it. It is stronger than the Dana 27 and 25 and was easier for me to obtain than the Dana 44 for the front. The gears and seals were in good enough condition that I did not rebuild the pumpkin. I have not installed a locker or posi because I did not have one installed in my last jeep and never felt like I missed having it. So, for the time being it will remain open.
Front Brakes: I'm using the standard 1973 drum brakes, which are rebuilt.
Rear Brakes: I'm using the 11" drum brakes from the '73 CJ-5 I dismembered.
Power Brakes: I'm using the Power Brakes from a early 1990ish Cherokee. Along with that, I'm using the combonation valve from the same cherokee. Thus far, between the drums and the power braking system, the brakes have rocked.
Swing Pedal (brake): These swinging pedals came from a junked 1990ish cherokee. The nice thing about this setup is that I have both the clutch/brake setup and a wide brake (automatic tranny) setup. Therefore, swapping to a clutch, if necessary, will be simplified.
Rear Axle: This is a stock Dana 44 from a 1973 CJ-5. I purchased a locker off of craigslist. While installing the locker, I discovered the R&P was bad (broken teeth), so I found another R&P for cheap off of Craigslist and installed it and the locker. The rebuild kit for the rear-end was purchased off of Craigslist. Here's a post discussing disassembly. Here I put it back together.
Front Springs: The front springs are 2 1/2 inch springs from the rear of a Wrangler that I purchased as part of another jeep. I Added an additional leaf from another left over spring set to beef them up slightly. I also redrilled the center hole on the main spring leaf, repositioning forward about 3 inches. I used stock wrangler springs so that I could easily update them with aftermarket wrangler springs in the future. The shackles are reversed. The front spring holder is homemade. The rear spring holder was purchased and welded to the bottom of the frame. The shackles are aftermarket that modified MB I purchased. I've used stock cherokee u-bolts and u-bolt plates. Here's some pics. And, more pics.
Front Shocks and Shock Mounts: The shocks came from Bucks, a local 4 wheel drive store. The mounts I made myself. They ended up bigger than I would like, but they'll do for now.
Rear Springs: The rear springs are 2 1/2 inch springs from a late 80s cherokee out of a junk yard. I redrilled the center hole of these springs. Again, I chose these as they'd be easy and inexpensive to replace. I purchased the rear shackles from summit, but they were too long (I misunderstood the description) and had to cut them down (the good news was that I could cute them to the exact length I wanted them). Here's some pics.And, more pics.
Engine: The engine core is a 1980 buick V6 231. The block has not been bored. It has 9.1 Compression, Hypereutectic Pistons, 288 Duration Cam, unported heads, Aluminum Edelbrock Performer Intake 4 Barrel, Holley Aluminum Valve Covers, High Volume Oil Pump with an additional hardened steel plate and .015" of extra gasket spacing, dual external oil filter, and chrome headers (well the top part is still chrome). The former engine owner believe this engine would likely put out 250hp given the updates, however I can't verify that. Here are the engine mounts. I take apart the engine and discover a bad crankshaft. I found a good deal on a V6 that has a good crankshaft. Here, I find Cracks in the heads.
Remote Dual Oil Filters: I've got a dual remote oil filter system that came with the engine I purchased, so I decided to give it a try. I figured it would also act as a cooling system.
Oil Pump: I read enough information that I was strongly encouraged NOT to use a high volume pressure oil spring with my 1980 Buick V6. Here's a little about the oil pump. The oil pressure runs about 60 PSI with the normal spring.
Carburetor: This is an old Carter Competition Series 500 CFM that I got as part of a engine trade. I tried bidding on a rebuild kit off of ebay, but after an unsuccessful bid offer, I turned to Summit (CRT-902317A) for the kit.
Transmission: I decided to go with a TH-350 transmission. It's one of the shorter auto trannys, it's cheap to maintain, parts are plentiful and it's a strong tranny. I struggled mightly with the tranny decision, as I've always preferred a clutch. However, after extensive reading, I decided I'd give the automatic a try, as it would give me an excuse to learn more about them, as well as compare and contrast the differences. While TH-350s are pretty common in junkyards and on craigslist, finding a short shaft with the TH-350 adapter for a Dana 18/20 transfercase is much more difficult (the adapter alone is $500 new). After much searching and waiting, I finally located a tranny that had been rebuilt several years ago and only used a few times before the owner wrecked his jeep. I chose not to rebuild the tranny at this time; I'm gonna see how it runs and then make a decision on whether I can tolerate the auto in the jeep before I dump any money into a rebuild of it. I'm using a B&M shift assembly I obtained as part of my engine purchase. Here's a discussion of the changes to the transmission shifting unit.
Tranny Cooler: I pulled one from the local junkyard.
Transfer Case: Because of the center pumpkin of the '73 Dana 44 rear end, I went with a Dana 20 transfercase. As I've chronicled in the video below, I improved the Dana 20 gearing by using Dana 18 gears and obtaining a Rear sliding gear originally used in the early Bronco Dana 20 transfercases that I purchased from the Bronco Graveyard. Here's a transfercase post, an overview of how the gears work, and a look out how I set up the dual shifte
Paint: I purchased the paint from an ebay power seller. I was supposed to receive the color Aqua Pearl, unfortunately, though I received a can labelled aqua pearl, it was actually a darker color (likely Teal Green). I didn't realize how much darker until I started spraying it onto the body. This is one product I won't purchase over the net anymore.
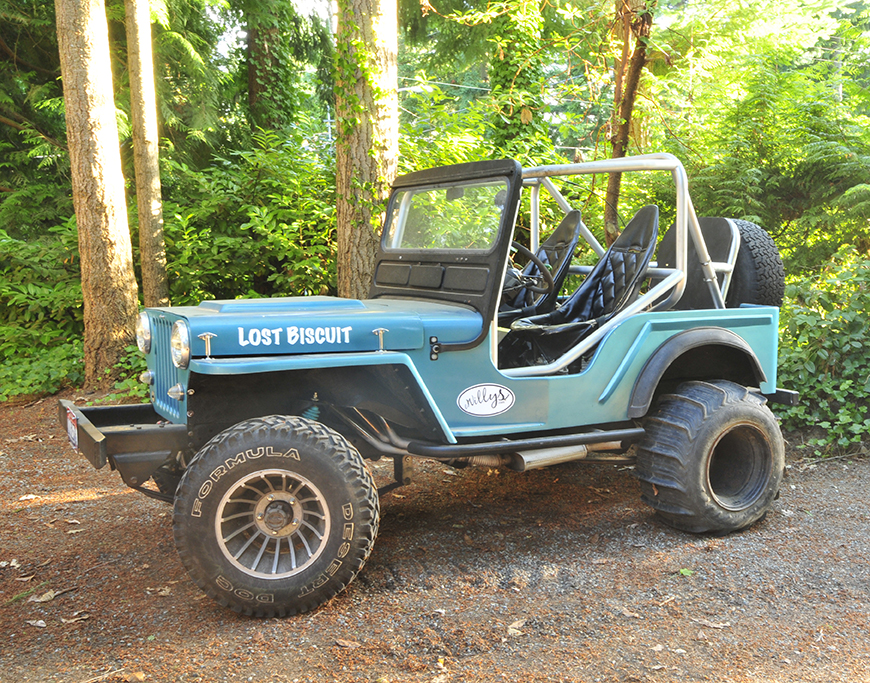
Body: I obtained a fiberglass body that was in horrible shape. I've nursed it back to health through a steady diet of fiberglass and resin. I believe I've got an older bobcat body, but I couldn't say for sure. I prefer the body style with the look of its wider lip that encircles the interior of the body. While fiberglass bodies can be a little or a lot lighter (depending on the body style), they aren't quite as tough as a metal body. Fiberglass bodies can still be found from time to time on craigslist. I will do my best to build a description of as many of them as I can. Here's a number of pics of rebuilding the body. Here, I'm painting the body and part 2 of painting.
Fenders: Through craigslist I found a never used bobcat racing body that included fenders and a grille. I bought the entire package then resold everything but the fenders. I chose these fenders over new fenders because 1) they were cheaper and 2) the newer fiberglass fenders from places like JC-Whitney's came with an extra lip in the front that I didn't like. Once purchased, I had to cut and extend them, and then create the sections that wrapped around the headers. Here I start the extension process. Here I complete the process.
Grille: The grille is the only original part of the jeep left. My experience was that the fiberglass grilles just weren't strong enough to hold up to daily wear and tear. So, I took the original 1949 grille and stripped it down pretty bare. Then, because I wanted to use the 5 1/2 inch rather than 7 inch headlights, I had to fiberglass down the headlight holes. I chronicle the grille here.
Headlights: I got my headlight housings from a local junkyard that has a huge inventory of cars from the 40s, 50s and 60s. The housings allow the use of a 5 1/2 inch rather than the standard 7 inch headlights, creating a different look. The housings are from an Oldsmobile Dynamic 88, which actually used two sets of these on each side. I discuss them here.
Hood: I created the hood out of fiberglass using a homemade mold. Due to the height of the intake manifold, I was later forced to add a scoop. I hope to redo the hood and make some minor improvements next time.
Radiator: The radiator was purchased through Doug Herbert High Performance Parts. Aluminum Radiator (GRI1-25241-X) was $179.99, the best price I found anywhere. The fit was perfect, 27 1/2" x 15 3/8" x 3".
Fan: I found the fan through ebay seller North Coast Performance, a ProComp Dual 10" combo with a thermostat switch. It was $60 plus shipping. It covers nearly all the radiator without sticking below the radiator. I chose to fiberglass the two fans together and then create an external mount to more firmly hold the fans in place. Between the two fans, each rated at 1250 CFM, and the aluminum radiator, I except to have no overheating problems. Here's a little about my decision process regarding fans.
Wiring: I used a product called KICKZ, a product I won through an ebay bid of $143, which was one of the best prices I've come across. I was pleased with the ease of installation and organization of the wiring. The wire gauge was heavy and the wiring had some thick insulation. Nothing about the harness felt cheap to me. Here's some posts about the wiring.. getting the wiring, installing it 1, installing it 2, installing it 3, installing it 4.
Gauges: I purchased brand new Equus gauges from schucks. Here's what I did to install a transmission temp gauge (actually just an engine temp gauge) into the tranny line.
Tires: I've got 7 old desert dogs which I will use for racing. I haven't decided on what type of new tires I'll purchase.
Roll Cage: The roll cage is 2" diameter .12 thick CREW Tubing that is connected to the frame in six places. The tubing is mounted in 6 places. The front plates use 4 3/8" grade 8 bolts at each plate. The middle plates use 4 1/2" grade 5 bolts at each plate. The rear bolts use 2 3/8" grade 8 bolts at each connection. The plates are 1/4" thick plate. Here's an overview of the final build and research related to my cage.
Gas Tank: This is a stock CJ-5 gas tank from the 1973 CJ-5.
Gas Pedal: This is a custom pedal made out of a piece of aluminum and covered with some skateboard sand-paper-like covering. On the back, I've used a couple rollers so that the pedal rolls down gas pedal lever. I found this worked exceptionally well while racing and jeeping, as it kept the pedal from moving due to bumps.
Power Steering: I used a common saginaw hydraulic steering mechanism. I borrowed an idea from a friend to neatly connect the tubing from the pump to the steering unit. You can view what I've done to develop the idea and then what it looks like when it's finished. Here's a video on fixing a shaft leak on the powersteering housing.
Steering Column: The steering column came out of a late 80s cherokee. It seems to be a GM-type column to me, as all the wiring matches the GM columns. At first, I cut the steering housing down a couple inches, but then discovered I needed to the extra length (oops), so I welded back the extra length. I created a custom attachment to bold the column onto the fiberglass dashboard, connecting it to the brake housing to improve the strength.
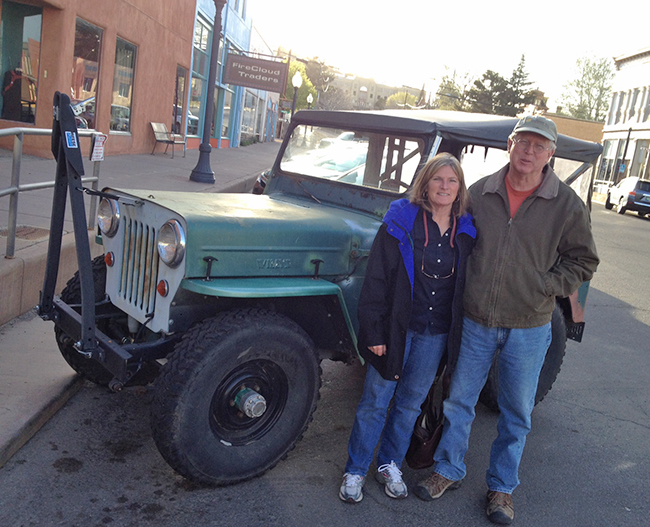
Gordon and Ellen stand in front of their CJ-3B Tractor Bob. A name thought up by their grandson, who is an avid reader of eWillys. Tractor Bob isn't Mr. Reliable; apparently, on more than one occasion, a jaunt about Silver City in Tractor Bob meant a relaxing hitchhike home. Therefore, Ann and I thank Gordon and Ellen for taking a chance and driving Bob to meet us for dinner and a narrated walk around the wonderful town of Silver City.
Before I share Wednesday's fun, let me comment on the La Quinta Inn in Las Cruces . . . On Tuesday night when we arrived at the La Quinta Inn in Las Cruces (did I mention the La Quinta Inn??), we were surprised to discover that when we got to our hotel room, it hadn't been cleaned (pizza boxes piled on a table and the beds remained unmade). Now, while I knew I'd gotten a great price on the room using Priceline, I did have an expectation the room would be clean. So, I went back to the desk and asked for a different room.
The mortified desk clerk apologized and quickly gave us a new room. Off to the second room we went (just a few doors down from the first one). We unpacked, then I went into the bathroom, only to discover there were no tissues in the dispenser (I really don't give a rip, but in this case it wasn't a good sign) and there was melted ice in the ice bucket container from the previous guests, meaning this room hadn't been cleaned/restocked very carefully. While we were too tired to complain, I did check out the bed to make sure the sheets were clean.
Wednesday morning at checkout, I explained our poor experience to the morning clerk. Like the evening clerk, the morning clerk was mortified. She promised to address the situation and told me I'd receive a coupon in my email to make up for the poor experience we'd had. When I checked my email I discovered that the La Quinta Inn felt our poor experience warranted a whole $5 discount. It's fair to say I remain unimpressed. Did I mention that was the La Quinta Inn in Las Cruces???
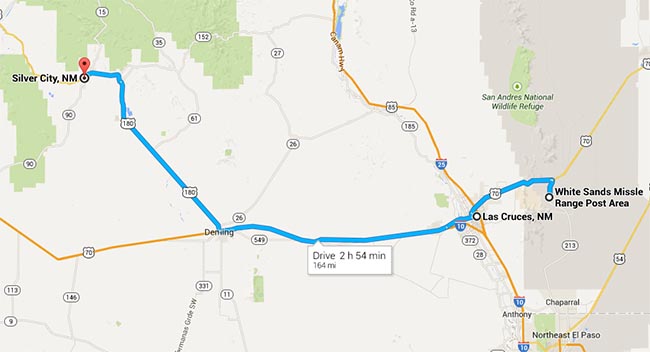
However, we didn't let our La Quinta Inn experience dampen our mood. Our goal for the day was to get to the White Sands Missile Range Museum and then head over to Silver City.
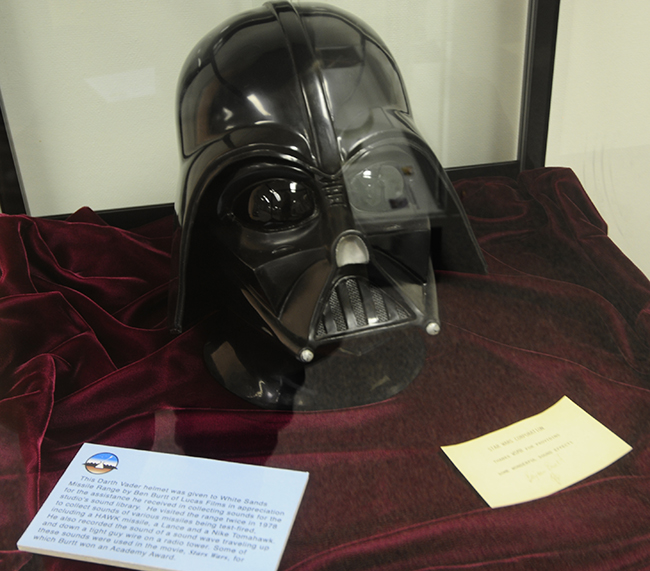
The Museum was a pleasant surprise. Even the price was reasonable (free). The museum is divided into two interior sections and an exterior missile park. We started with the main interior portion. One of the first exhibits we encountered was an original Darth Vader mask. Apparently, the guy who won the Oscar for the Star Wars' (for you young folks I am referring to Star Wars Episode IV) sound effects obtained a variety of sounds from the missile range, so he managed to get the Darth Vader mask donated to the museum. Nice bit of trivia!
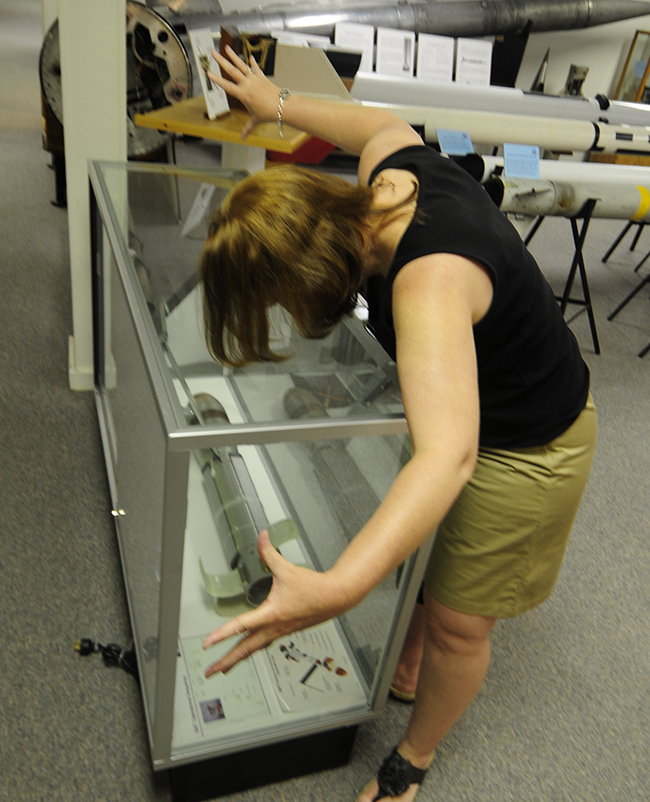
Ann was very excited about all the missile stuff. She was particularly interested in the specifics of the device in this case. She hunched over this exhibit for several minutes, fascinated by it. She attempted to explain some part of it to me and did this with her hands.
But, there was more than just missile history. There were other smaller exhibits. For example, there was a very small, but interesting exhibit on the Apache fight with the U.S. Soldiers during the 1880s. One of the soldiers involved in the fighting was very sympathetic about the Apache situation, noting the Apache had been lied to far too many times and had no choice but to fight, even likening them to the American Revolutionaries fighting for the right to their land. It was an interesting perspective from a small, but good exhibit.
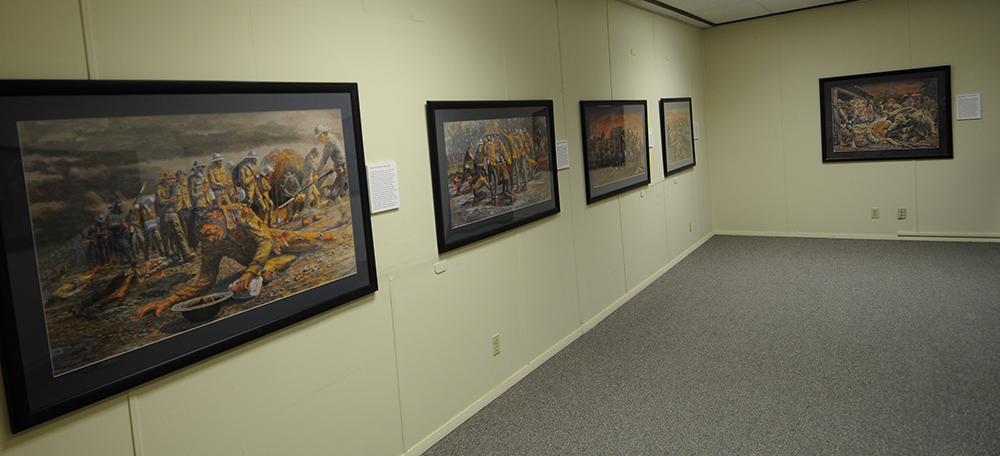
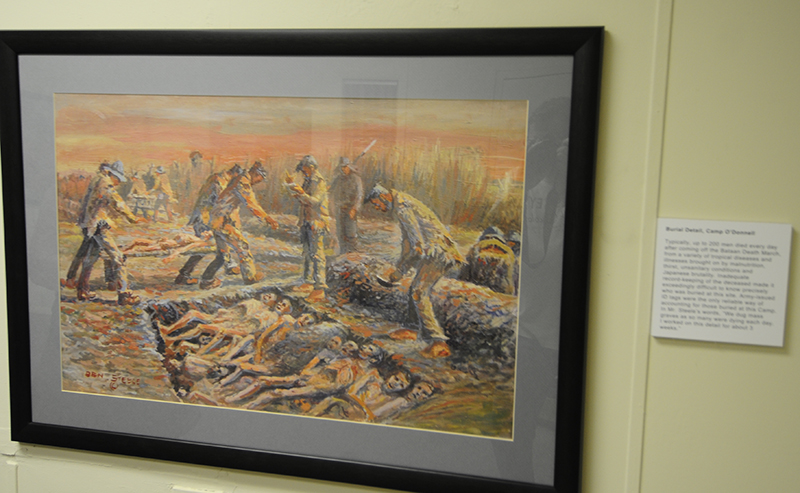
Another small, but powerful exhibit was a series of paintings done by Benjamin Charles Steele, who survived the Bataan Death March and Japanese prison camp. He drew sketches while a POW, but they were destroyed. So, after the war, he got a degree in art and recreated the paintings. The paintings coupled with concise descriptions tell a powerful story of his (and many others) experience as a POW in the Pacific Theatre.
These paintings line the entire room.It was hard to take a good photo of it due to the glass. This shows the burial detail to which Benjamin was assigned.
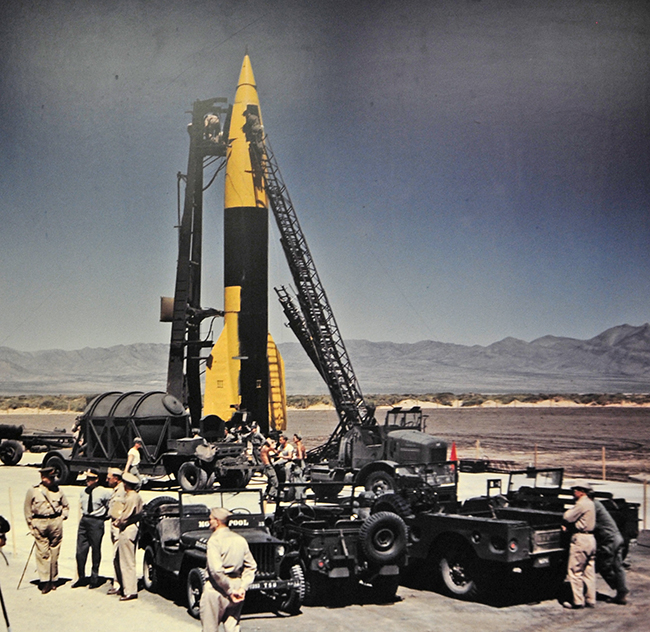
On a lighter note, there were several jeeps in photos in the museum. This one below is the best one and shows two jeeps, along with a V2 (I think ... I didn't look too close at that).
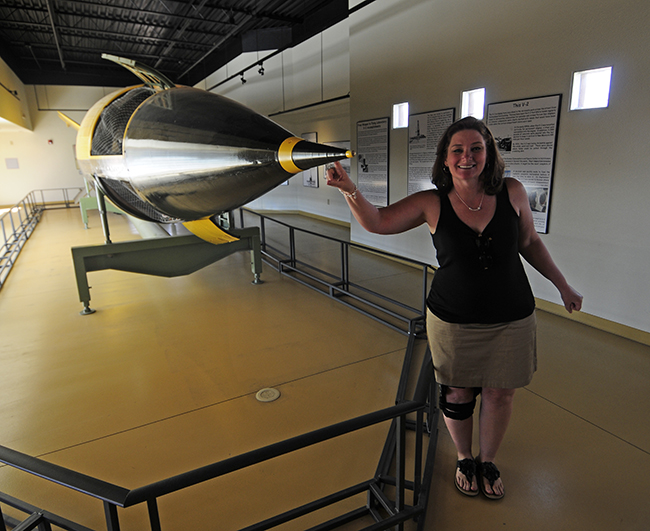
Once we were done with the interior exhibits we walked to a second building where a US Made V2 rocket (the one in the photo above???) rests. My wife almost touches the rocket in this photo . . . that is my story and I'm sticking to it.
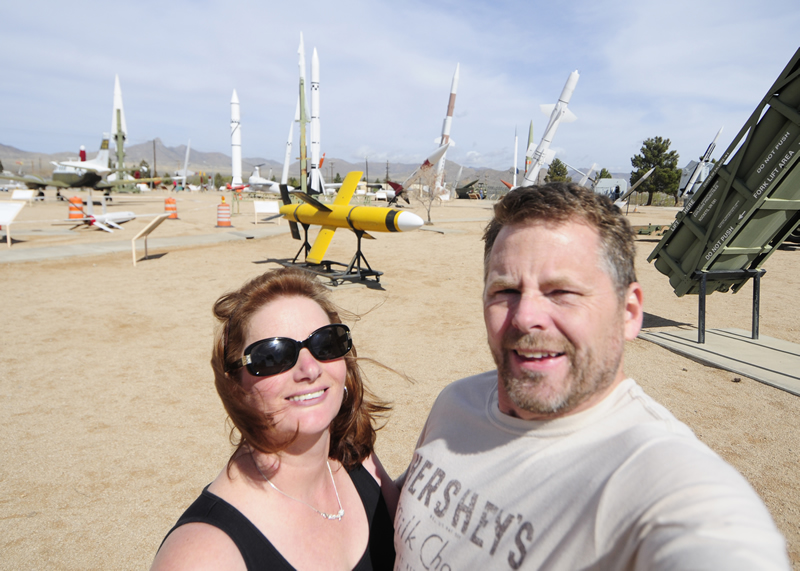
From the V2, we stepped outside to walk among retired missiles (and other stuff).
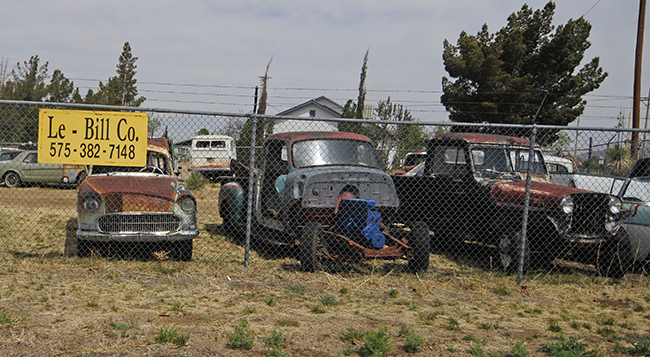
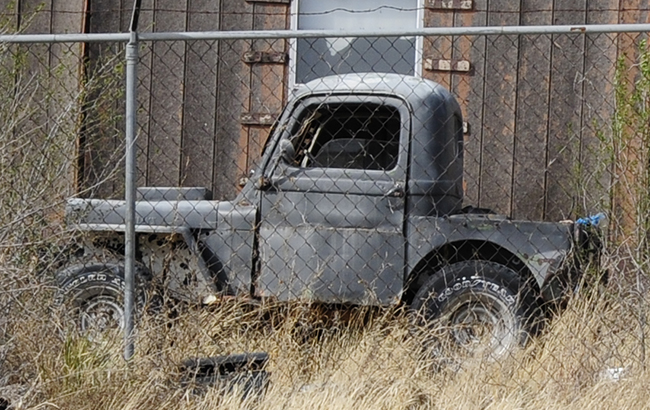
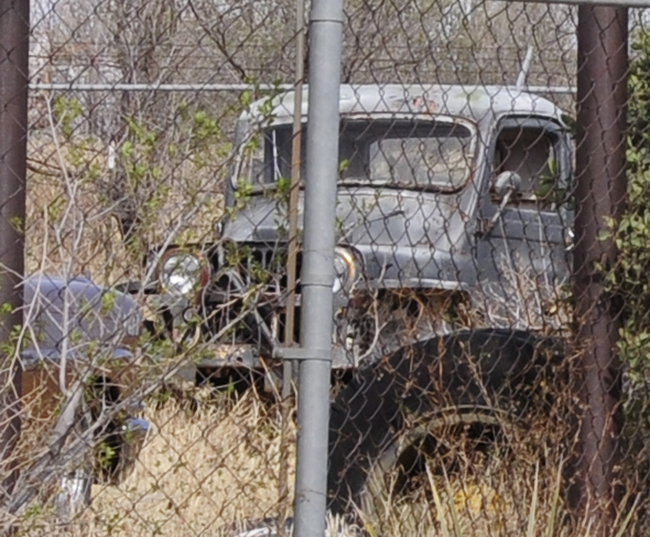
After the missile museum, we started our trek west toward Silver City, as we re-enterd Las Cruces, we spotted this small auto yard that had at least six Willys trucks and wagons. We didn't slow down to inspect it too carefully.
To the right is an early truck. Behind that you can just make out a white wagon. Just to the right of the yellow sign is the rear of another white wagon.
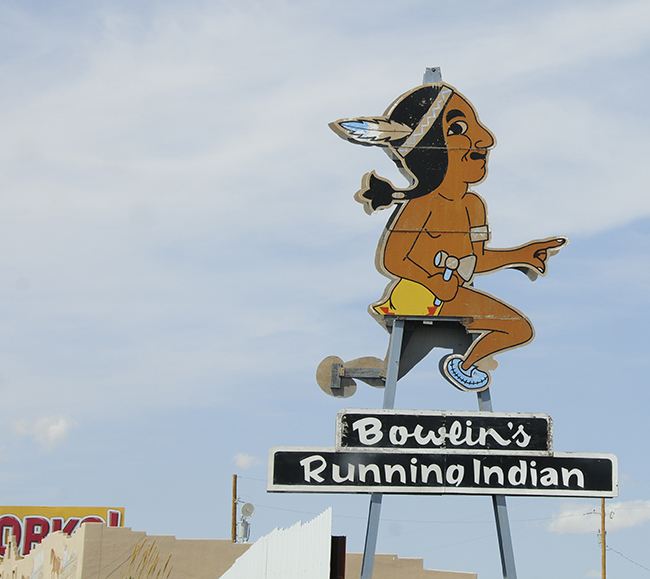
We drove for about a half hour on I-10 when we began seeing signs for a trading post. It was obviously a tourist trap, but that made it all the more fun. So, we stopped. Here's the sign that welcomed us:
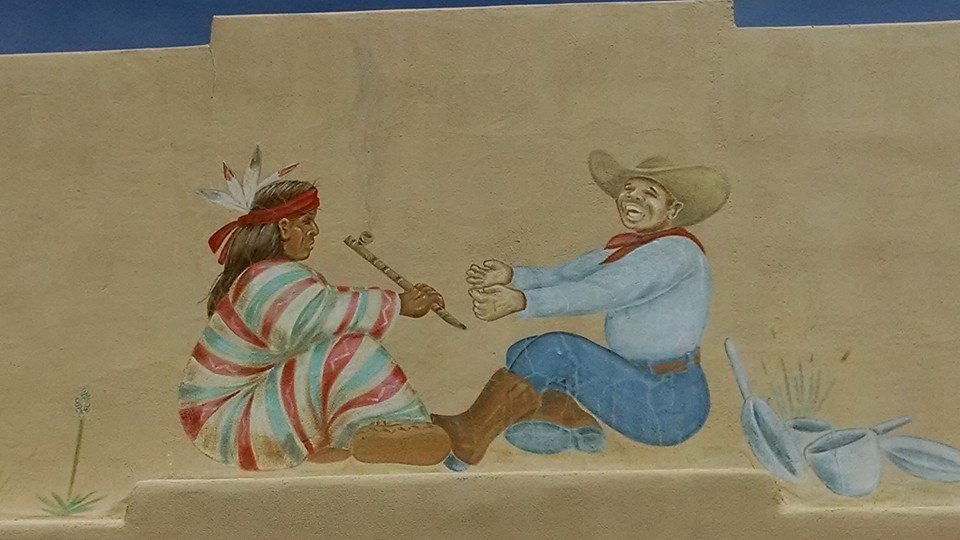
It's a big sign. the runner's shorts seem to be missing.This is one of the murals on the front of the trading post. Looks like this place is a fun time. That's a happy cowboy!
Despite an occasional stop for a photo that had to be taken, we finally made it to meet with Gordon and see his jeeps. Gordon has read eWillys for several years. He used to live in Boise and had jeeped some of the same trails I explored in Lost Biscuit when I lived there (here's one example).
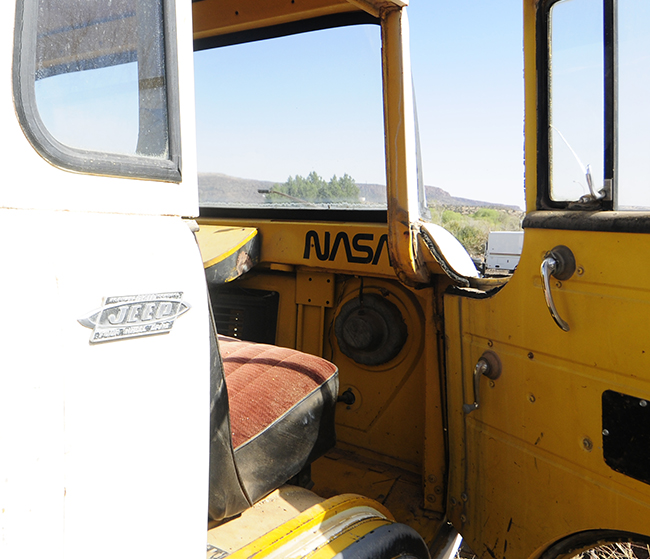
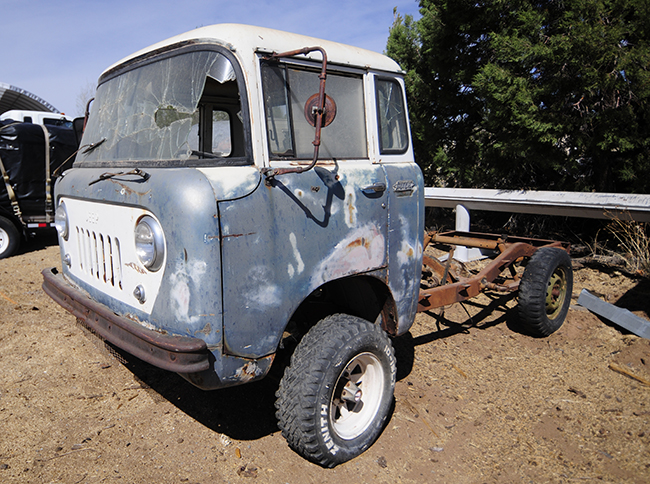
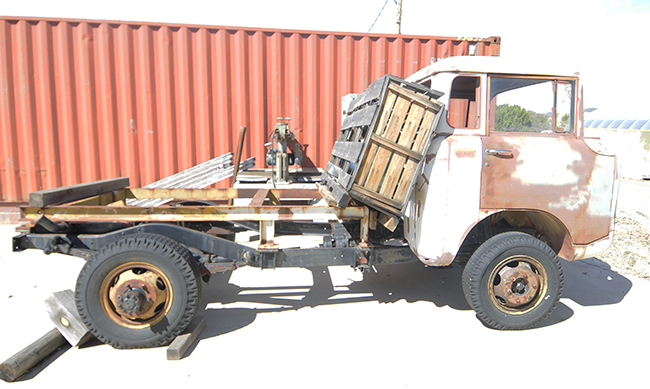
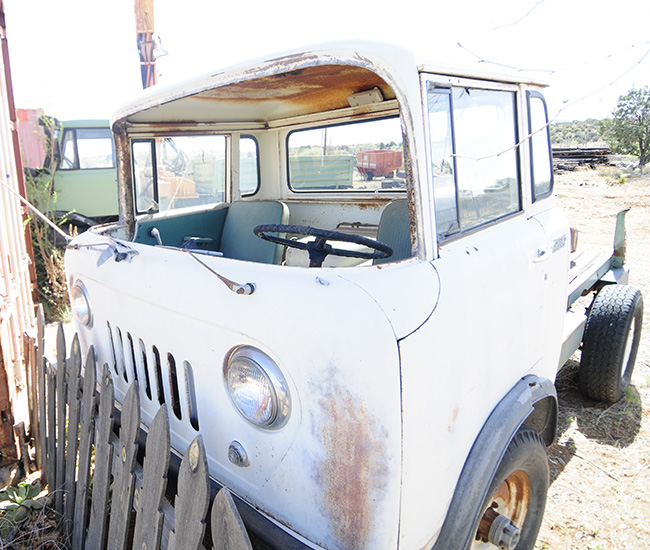
When he moved to New Mexico, he decided he wanted to have a Willys again. Of course, one wasn't enough. He kept finding deals on projects. Pretty soon, he had quite a few jeeps, mostly FCs. Perhaps the coolest FC is an FC with under 10,000 miles that was owned by NASA.
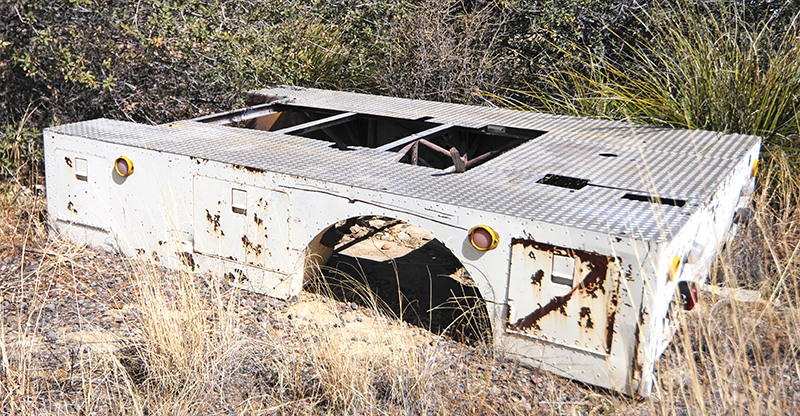
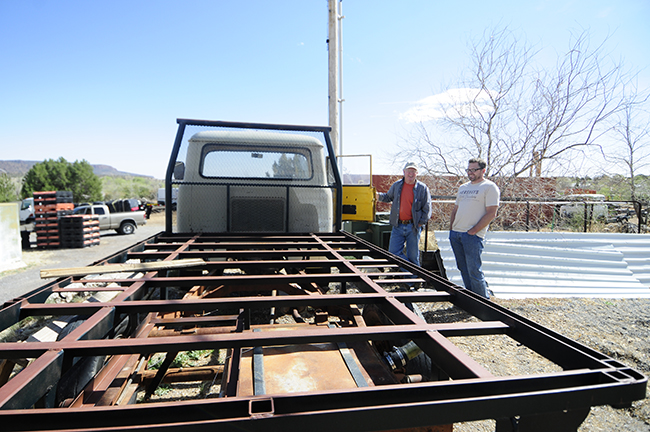
This runs. It had a strange aluminum utility box (see below). Ann was quite proud of this photo, which shows both the Jeep and the NASA insignias.Custom aluminum bed built by or for NASA that was on the FC.This is the partially complete new bed.
Here are a few of the other FCs:
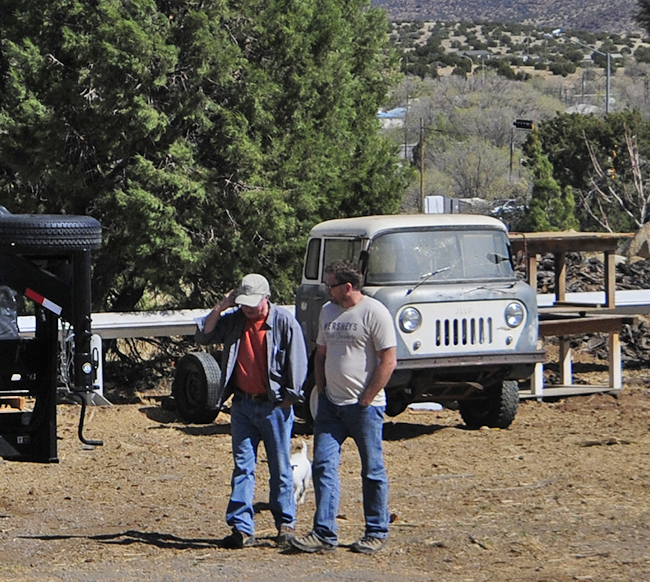
The chassis is good, but the cab isn't. However, he has another cab that is good with a chassis that isn't.This is a dually that came with two windshields. They are in the wooden box.This is a FC-170 with a frame shortened by a previous owner. Its wheelbase is now about halfway between a FC-150 and an FC-170.Here Gordon and I are discussing world peace and recent politics ... yeah, right. We are talking jeeps.
Gordon also has these two jeeps for sale:
After Gordon completed our tour, it was time to head to a hotel that Gordon arranged for us in Silver City. However, on our way to the hotel, we spied a peculiar jeep:
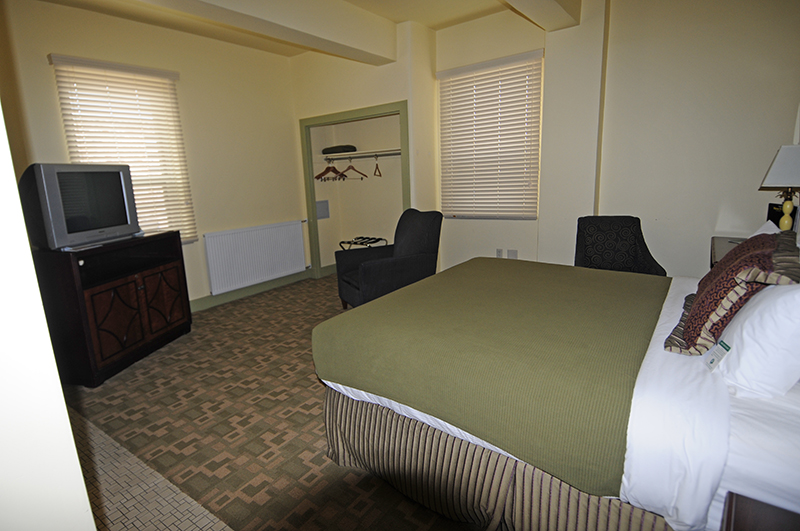
In downtown Silver City, we arrived at the Murray Hotel, an art deco themed hotel originally built in 1938. Unlike our experience at the La Quinta Inn the previous night, the Murray Hotel clerk was wonderful, even providing me with a history of the hotel as she checked me into it. When we got to our room, it was great, a nice blend of old and new. And clean, too. Not a pizza box in sight!
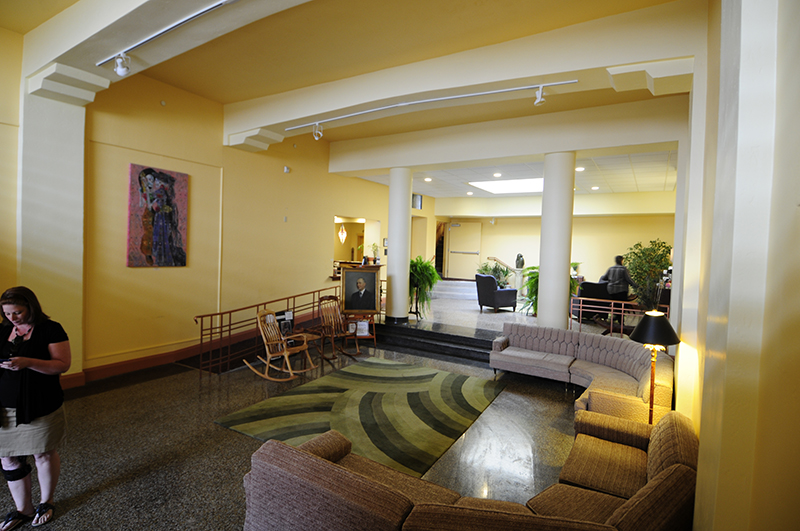
The lobby interior!Our room. It's clean, quiet and at least one of us is sleeping fitfully in the bed. The other will soon end this long post and join her.
Just before dinner, Gordon and Ellen arrived in their CJ-3B and took us out for some excellent Mexican food. Then they gave us a tour of old main street, which disappeared during a torrent in the late 1800s, replaced by a 55 foot gully. Shops along main street had to start using their back doors to keep in business. The gully still runs heavily with water during the rainy season. The streets become rivers as well, however the sidewalks are so high off the street (in some cases nearly three feet) that the stores appear to stay dry.
Many thanks to Gordon and Ellen for their hospitality and warmth. If you ever have a chance to visit Silver City, it's a neat small town with an artsy feel to it. And, if you get a chance, try out the Murray Hotel.
Tomorrow we head to Phoenix via Globe and Mesa, where we'll see Joe, Joel, and the progress on the GPW :-)
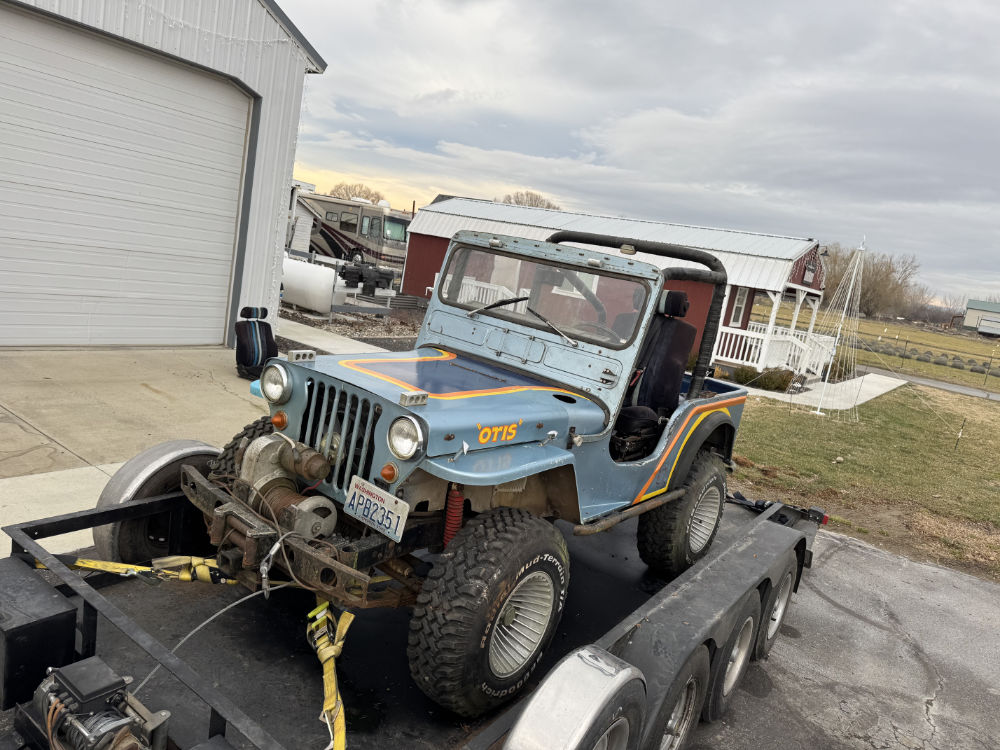
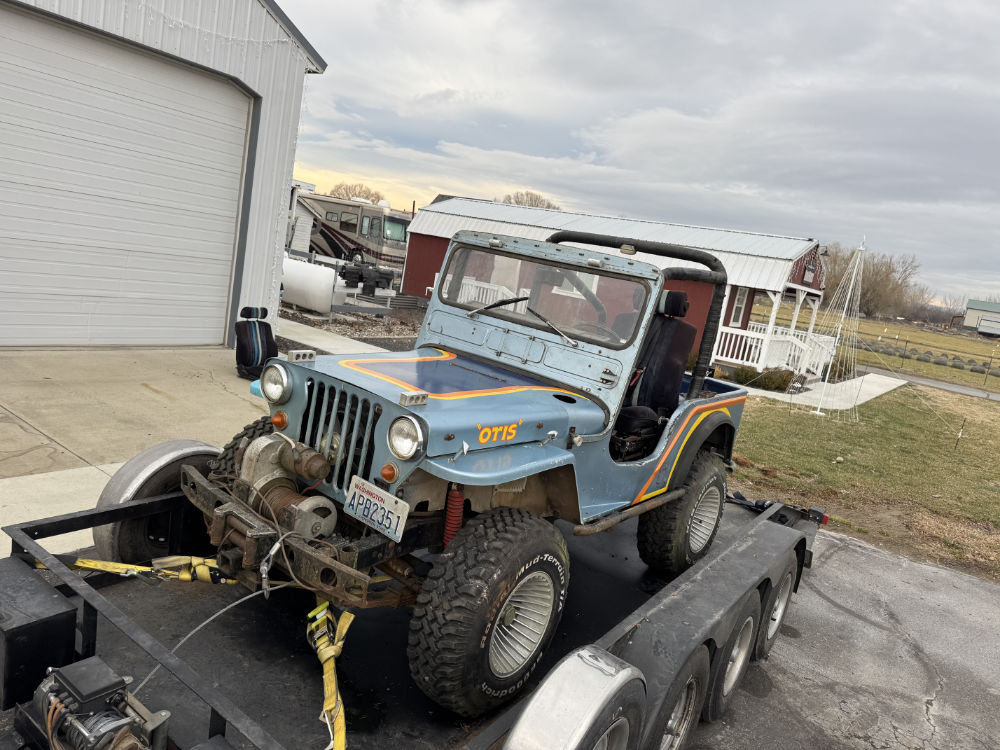
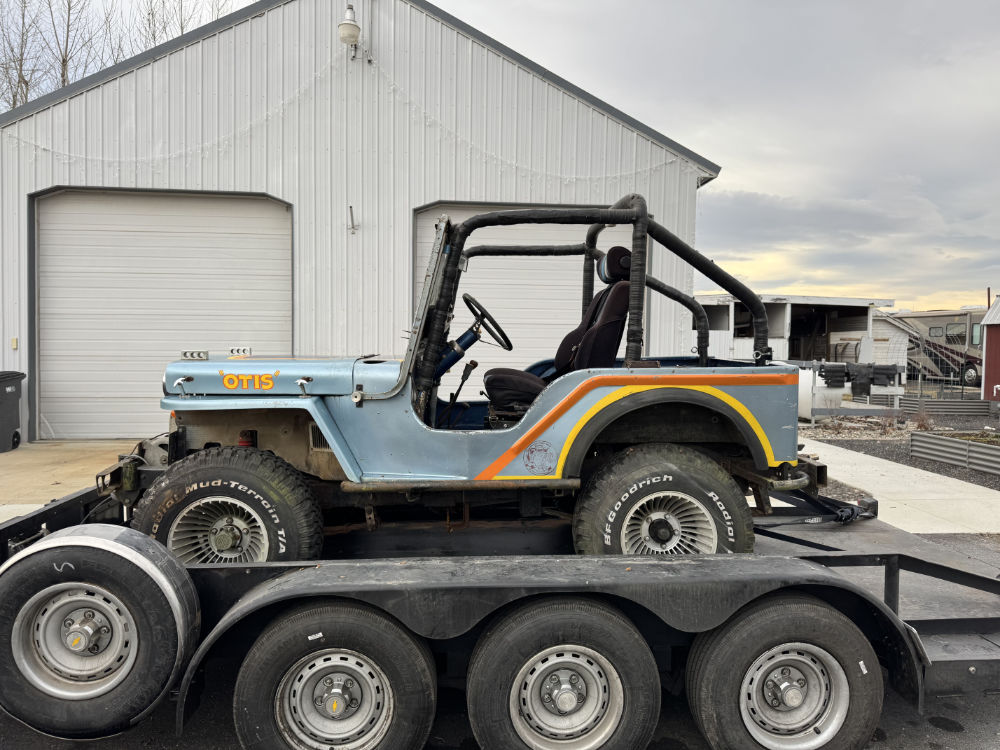
Hi all, the former MR. EWILLYS is here with a couple updates. First, a quick look at my newest jeep Otis (more info and pics at the bottom of the post).
2025 Review: The year 2025 proved both busier and bumpier than expected. Some of you may remember that I listed all my jeeps for sale last fall. Of those, only Lost Biscuit, the 1949 fiberglass CJ-3A, sold. Patterson, the 1956 Convertible DJ-3A, looks like it will sell shortly. The FC Tour Jeep and the Parkette-bodied racer remain in my possession. But, I did receive a new flat-fender jeep, an unexpected treasure.
The new book - Henry Farny: For 2025 I planned to get more rest. The plan quickly detoured. Shortly after the ‘ball’ dropped on 2024, I received an email from Justine Keller, Assistant De Production for Supermouche, a French video production company. In her January 2 email she explained that French television was funding a documentary dedicated solely to French-born Henry Farny, best known for his paintings of Indians in the 1890s and 1910s. She explained that the director of the documentary used to work with a friend of mine (non-jeep) in Henry Farny’s hometown of Ribeauville. Since Henry Farny, who went simply by Farny, happened to be my great great uncle, Justine hoped that I might have some art, information or useful connections to Farny and Wurlitzer family relatives! (You can learn more about Henry Farny at a web site I built)
I began hunting down referencing to Henry Farny’s life. I immediately envisioned a possible book. I didn’t know much about him; in fact, I thought his story had been told in several biographical pieces in books about his paintings. I was wrong. His life hadn’t been fully described.
Farny was a large, broad man with a personality equal to his size. He looked nothing like an artist (some funny stories there). He had an adventurous upbringing, but then spent most of his life in Cincinnati. I thought there might be a few hundred references to Farny in old newspapers, but eventually discovered more than two thousand. It took me five months working part time every day (yes, I can be obsessive) to document them all (the other half my time was replacing the interior trim, something Ann hoped to have done).
The documentary crew appreciated the information I shared with them to the point that they requested an interview. In May I spent a week in Cincinnati. It was an adventure reminiscent of our eWillys trips. One contact, opened the door of another and soon I secured a special visit at the Cincinnati Art Museum to view their collection of Farny’s works. I got to eat meals at several private clubs, obtained access to view rare documents and paintings, attended a local German festival (food and drink on the house) and, finally, spent several hours with the French video crew, who were an absolute kick. I walked from the Farny family home on McMicken to downtown Cincinnati, the same one and a half mile walk my great great grandmother, Leonie Farny (later Leonie Wurlitzer), made daily when she worked in downtown Cincinnati during her early twenties. I spent time downtown where Farny spent time. I got an exclusive invitation to attend a Cincinnati Literary Club meeting, a club of which Farny was a member for several decades. That they, a bunch of readers, recognized the biography’s value is a good sign for the book. Now I just have to write it well!
By June, all seemed to be going very well. I just celebrated my 60th birthday with my kids and was prepping for a summer of projects and working on the FC when one morning I stopped being able to urinate … such a strange feeling. My flow had been slowing for a while and, after turning 60 that June, I’d planned to get a new primary doctor to address that issue and others, because I had become “a man of a certain age”. Eventually, I went to our local ER (I’ve never been so thankful that our local ER never has a line) seeking help. I returned home wearing a painfully stiff catheter.
A few days later I met my new GP, who seemed like she had her stuff together. She diagnosed me, due to my PSA of 125, and my otherwise healthy appearance, with an enlarged prostate due to a prostate infection. She believed the infection had caused inflammation that then clamped my urethra shut. She prescribed a six-week antibiotic and sent me home.
At that point I was quite happy to be working on my book. It was a great mental distraction, for I couldn’t do much that first month but sit. (And, as a result, I was able to finish my first draft of the book in November). I learn a whole lot about using and maintaining catheters.
I will save you from the tales of the subsequent hiccups in health care that occurred, but eventually it was revealed that prostate cancer and not an infection was the cause of my inability to urinate.
In September, I had a biopsy to confirm cancer that accessed the prostate via the anal canal, an unpleasant experience for sure. It confirmed I had Stage Four Prostate Cancer. A later test added to the diagnosis: Stage Four High Volume Metastatic Cancer, meaning the cancer was present, albeit mostly pinpoint spots, in several different bones.
Of course, this was all very unexpected! That’s when I chose to list my jeeps for sale. If things went downhill fast, I didn’t want to burden Ann.
We secured a University of Washington oncologist through the Fred Hutchinson Cancer Research Center in September. He, together with my new urologist, both great docs, developed a course of action. In late October I began taking Lupron, an every-three-month hormone therapy shot designed to stem the creation of testosterone, upon which the cancer feeds. I also began taking a set of hormone therapy pills. Finally, I began an alternative therapy, with my doc’s blessing, that has low risk and high return potential. Research showed that the alternative therapy can sometimes destroy cancer cells. Some bodies respond and some don’t. I am happy to share info about the alt therapy privately (d @ deilers.com) for those interested.
After only a month of these protocols, My PSA dropped from 125 to 19. We and the docs were thrilled. In early January, my PSA was testing again, dropping from 19 to 1.9. Again, excellent progress. Assuming this path, and assuming nothing else happens, my prognosis is 6 years and up. The prognosis appears optimistic at this point. I should note that other than an occasional hotflash and a little more fatigue (partly because I did almost nothing the past few months), I feel very normal.
In December, after wearing a catheter for six months (and having it pulled and replaced every month), I went through Aquablation surgery. That surgery used a high-tech system of water jets to ‘roto-rooter’ my prostate, carving out a wider path through the prostate. The surgery went smooth and my 'flow' is better than ever! These past four weeks without a catheter has felt like a blessing.
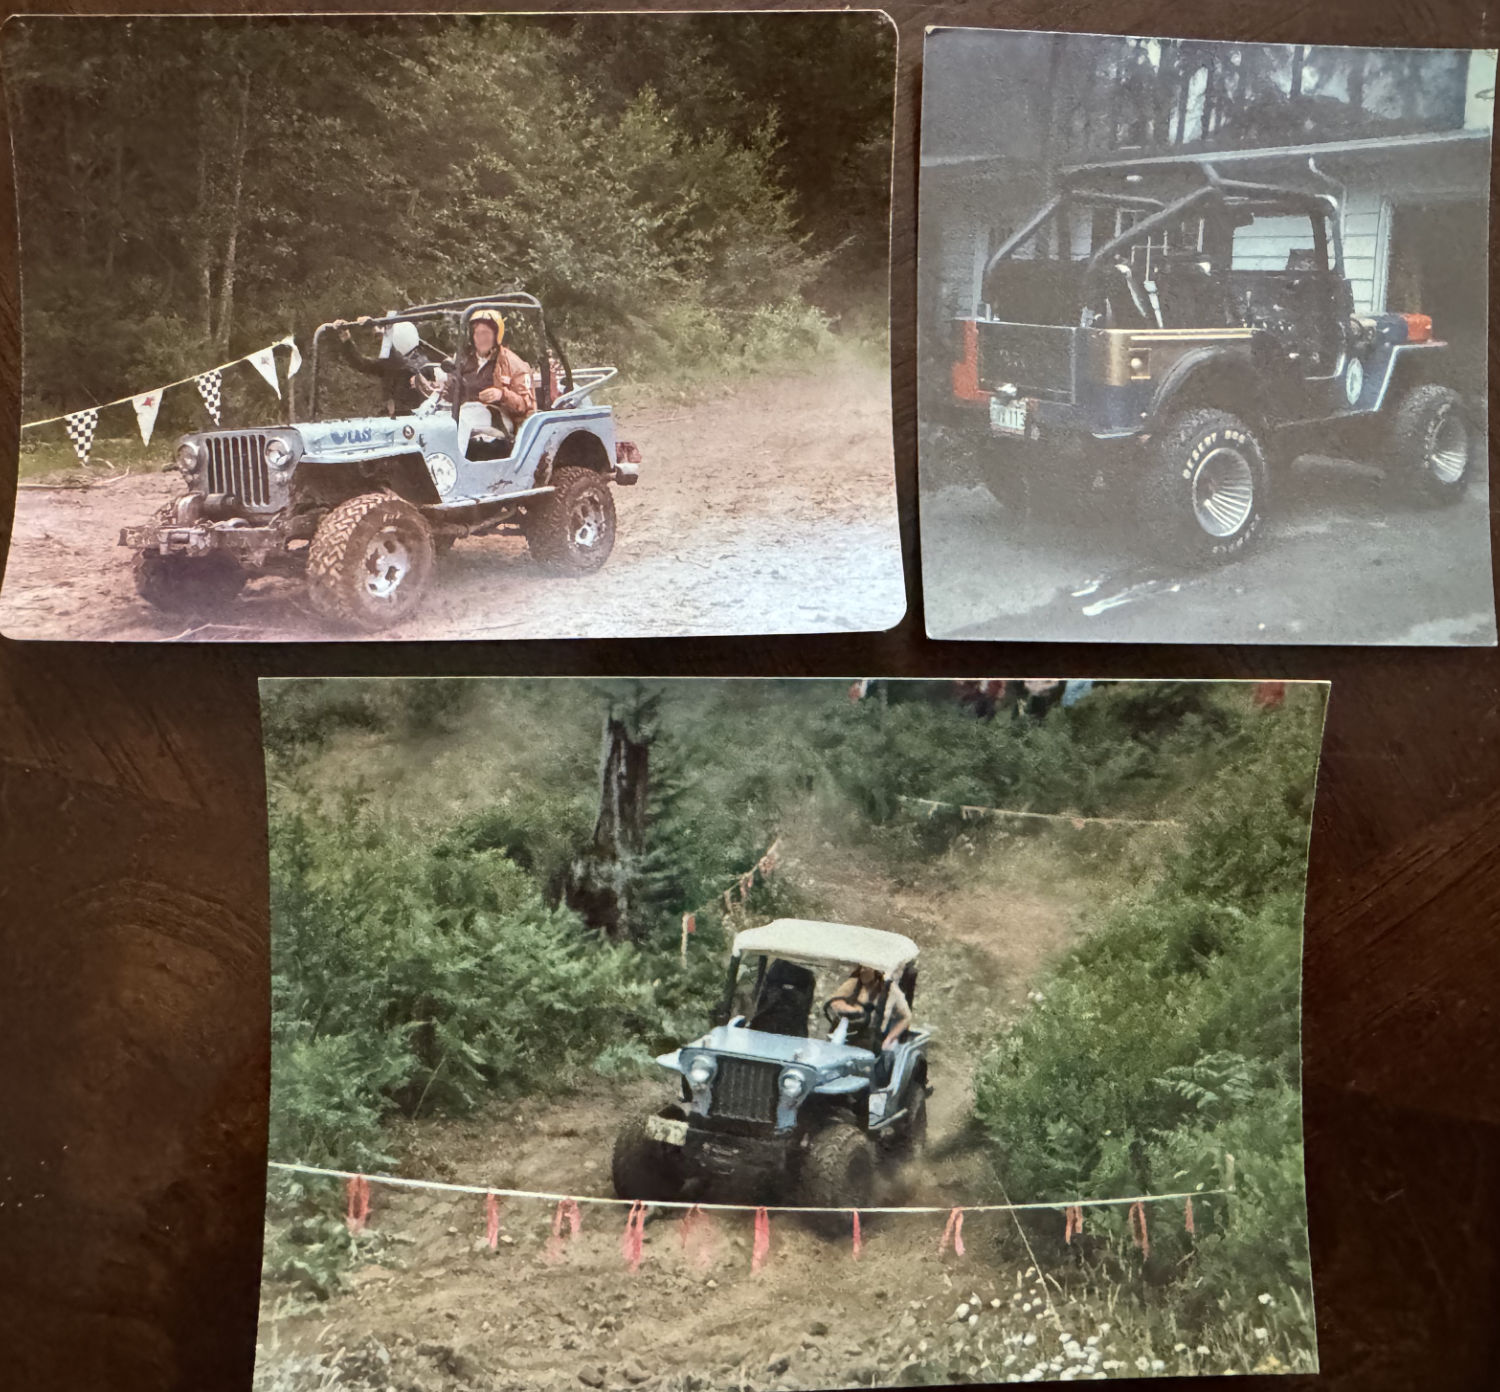
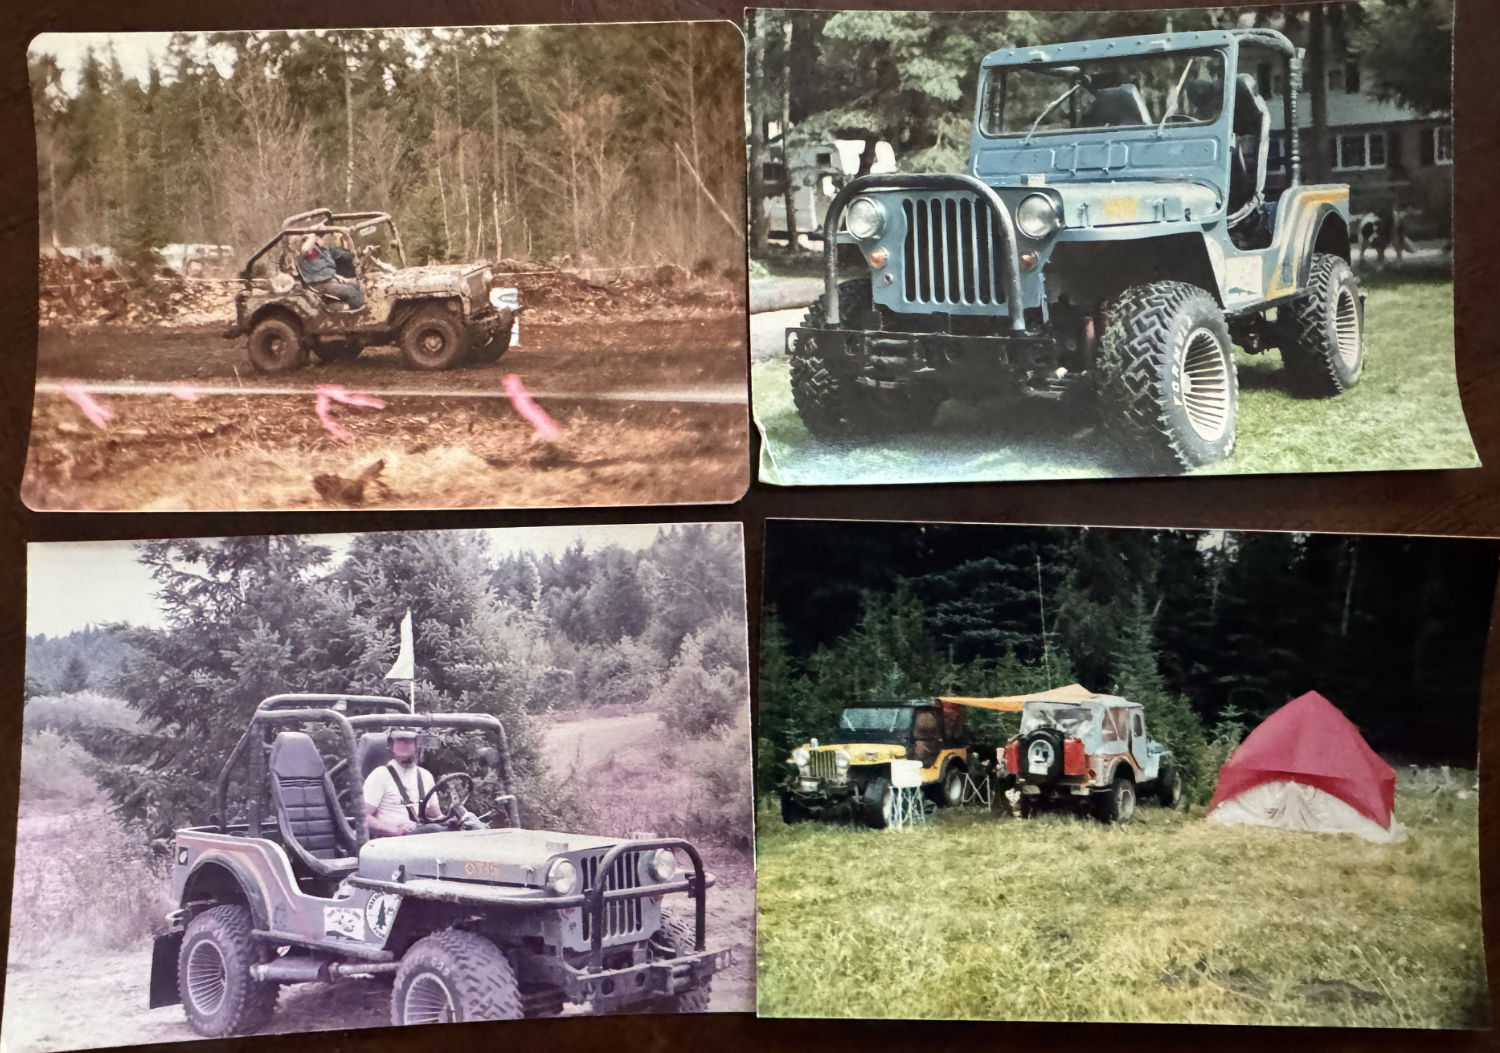
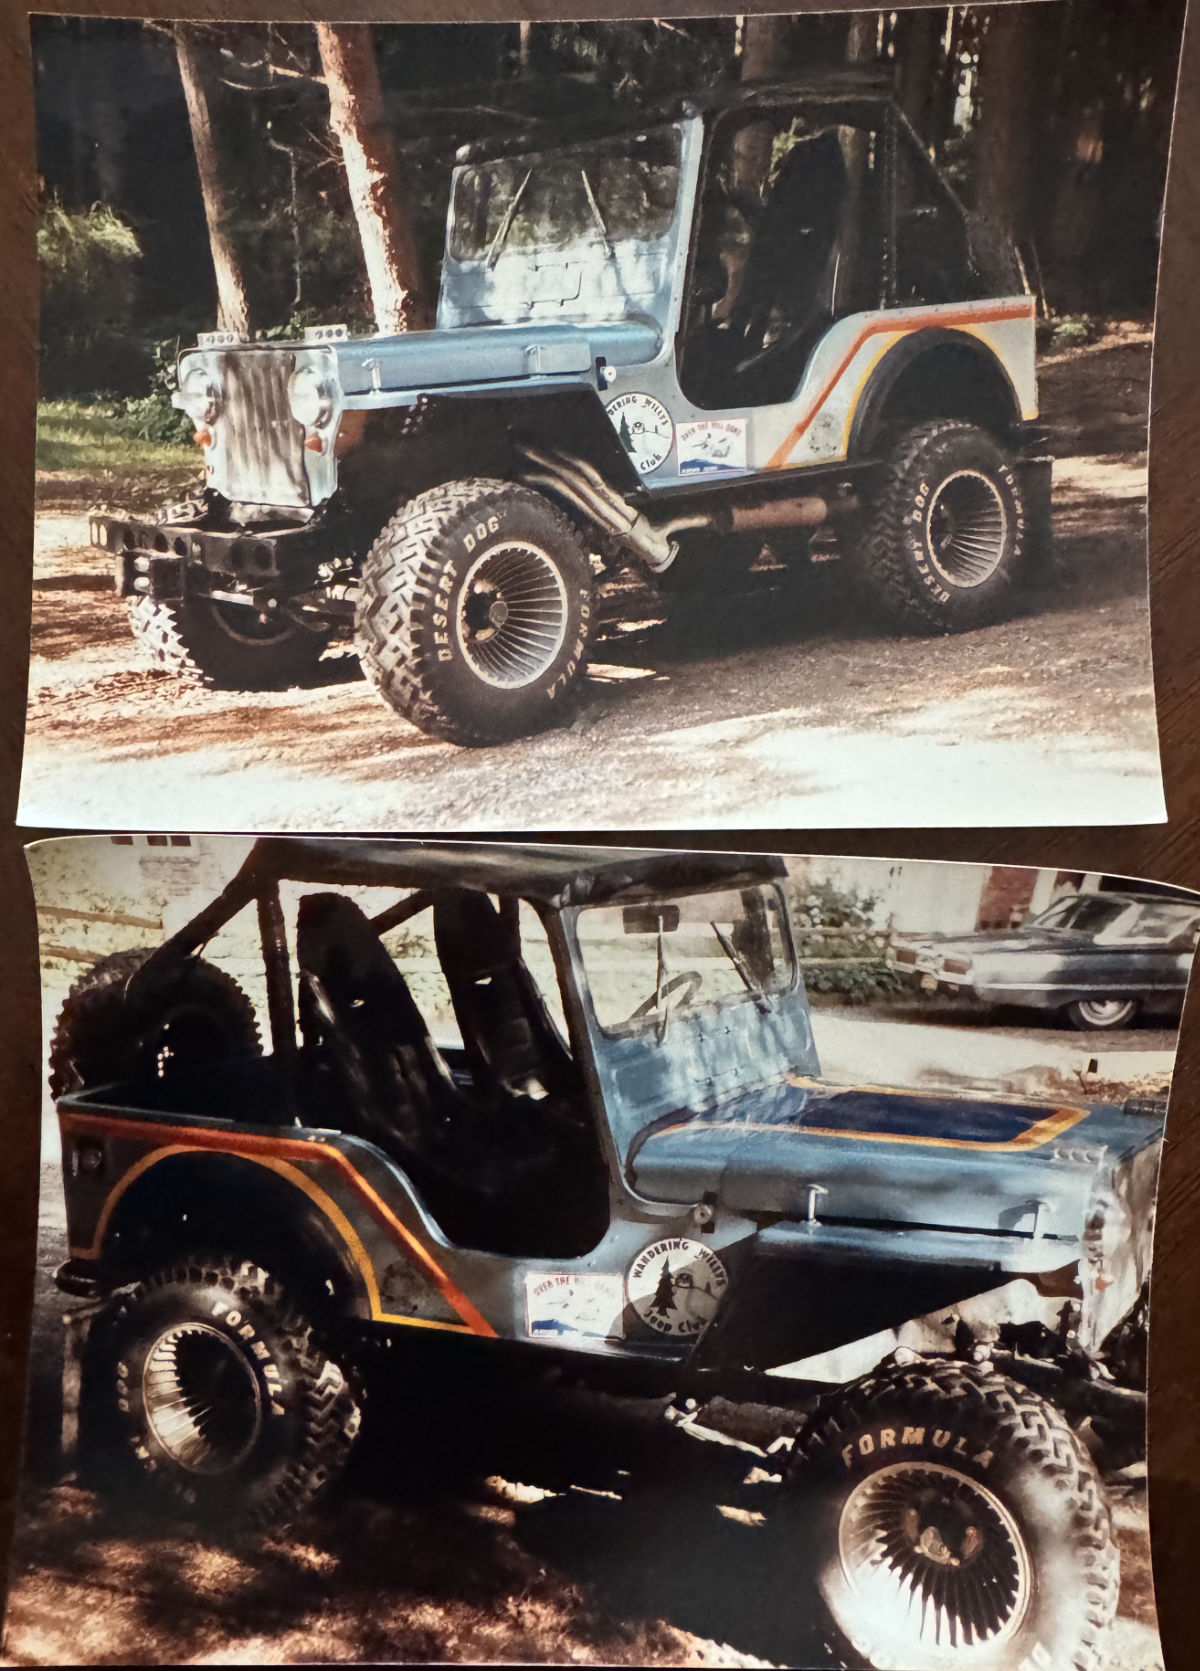
Otis: On Christmas Eve day my long-time friend Steve, truly a brother, made me an offer I never expected, a Christmas present that blew me away. He offered to gift me a jeep name Otis, a flat-fender that I had loved since I was a young kid. He could think of no one better to have it than me. The jeep was owned by his parents Jim and Patti Carter, who’d been long time family friends, who’d named me, and who’d been charter members of the Wandering Willys Jeep Club, which my parents were, too. Their sons, Tim and Steve, were like brothers.
Otis was the jeep that sparked my interest in flat-fenders in general (dad always owned a CJ-5) and fiberglass flat-fenders in particular. Otis was the GOAT and a legend in the PNW4WDA, partly because Jim was president of the association for a year. It was a great street jeep, an amazing trail jeep, and a trophy-winning race jeep. Otis could do it all.
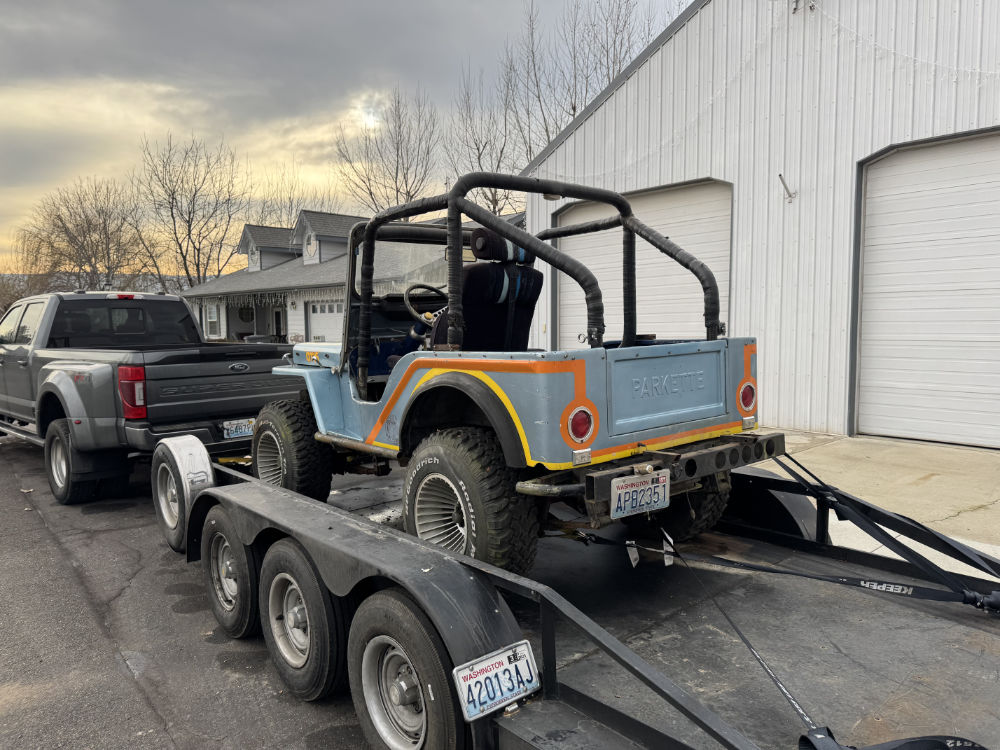
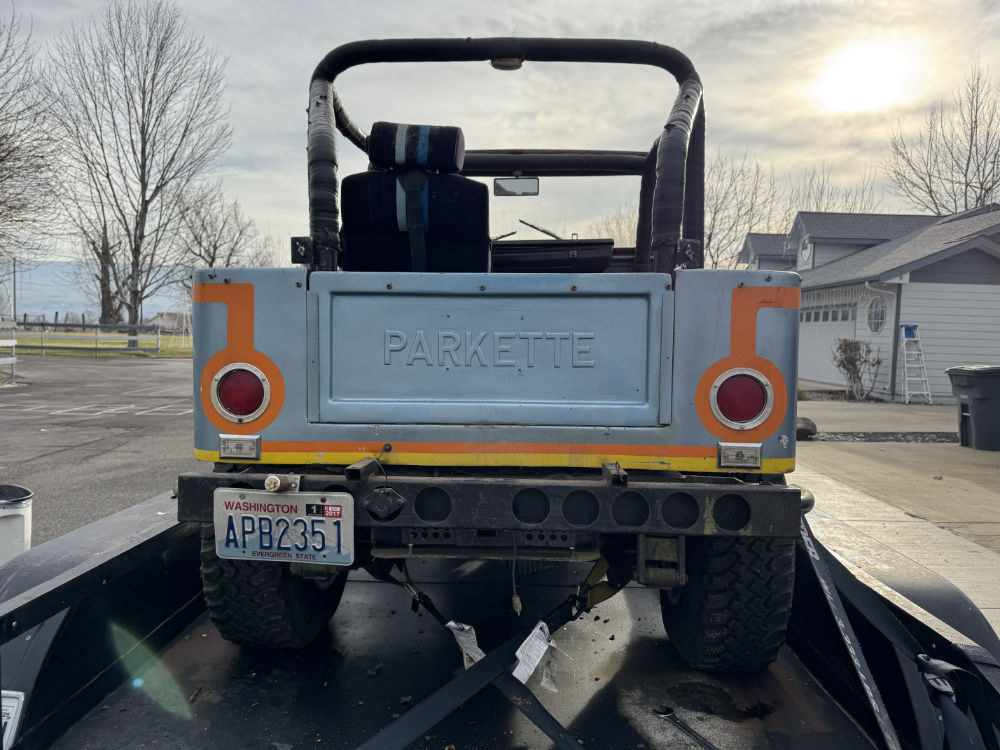
Naturally, the situation isn’t all rainbows and lollipops, as OTIS needs some rusted parts replaced after sitting outside for six years, albeit covered by a tarp. It also needs a lot of cleaning and, eventually, a repaint. Still, there’s a lot there. It has a motor rebuilt by Jim not too long before he passed. Jim had significant experience building engines. The V8 (whose specs I don’t have at hand) is backed by a Ford-Toploader three-speed and a dana 18 transfercase that might have a few mods (unsure at this time). That the original transfercase (I am told) has survived three decades of racing, including drags, and years of jeeping, is a miracle. It’s got posi in the rear Dana 44 and posi in the front Dana 25. The front springs are reversed and the rears outboarded, which was the inspiration behind both of my builds. Most of all, the fifty-year-old fiberglass body, one of eleven full-body parkettes made, is in great shape. It could use some small repairs, but they are trivial to other fiberglass bodies that usually require significant work.
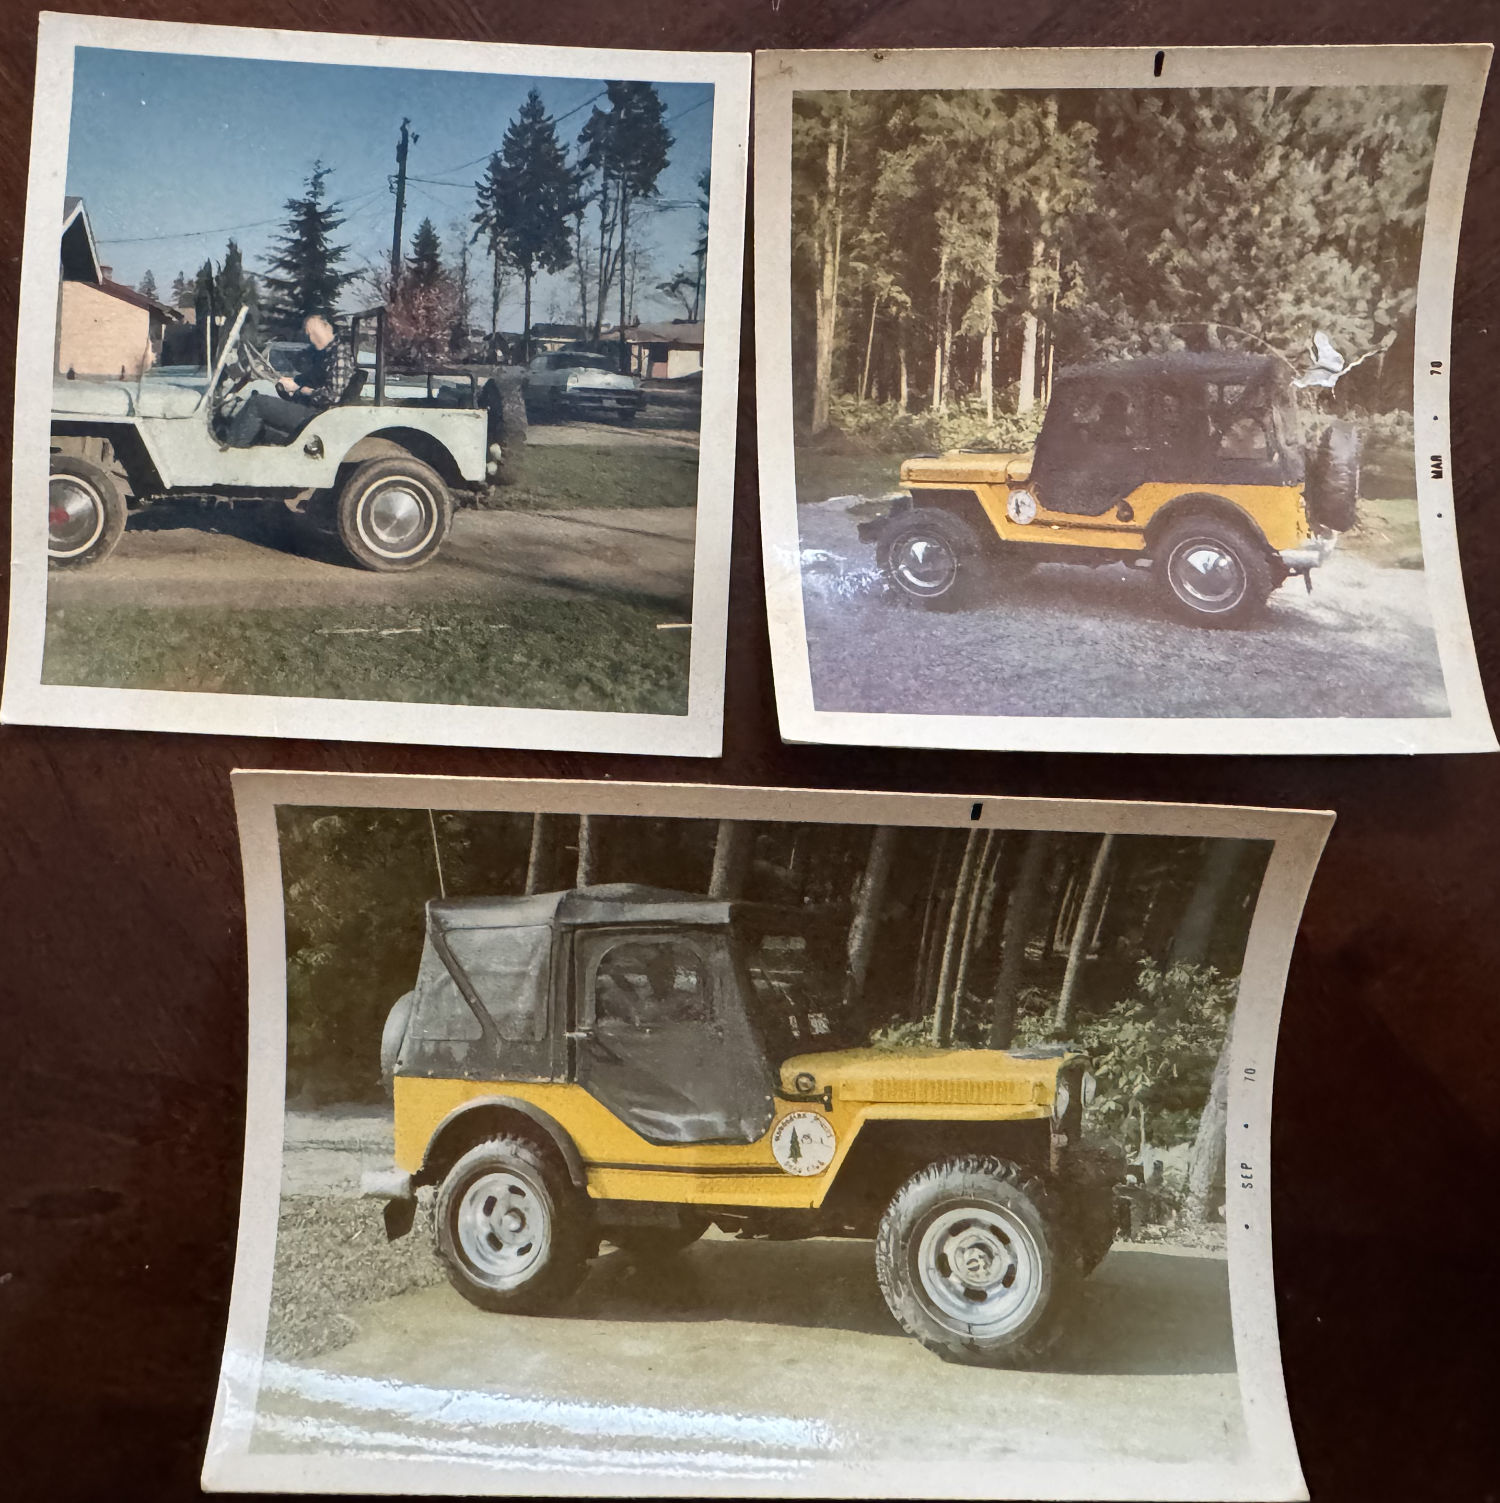
OTIS will delay the FC Tour Jeep again, but this is an amazing opportunity for me to own a jeep that inspired and meant so much to me for a variety of reasons. I’ve put together a few pics of Otis over the years:
The Carters acquired Otis sometime around 1965. It was a 1948 CJ-2A painted light blue. They painted around 1971?Around 1973 Otis went through an entire rebuild and repaint. There were many customizations. and multiple different paint jobs. I do not have pictures of all the different paint schemes. The upper left photo is the most common of that era.Another repaint and a few other changes, like the front loop on the fender, were the result of several rolls while racing. The loop was to protect the radiator and other parts during a roll. During this time Jim experiment with four-cylinder engines. The color scheme also changed, with Steve creating the blue/orange/yellow scheme. Eventually, the four cylinder was abandoned and Otis was returned to a V8 jeep.The upper pic shows the 4 cylinder header. The designed allowed the header cap to be removed for racing, then easily replaced to direct the exhaust through the muffler for driving on the road.
Here is how Otis looks at the moment. I've done some cleaning and removed the top, the passenger seat, and a spare rear tank that sits in the cargo area.
Cheers to 2026. Hopefully, the news on my health remains good, my book turns out great, and Otis runs again. That would make for a great year right there!