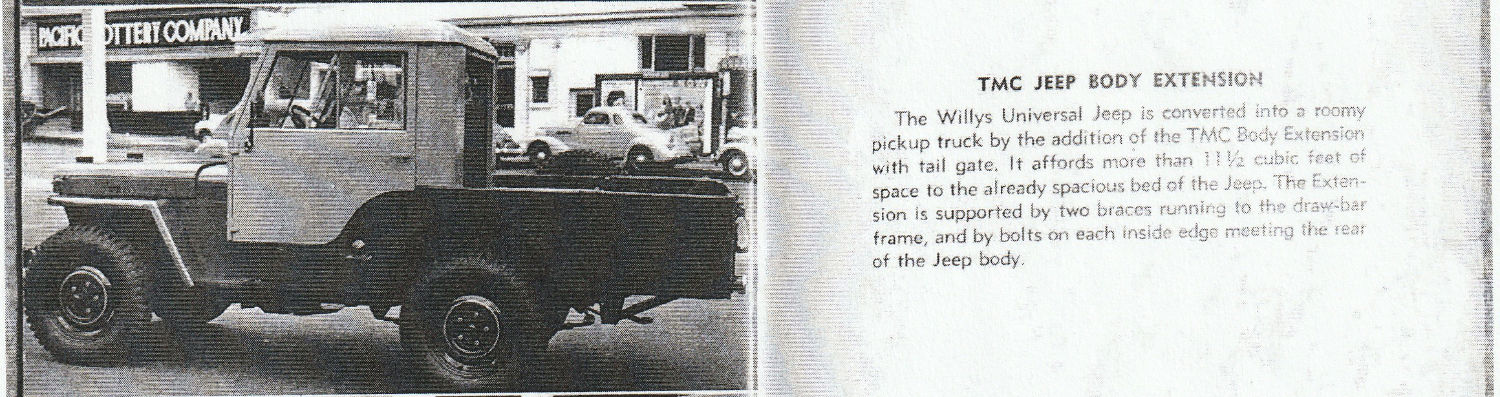
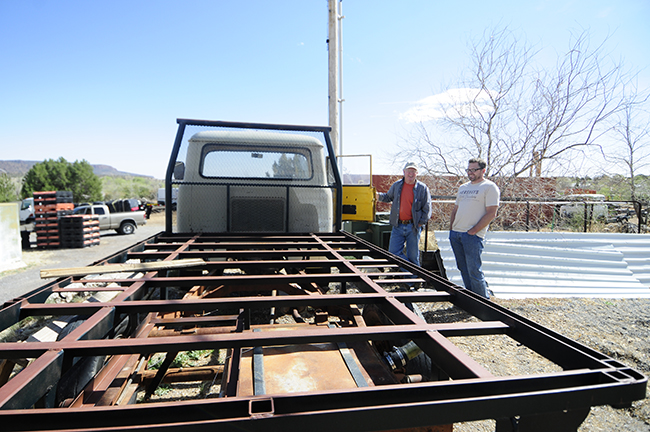
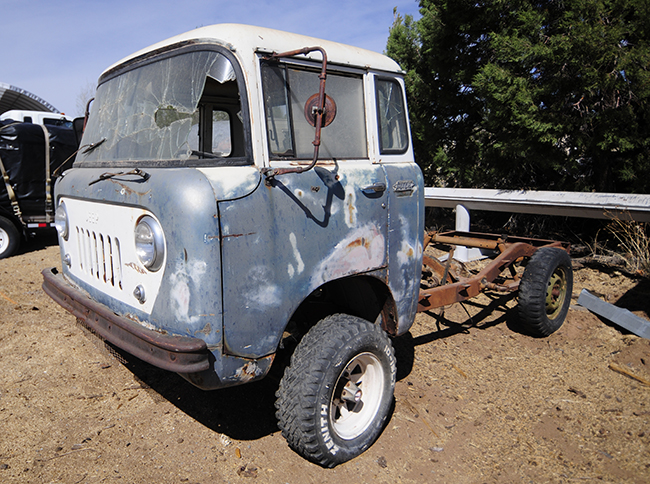
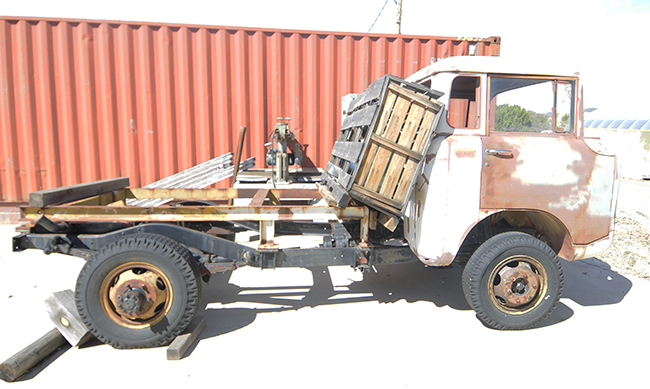
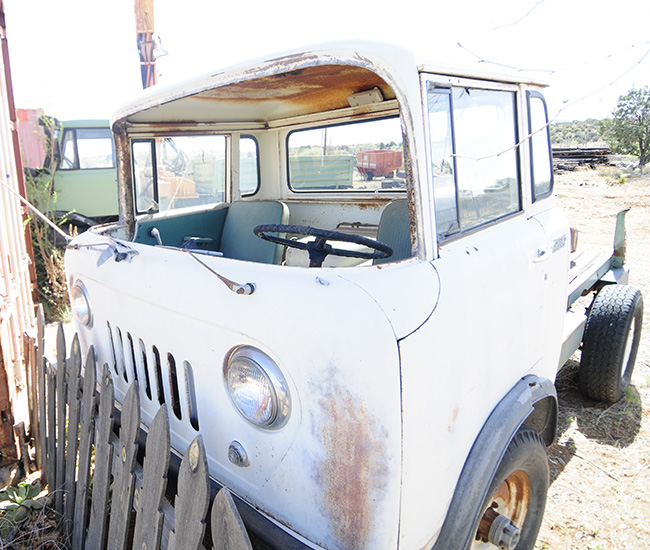
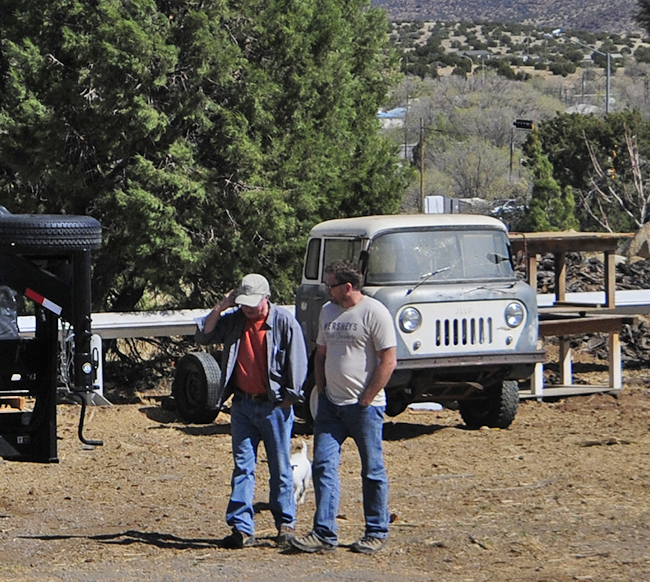
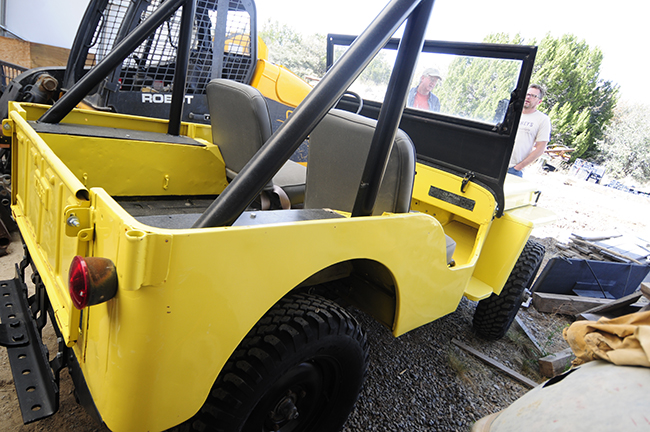
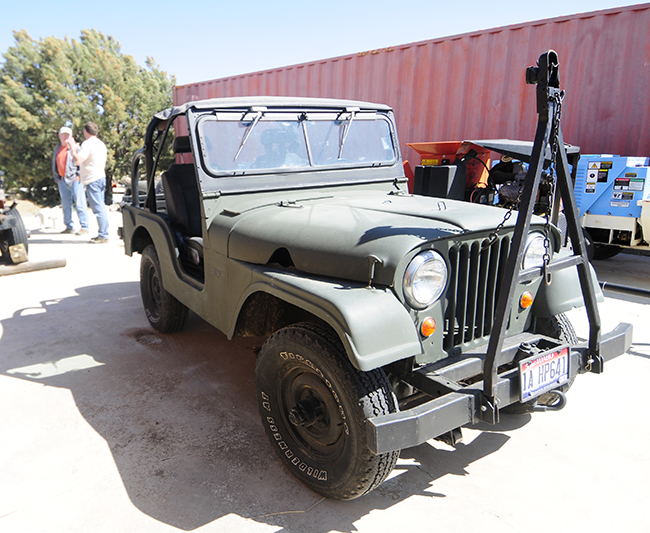
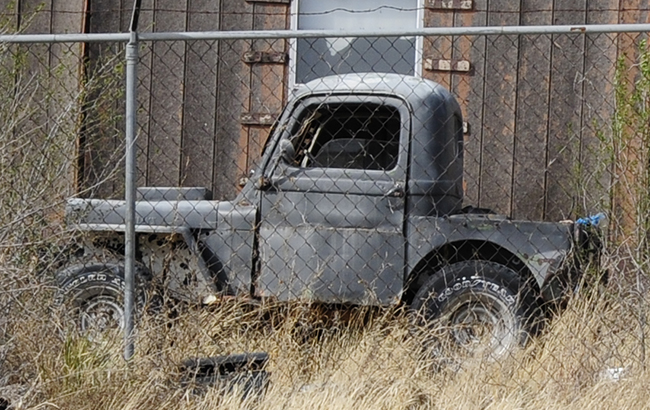
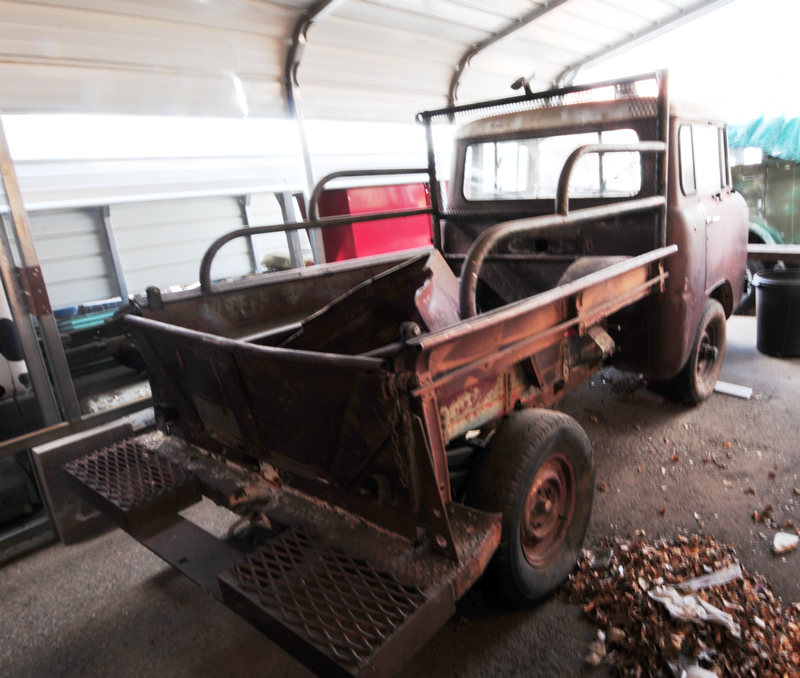
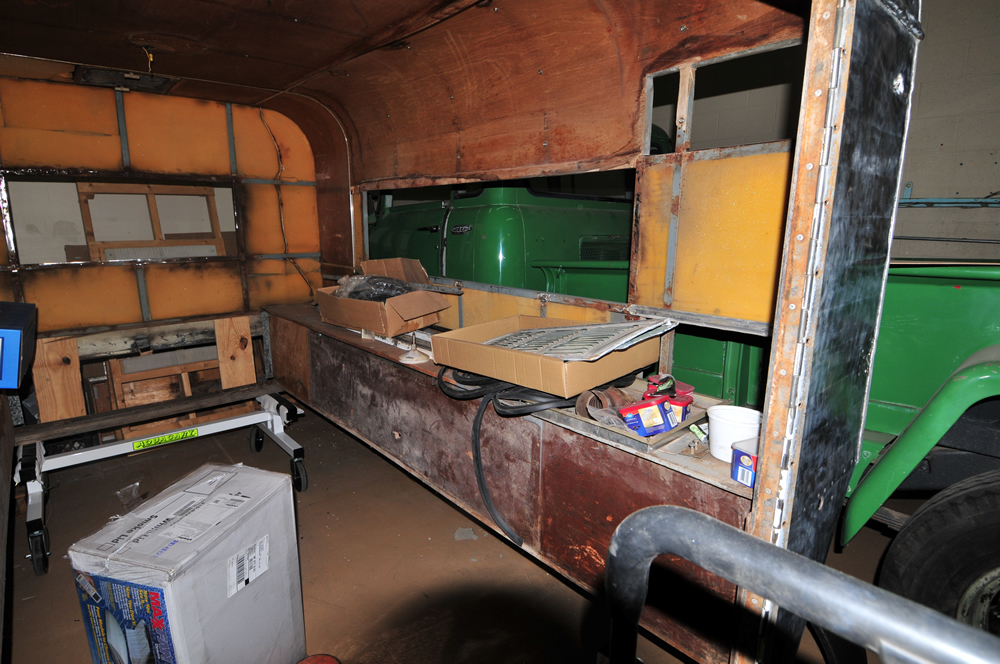
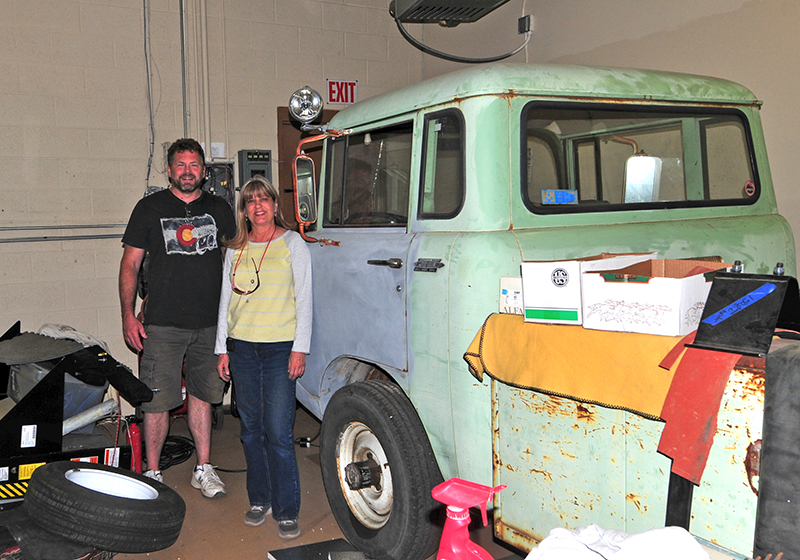
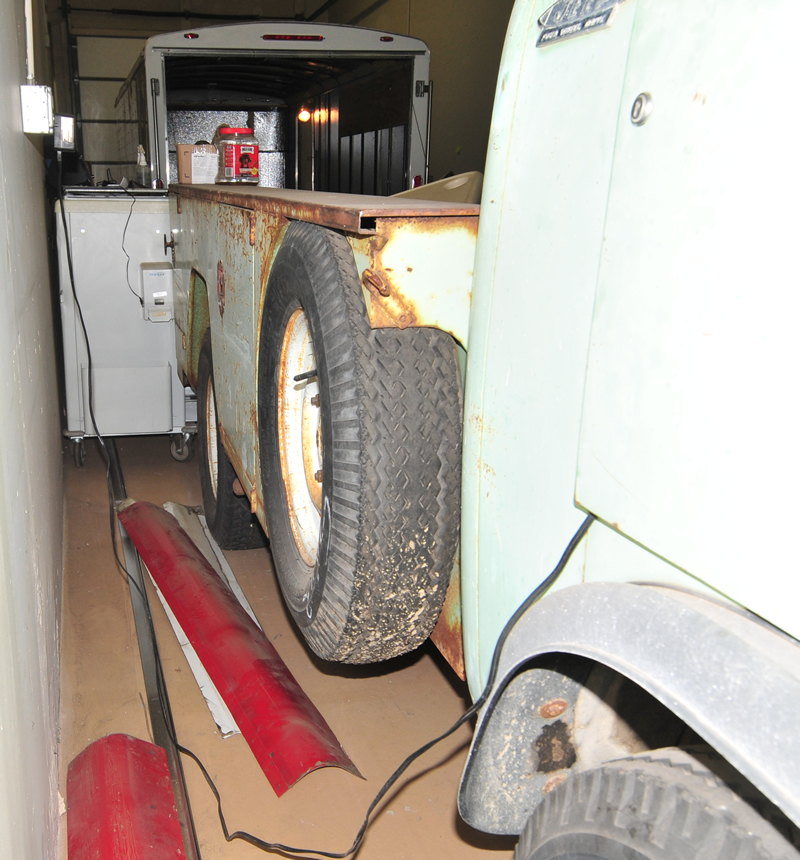
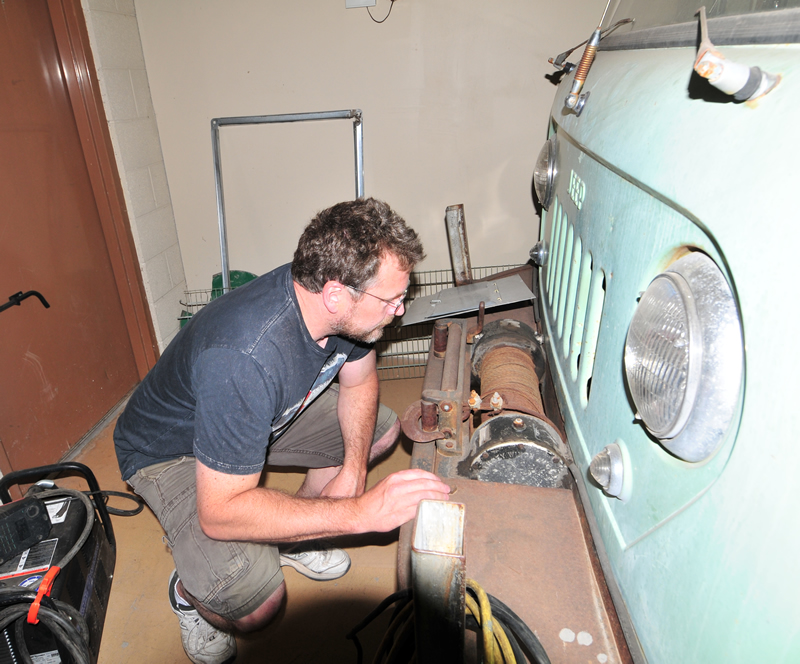
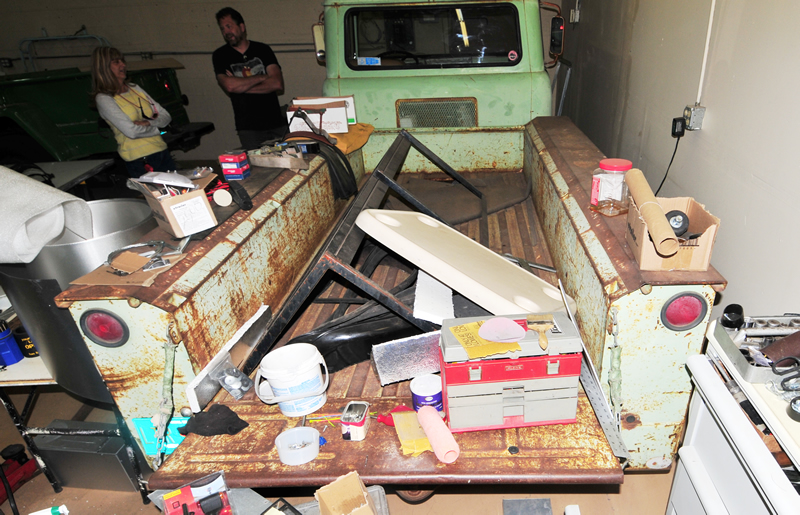
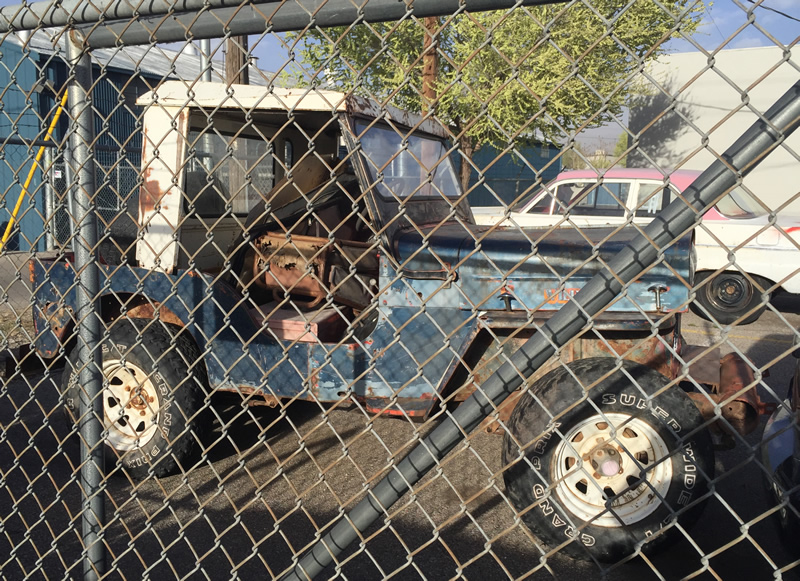
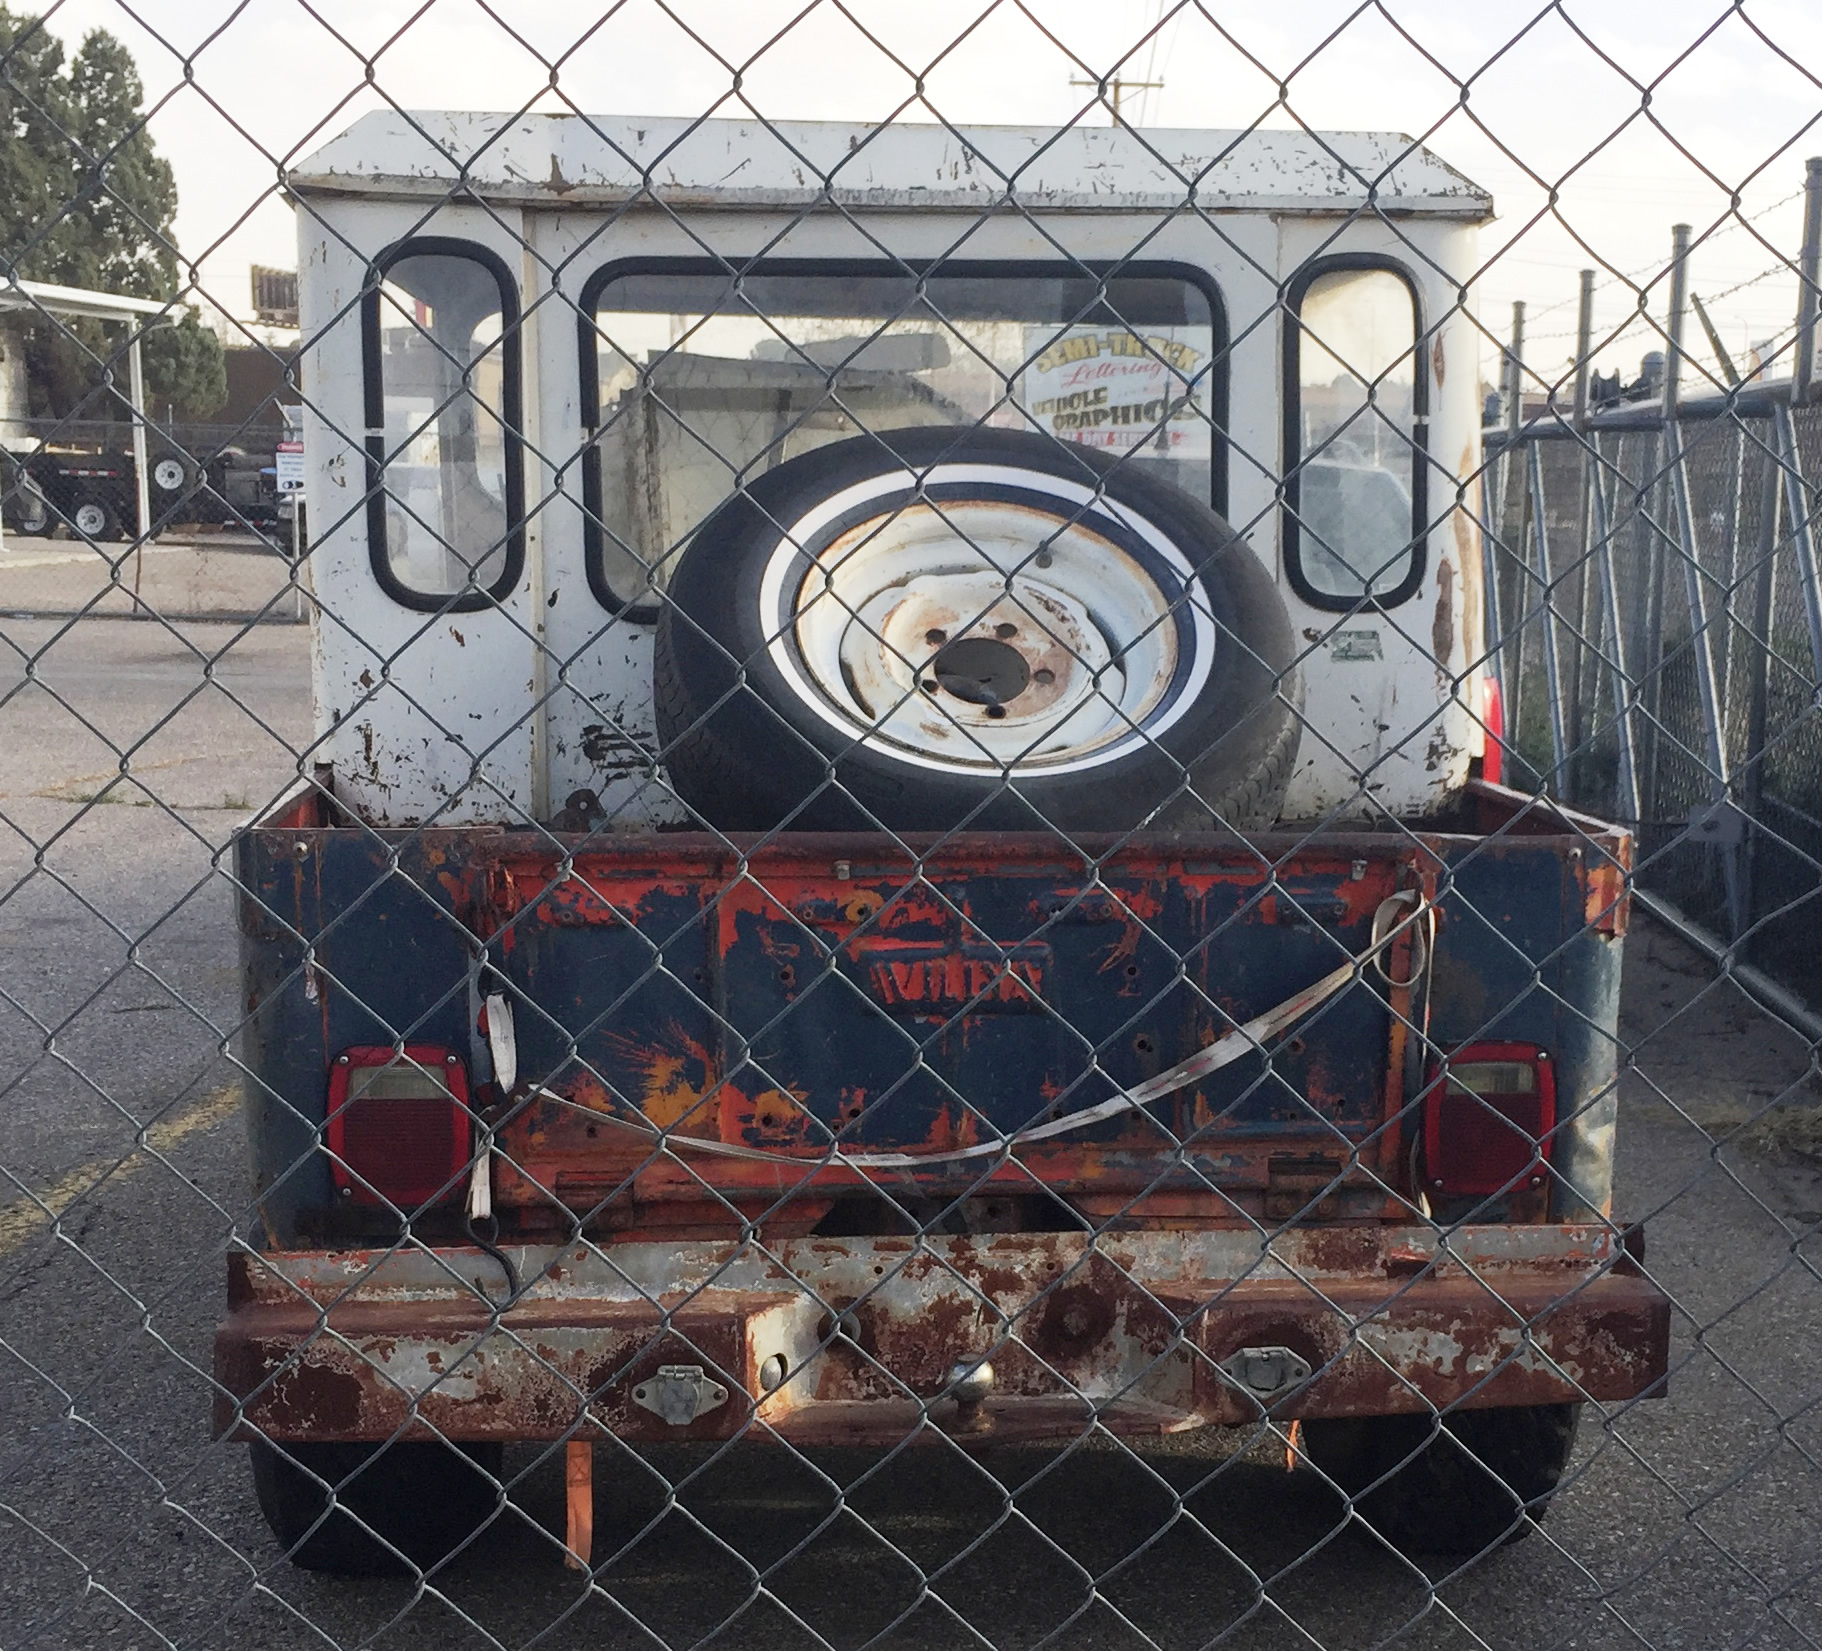
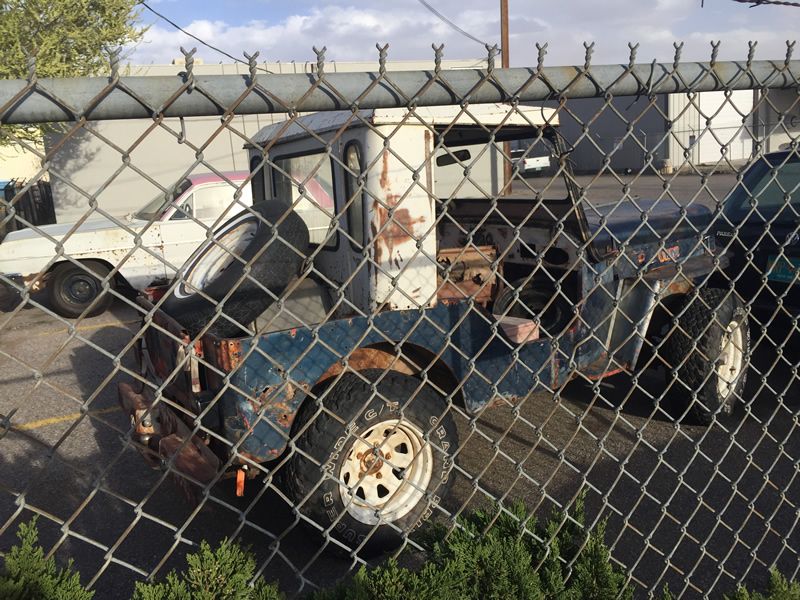
UPDATE II (01/22/2024):A puzzle has been solved. It was the Transport Motor Company that offered a full-width body extension that we've seen on several jeeps over the years.
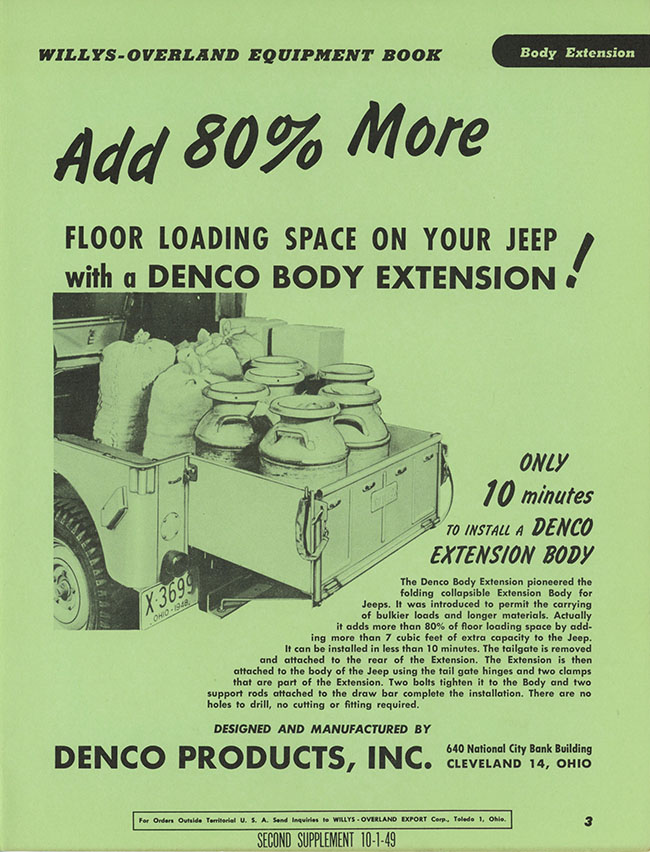
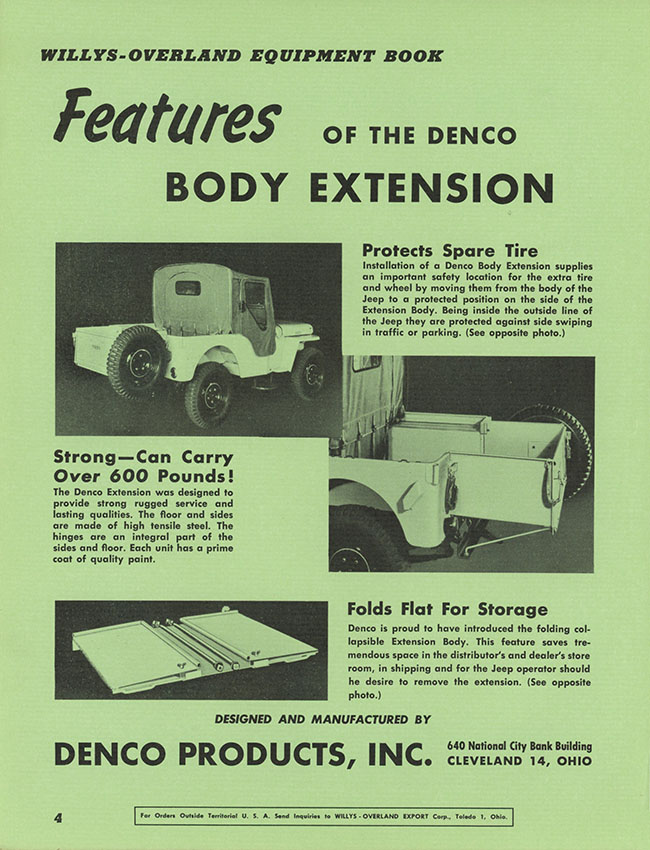
UPDATE (09/13/2020): This DENCO body extension brochure appeared as part of the 10/01/1949 Second Supplement of the Willys-Overland Equipment Book brochures.
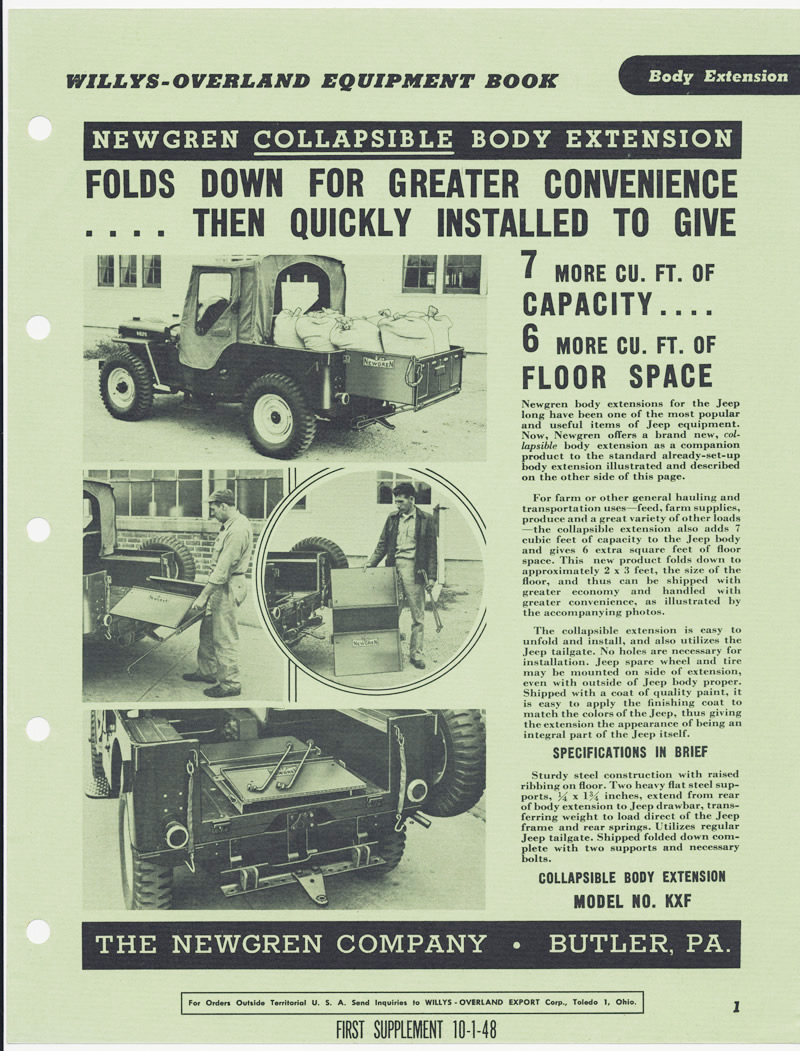
Interestingly, the 1948 First Supplement of brochures showed a Newgren collapsible body extension (see a few brochures down or click here) very similar (identical?) to this 1949 DENCO Body Extension brochure. Both extensions offer 7 cubic feet of space and note that a spare tire can be mounted to the side. They also both seem to have the same style of stabilizer bar that connects to the PTO bar. I wonder if Newgren sold this design to Denco in late 1948 or early 1949?
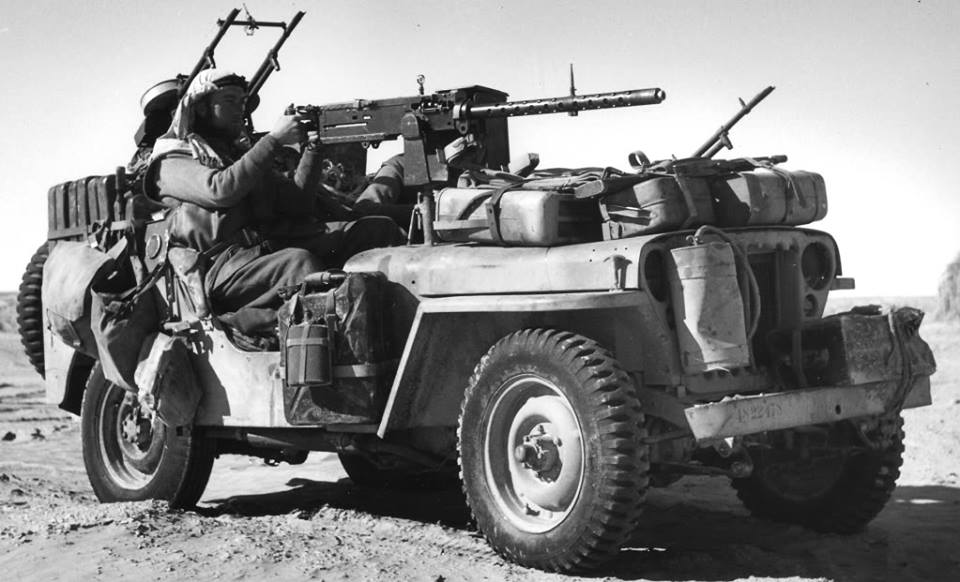
Originally published in 2016: This may come as a surprise (not) that early jeeps weren't known for their vast amounts of space. We've all seen military photos showing jeeps packed full of stuff, like this SAS desert fighter:
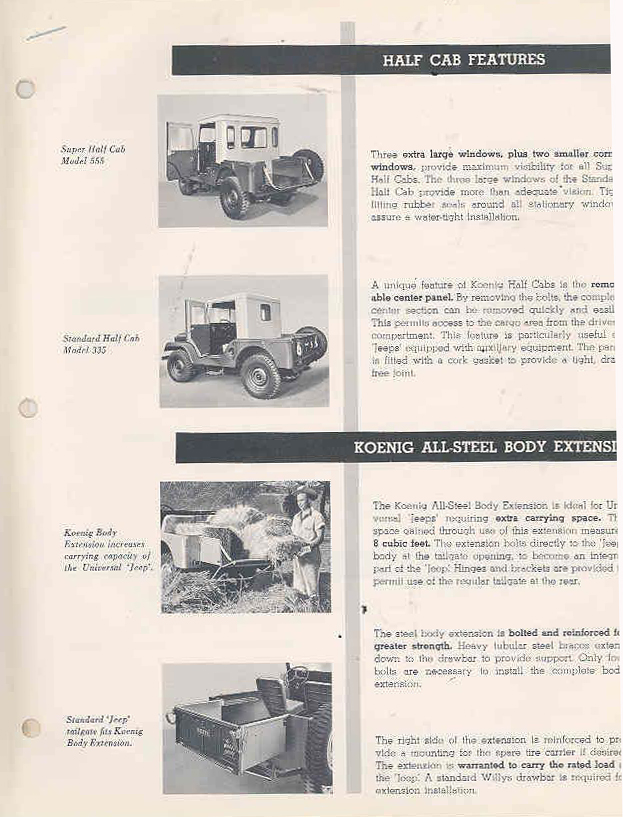
When the war ended and CJ-2As were introduced, a couple companies recognized the need for more room and solved the problem by creating add-on bed extensions (also known as bed extenders and body extensions). These bolted to the back and, usually, had supports that dropped to the PTO bar to help support the extra weight. Then, the tailgate was fixed to the very rear of the extension. The goal of this post is an effort to identify the different companies and their products.
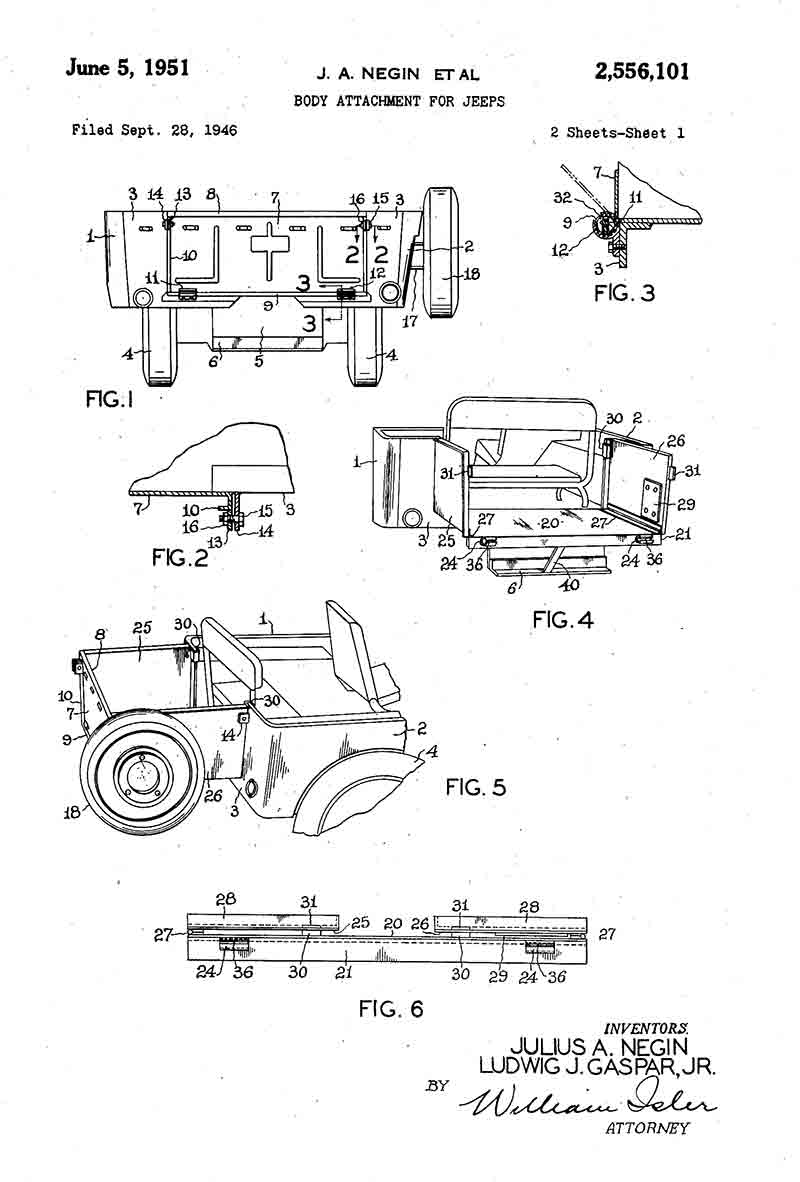
As early as August and September of 1946, two different patents were filed, both by the same people.I have been unable to discover if that first patent model was ever built, but the second one has two sides that fold down similar to the Newgren (shown in #2).
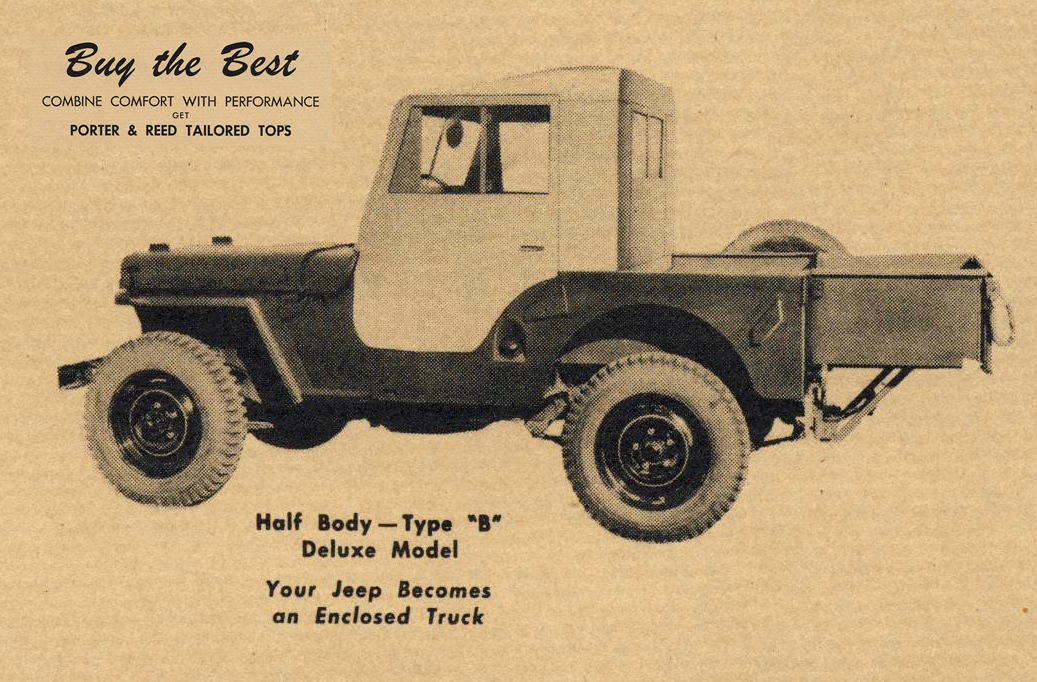
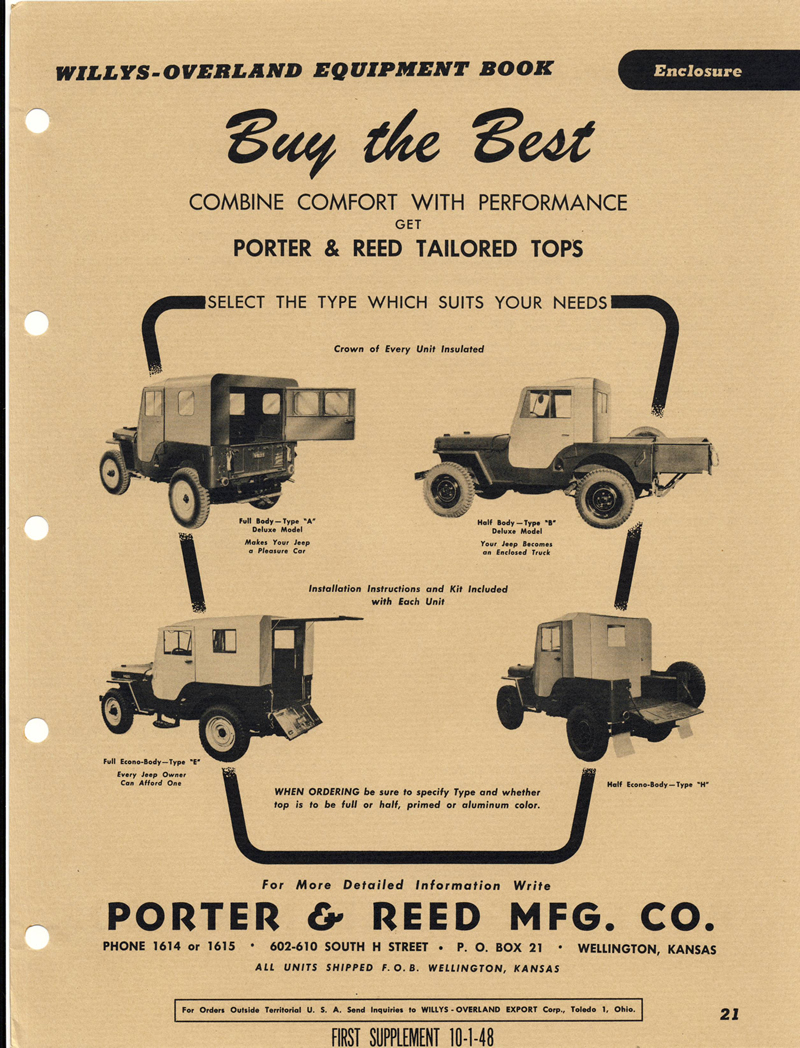
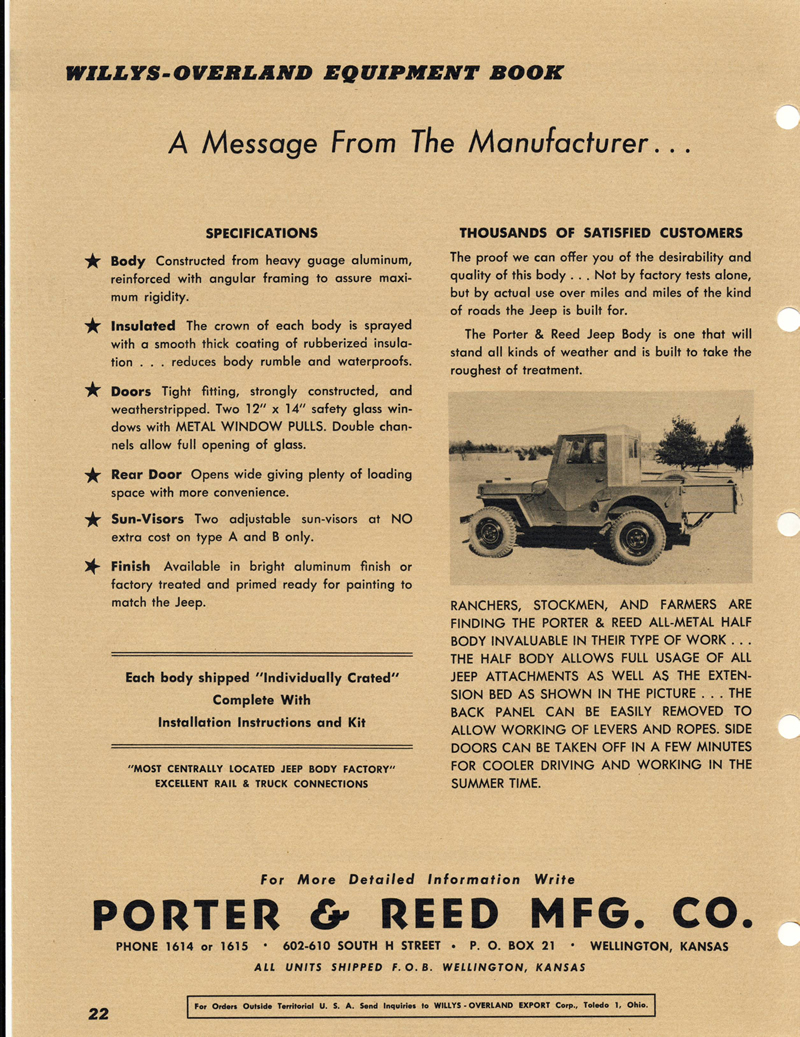
Porter Reed Bed Extension: One of the earliest known bed extensions was produced by Porter & Reed. It was marked along with a half top, creating a truck out of a jeep.
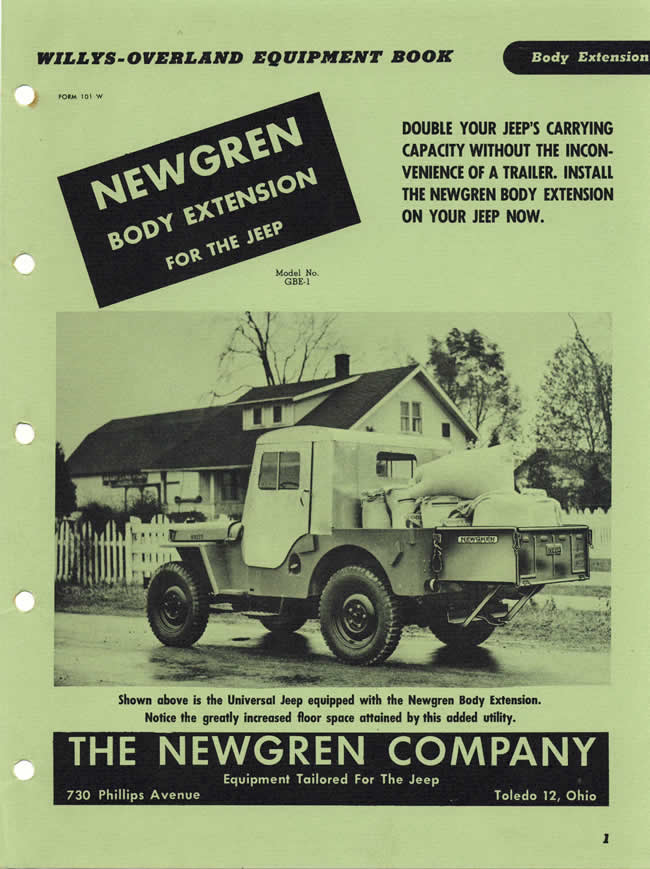
Newgren Bed Extensions: The Newgren Company also entered the bed extension field in the later 1940s with two different versions. The first was their standard bed extension:
The second model Newgren offered was a collapsable version.
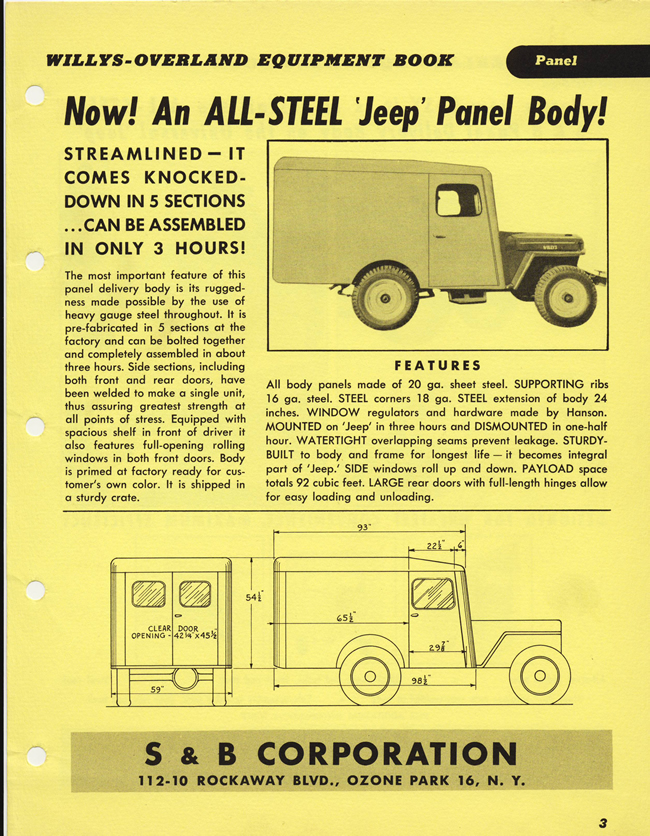
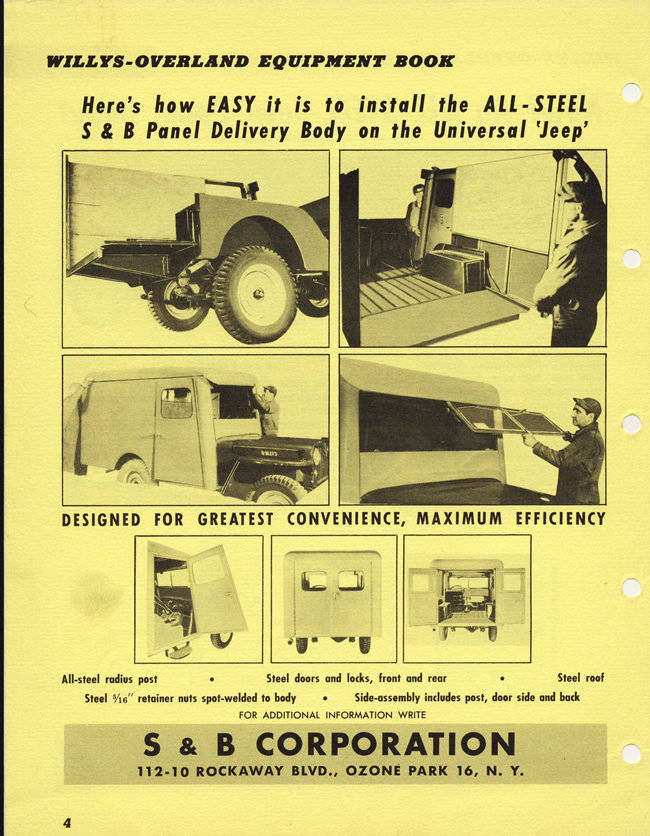
S & B Corporation's Jeep Panel Body: About the same time Newgren and Porter & Reed introduced their extensions, the S & B Corporation made their own spin on adding more room by selling a kit that converted the jeep into a panel van.
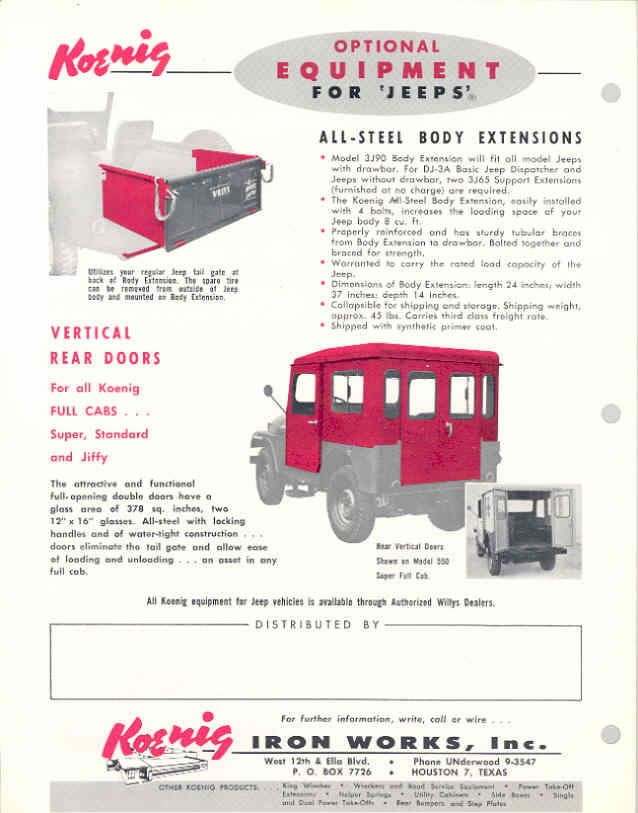
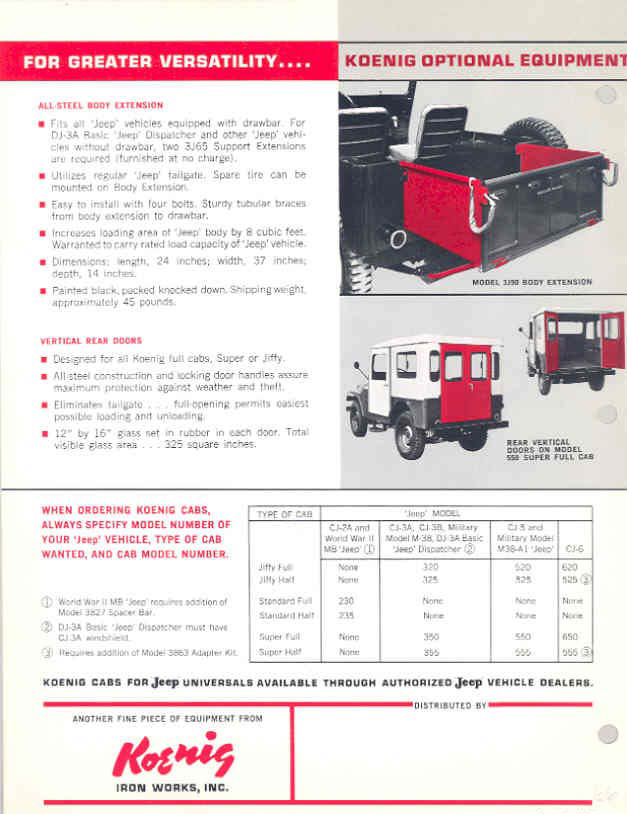
Koenig Bed Extensions: By 1955, Koenig had entered the market. Whether the company designed their own or bought out one of their competitors isn't know (to me), but Koenig sold the extensions for at least a decade. This first ad is from 1955, the second from 1960, and the third from the mid-1960s.
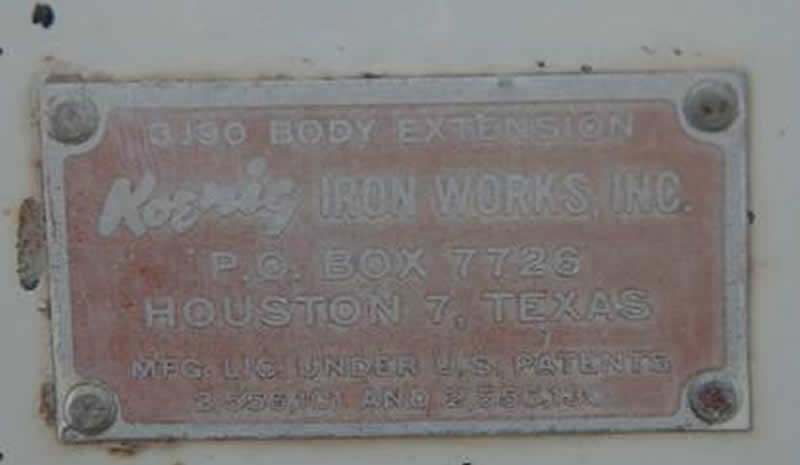
Here is an example of a Koenig data plate:
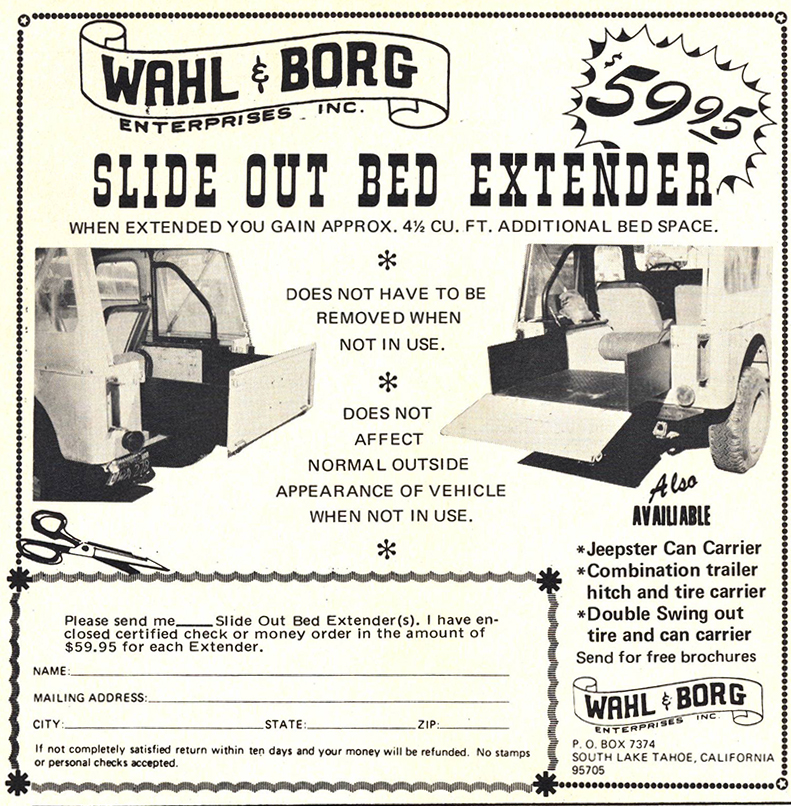
Wall & Borg Bed Extender: In the 1960s, a Lake Tahoe, California, company called Wahl & Borg introduced a unique bed extension. Rather than bolt on to the rear of the jeep, theirs slid out.
There have been a number of bed extensions that have resold over the last ten years on Craigslist and eBay, some attached to jeeps and some by themselves. I have found it difficult to distinguish between them, never having owned or seen that many up close. You can see all the ones documents thus far on eWillys: http://www.ewillys.com/tag/bed-extension/
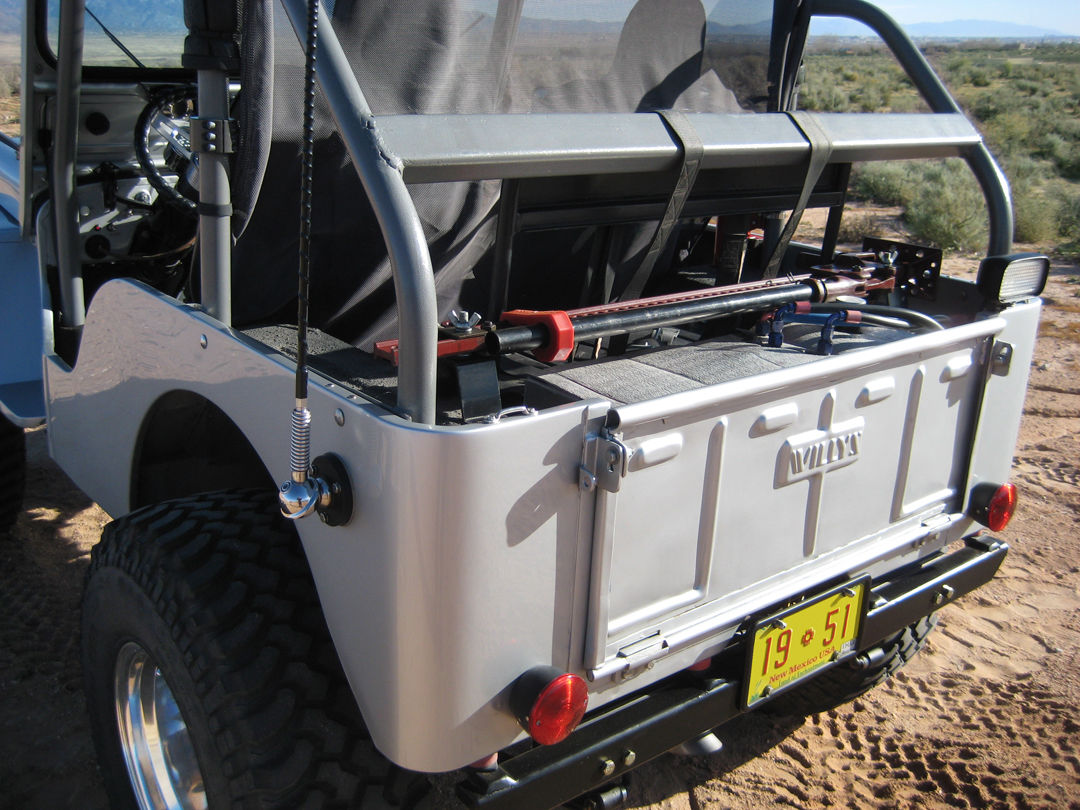
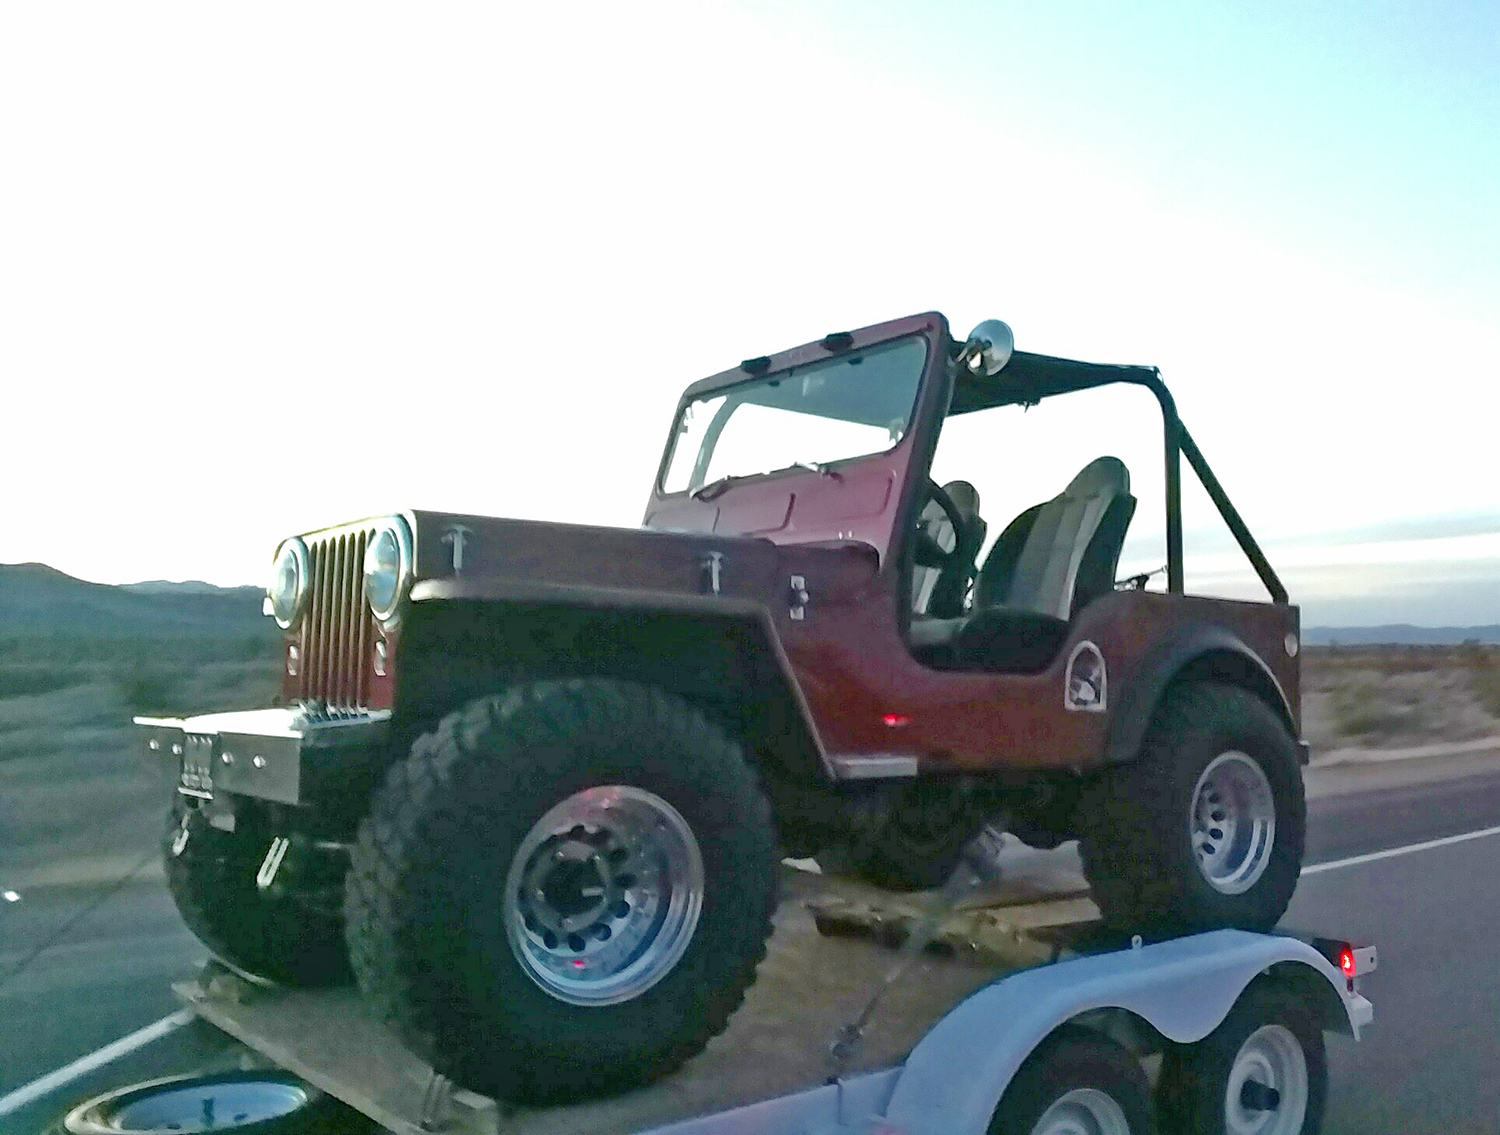
Gerard has put his beautiful CJ-3A up for sale. He's done a great job of updating it, while keeping its classic lines.
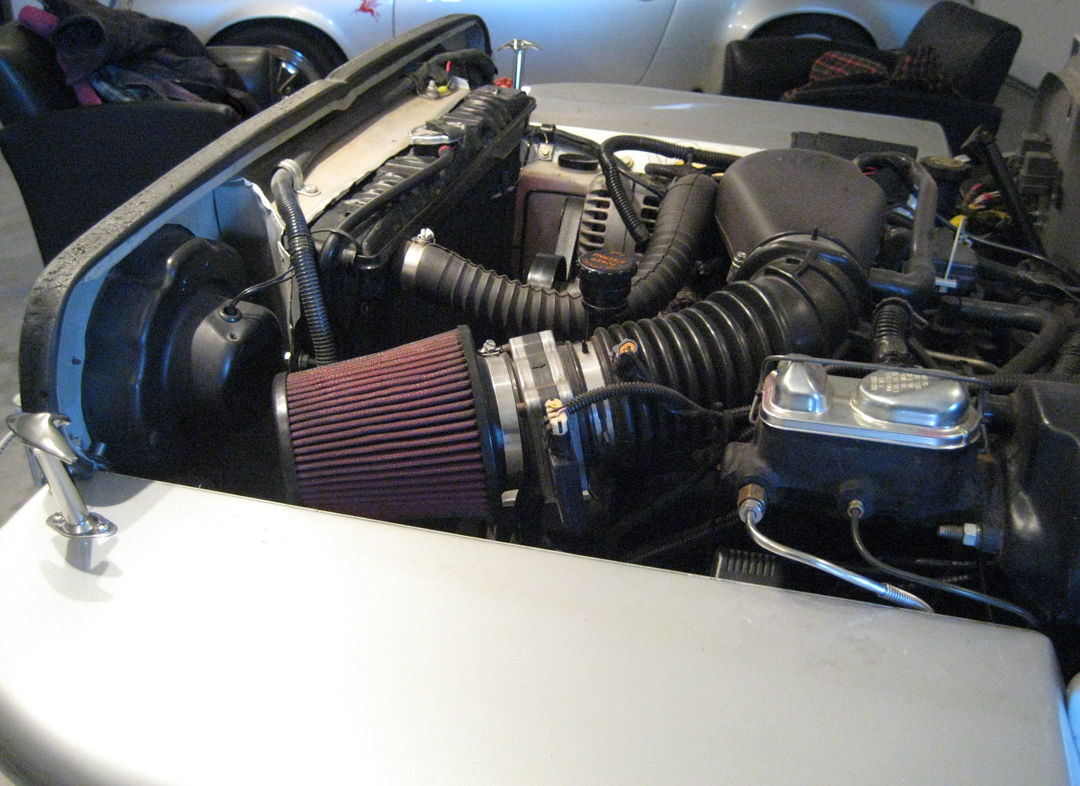
"OVERVIEW: Original all steel body and chassis with a modern drive train, suspension, brakes and steering. Both body and frame were separated before reconditioning and in addition to sandblasting and painting, the frame was reinforced (semi-boxed), making it stronger than original. Most of the popular modifications have already been made and due to the modern updates, this specialty vehicle can be inexpensively maintained at any Chevrolet dealership or independent shop.
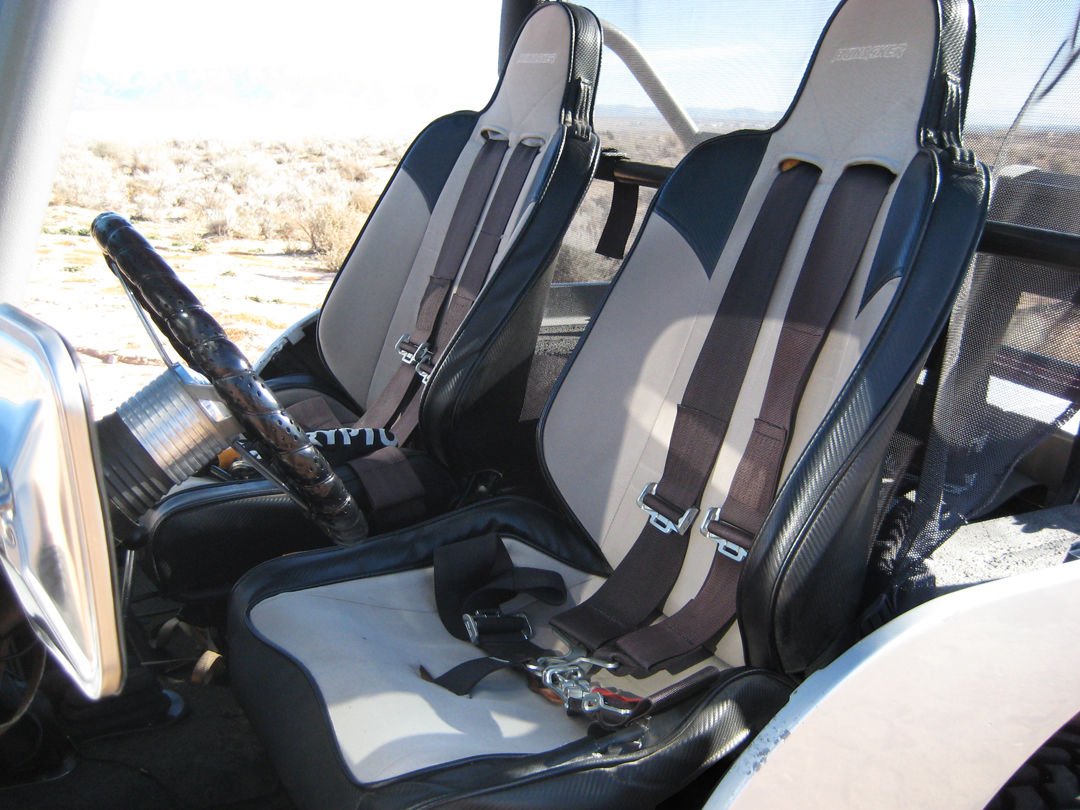
Unlike most 60 year old Jeeps, this vehicle is a joy to drive daily with modern engine functionality, automatic transmission, and other updates. It drives perfectly straight with no steering wheel wobble or wonder, and the wider track makes it handle predictably, more like a modern 4x4. The driver and passenger are protected by a padded roll cage and held in place by through the seat 5-point racing harnesses. Jump seat for parcels only.
While modifications are extensive they’re not crass, enhancing rather than detracting from the handsome body style. Aesthetically, the proportions of the body, tires and roll cage, along with the understated color scheme make this a restrained and capable update of a classic.
The vehicle comes with: Warn 8000 winch and winch kit, Hi-Lift jack, 33 inch tires on classic aluminum wheels and a 4-wheel drive system with ARB air lockers actuated from inside the cab. For non-enthusiasts, normal 4 wheel drive systems send additional engine power to the wheel that’s slipping or losing traction.
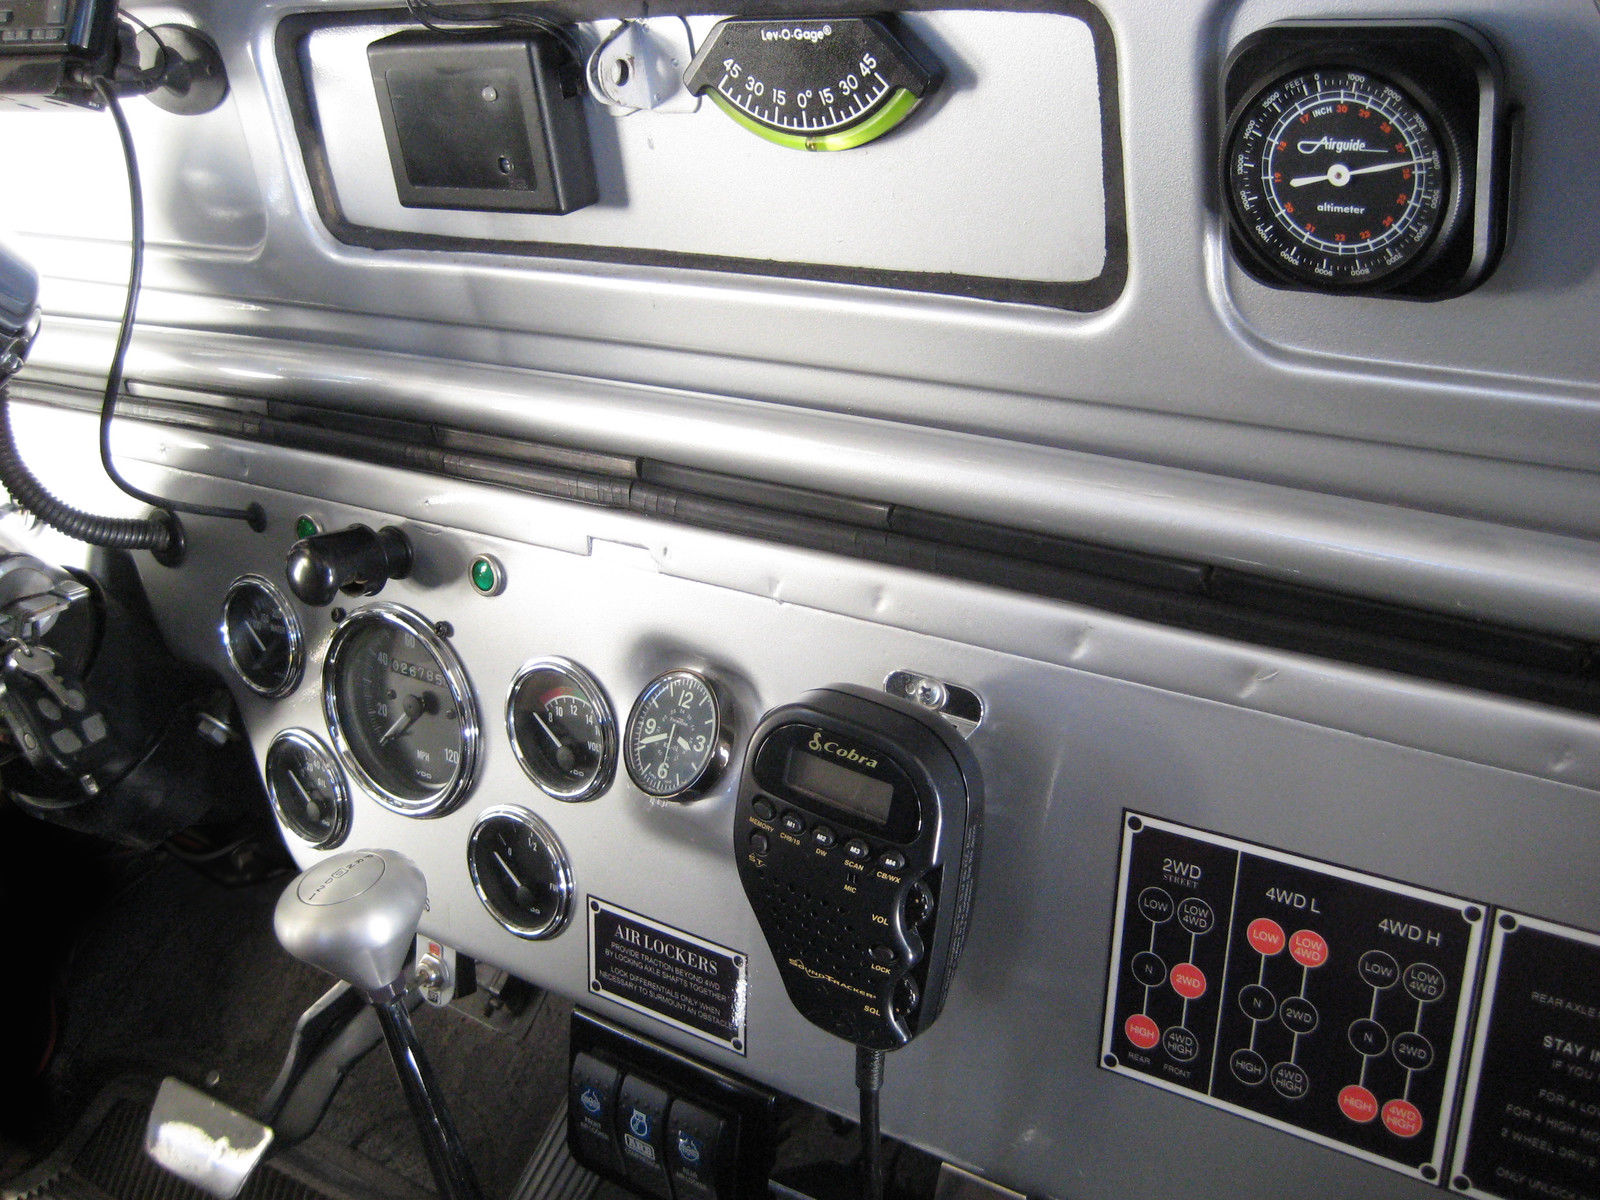
In extreme conditions, when multiple wheels lose traction, air lockers lock either the front, the rear, or both axles ensuring forward motion as long as one wheel maintains contact with the ground. This 4-wheel drive system uses twin sticks for both high and low 4-wheel drive and an easy to read shift pattern is affixed to the dash for quick reference. Written instructions are also included.
The vehicle does not come with a full top, heat or air conditioning. It does have a bikini top.
This isn't a show vehicle, this is usually my daily driver so please expect normal wear. While the overall condition is excellent, and most people who don't know Jeeps think it's new, it does have the following imperfections: minor scratches, chips, rust not apparent in pictures, a 3 inch tear in the driver's seat on the outer bolster and the custom cut drive shafts transmit more vibration to the cab than a modern Jeep will. None of these things bother me and seem acceptable in a 60+ year old Jeep.
DETAILS:
Engine: Engine, transmission and computer were taken as one unit from a 1998 Chevy S10 Blazer with approximately 50,000 miles on it. This common 4.3 L V6 and matching 4L60E automatic transmission are low maintenance and inexpensive to service. The computer was set up by a Chevrolet dealer and service records for this engine are included. Exhaust manifolds are stock and exhaust pipe is single with one turbo muffler. This muffler makes the V6 sound like a V8. New FI, water pump, and pan have been added as well as the usual maintenance items. Engine is cooled by a chopped Mustang 3 core radiator with Perma-cool electric fan. AirRaid air filter.
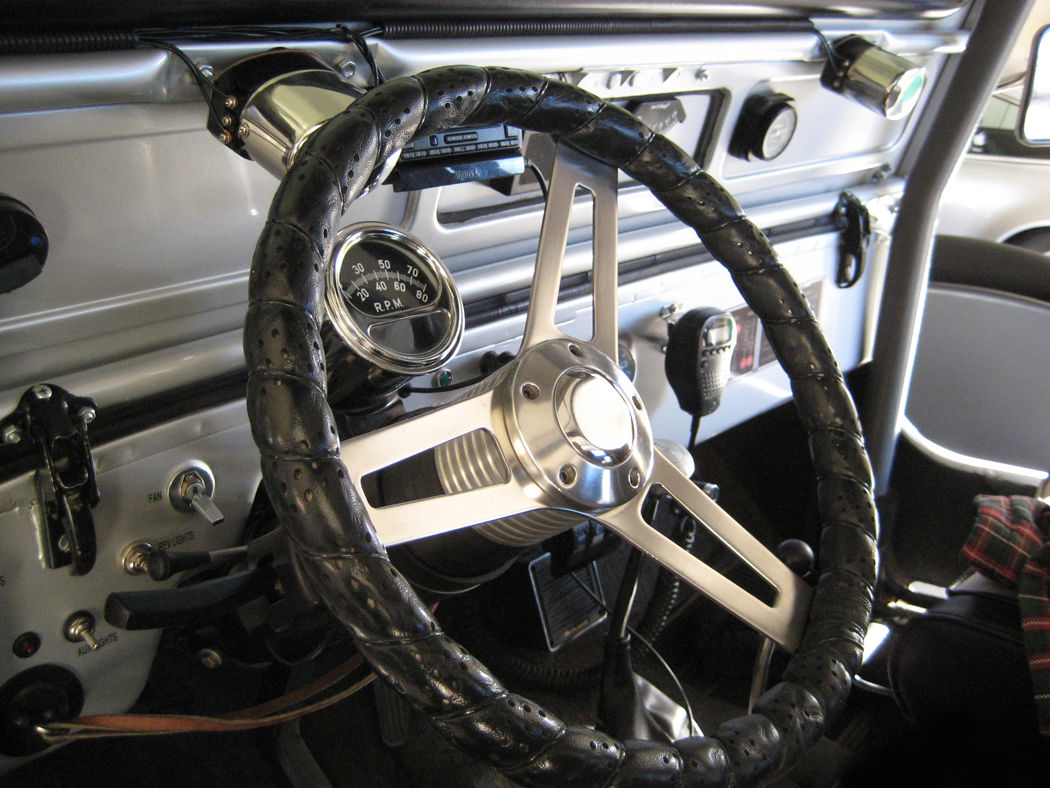
Interior: The dash is neat and well executed with modern illuminated VDO speedo and gauges, a vintage style Sun Illuminated tachometer is fixed to the tilt Chevrolet steering column. Illuminated PIAA auxiliary light switch is also located on steering column. The clock keeps perfect time but is not illuminated. Switches for ARB air locker and compressor are located on the lower dash and illuminated. Grant steering wheel is simple, fitting well with the period interior.
The interior is coated with a protective, textured Herculiner and the original Jeep drain holes allow the interior to be cleaned with a garden hose. The bikini top fits overhead with surprisingly little effort. Under the bikini top is a simple black mesh that cuts the sun by about half while still letting in plenty of light. The seats are modern Hunsaker and comfortable but driver side seat has a tear as described above. The transmission has a Lokar shifter with finish plate on the floor for shifter and twin stick as well as a Lokar E brake. Hidden Cobra CB with hand set control mike is mounted on dash. Early Jeeps were smaller than modern ones and can be a snug fit for taller drivers so the driver's side seat has been set back to allow more leg room. The Jeep is already wired for SIRUS satellite radio with power adapter, antenna, and vehicle dock, just add your Stratus 7 radio unit. A 10.8 pound Kryptonite Series-4 14mm disc lock with 5.5ft manganese steel chain wraps around roll cage and steering wheel to discourage theft. It’s so large it has a comic element to it.
Suspension: Suspension is new with Black Diamond springs but early, 80 inch wheelbase Jeeps, still have a firm ride.
Twin stick 4-wheel drive system comes with differential assemblies that were professionally built by Tri County Gear, Pomona, CA. Core units, 30 front and 44 rear narrow track Jeep with later CJ outers which include power disc brakes and Warn hubs in front, and drums and locking hubs in rear. ARB air lockers with 4.88 gears are controlled from inside the cab and the airlocker air pump can also be used to air tires. The Jeep has a three inch lift to accommodate the 33 inch BF Goodrich Mud-Terrain T/A tires. The five tires are mounted on Classic M/T Aluminum wheels that are free of any gouges.
The restoration is about four years old. The Jeep spends 99% of it's time on pavement, I'm not an off road person.
I recommend viewing the Jeep in person. A non-refundable deposit of $500.00 is due within 24 hours of close of auction. Full payment is due within 7 days of auction. All payments must clear before pick up or shipping of vehicle can occur. This vehicle is also for sale locally and I reserve the right to end this auction at any time.
Most other questions should be answered by the following details: When the body was sand blasted floor panels were cut out and new ones were welded in place.
The motor was set accurately with proper clearance and angles. Novak motor mounts. Motor is 4.3 L 98 Chevy Blazer S-10 set up stock with EGR blocked, all parts are stock Chevrolet from 89 S-10. Serpentine built from 98 S-10.
No A/C. Hoses are Flex so if ever needed, just take the old ones into NAPA auto parts. Power steering pump and alternator are stock. Computer is under passenger side dash on hinged swing down panel, fuse block allows you to add additional accessories if needed.
15 gal stainless Summit Racing fuel cell, custom rear bumper, Warn 8000 winch and winch kit, High Lift jack mounted in rear, powder coated roll cage, Optima battery, fire extinguisher.
Tow bar, tow lights and harness included. Jeep tows well due to the locking rear hubs little resistance. Comes with a fifth 33” BF Goodrich All-Terrain T/A (not mud terrain so the tread pattern is different) mounted on a matching fifth M/T aluminum wheel in perfect condition.
Power brakes use Mustang master cylinder and booster from NAPA and stainless steel brake lines. Front disks from 85 CT 7, rears 85 CT 7 drums. Front, other than outers, is Dana 30 from 74 Jeep Commando, rears also from same Jeep, Dana 44 but machined rear axles for rear locked kit. Brakes: front rotors and calipers from a 1985 CJ7, rears are drums off a 1975 Jeep Commando. Tie rod is over knuckle and is machined Ford truck. Chevrolet power steering, advanced adapters couplings and shaft to Chevrolet tilt column. Trans/TC adapter and Dana 300 TC are from Novak as is twin stick. Vehicle has 2 piece front driveline with pillow block bearing to clear trans. Rear shaft is coupled to CV type yoke. Both shafts made by Tom Woods. Trans case is stock Dana 300 rebuilt by Novak Enterprises, Utah.
Wheels torqued to 100 ft lbs. Can touch up Herculiner interior with Rhino liner or Line X product or semi-gloss black paint."
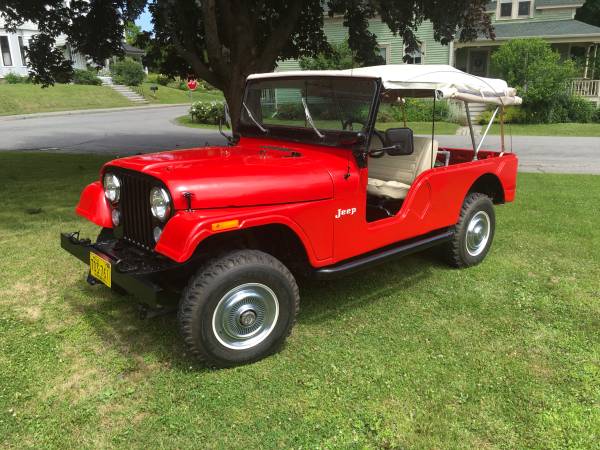
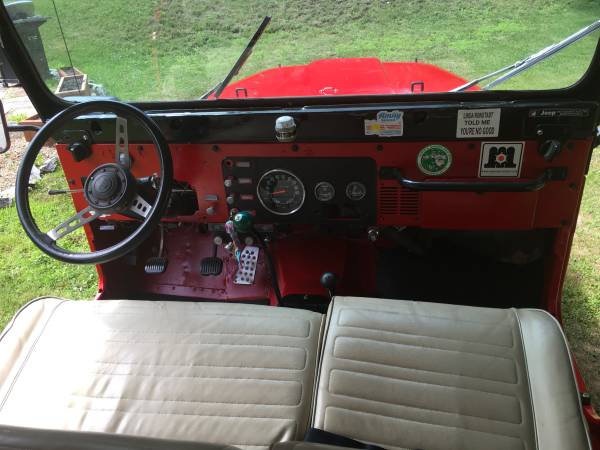
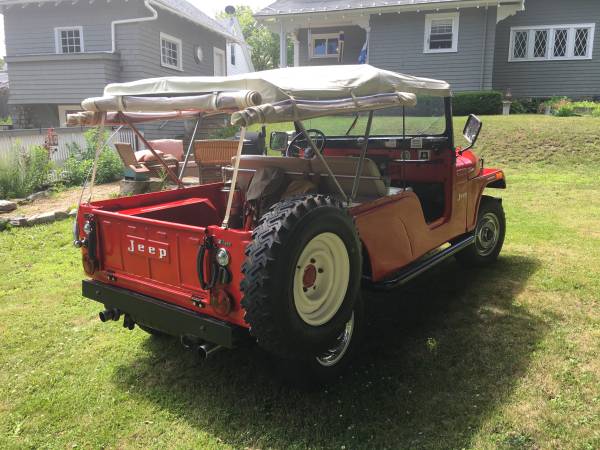
"If you know what a CJ-6 is, then I’ve already got your attention. If not, look them up. They are quite rare, and are the grandfather to the CJ8 and the modern day Wrangler Unlimited. This is the last model year for domestic sales and was part of the transitional period from Willys parts over to AMC parts. As such, some cosmetic parts are one year specific and are nearly impossible to find.. nearly.. time and money was all it took. Gave up counting receipts a long time ago. Nobody would have spent that much money on it, unless they considered it to be a hobby.
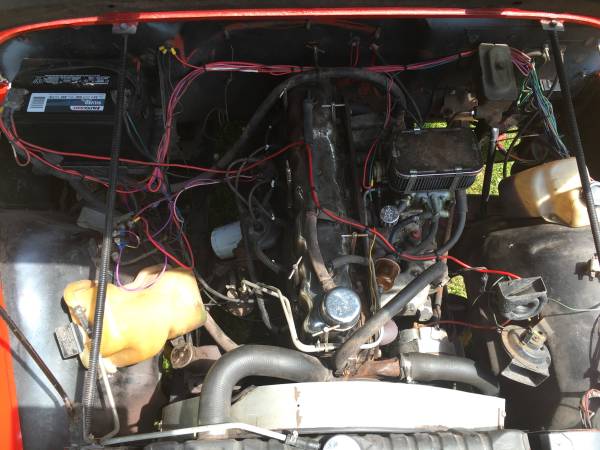
This Jeep came to me about 8 years ago in really rough shape. It ran and drove but needed a lot of work. Faithfully “resto-modded” with a few things still left to work out if desired. It came from the previous owner with the straight 6 258 and a 5 speed on the floor instead of three. I like the upgrade, but unfortunately don’t recall which model transmission it is. It works very well, and the upper gears allow you to “comfortably” keep up with regular traffic. It also has a custom set of dual exhaust headers and tailpipes that give it a wonderful throaty growl.
Here is a (probably partial) list of what I did to it.
-full body work up, all bad body metal was cut out and removed. New panels were fabricated and welded into place. Three layers of progressively finer filler to smooth things out. 2k primer and original matching “Trans Am Red” enamel paint job. Whole process was documented with a photo album so you can see what was done. Presents very nicely, and I’m always getting thumbs ups and smiles on the road.
-everything on the underside (that could be reached with bloodied knuckles) was wire brushed clean, treated with muriatic acid, rinsed, dried and covered with POR15. Frame is in reasonably good shape and is solid.
-all wiring was removed and replaced with a color coded, and labeled, EZ harness.
-new gas tank and sending unit installed. (Still need to connect the wire)
-new ignition parts, plug wires, battery..etc
-rebuilt the brakes and installed all new brake lines.
UNOBTANIUM parts:
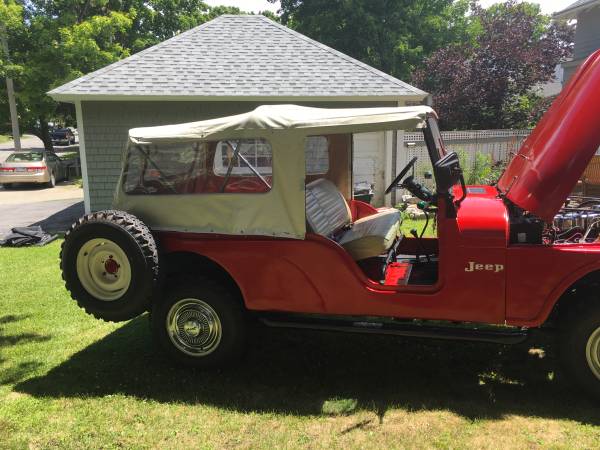
-original 60/40 front bench seat was sourced and installed with original mounting hardware. Stupid mouse found it in shipping and made a hole in the back of the “40” portion (see photos) I have the rear seat but never installed it because I like driving to the hardware store in it. Other period correct and “impossible” to find bits include. -correct tail lights. -correct “reverse” lenses. -correct embossed logo tail gate. -correct logo seat belts.. (really tough to find!) -New Old Stock Witco safari soft top with doors. Halfway installed as I never intend on driving it in the rain, so the doors never got put on, and the snaps need to be installed. -New Old Stock factory 8 piece carpet kit in red. Still in the box. -correct steel wheels painted cream white with period logo hubcaps with spares. -matching set of 5 new (2 years ago) bias ply tires. -NOS side mounted spare tire mount and marker lens.
OTHER NEAT STUFF
- rear mounted CB antenna whip. - bracket behind seats to hang backpacks, vintage camping lamp, and cooler. - big tube side steps mounted to frame. - I think I put a rebuilt, or nos or, something in the speedo/gauges.. don’t remember. Have spares anyway. - big beefy steel bumpers. - “custom” floor mats. - vintage dash mounted compass. - Original shop manual, and a whole slew of original sales and promotional documents. - Neat stickers on the dash board! - Marine push/pull switches installed in dash. - New plastic glove box - ‘73 MAINE plates. - Neat “#6” billiard ball shift knob. - Working heater! - Webber carb. - Working high and low beams (footswitch), turn signals, and back up lamps. - 4 wheel drive functions.. but I don’t use but but once a year “in the yahd” to make sure it is lubed and working.
OTHER STUFF THAT COMES WITH IT:
mashed up ‘73 dash and steering column. I was going to clean it all up and put it in as the dash on this is from a later date. But never got around to it and stopped caring. Various marker lights and bulbs and stuff. Period correct Jeep am radio Rear view mirror Sun visors Chrome air intake cover Chrome “flip down” cup holders Jeep (pre ‘71) grill badge Primed bumperettes Chrome lens rings and front marker lenses. Front seat latch plate Side mounted spare tire mount NOS wood and chrome steering wheel kit Steering rod tunnel Fan shroud Floor panning for passenger side “Levi’s” edition dash pad New in box correct “yellow” shocks 3 CB radios. Two KRIS XL-50 and a ROYCE I-655 TRIPP LIGHT siren! AFI A-23 dual chrome horns NOS chrome fender mounted cable driven spotlight. Whatever other hoarded away stuff I find between now and then. Little can of touch up paint.
WHAT IT NEEDS: If you just want to bang around town in it, you can do nothing and enjoy it as it is, like I have. Or, you can continue the journey and finish it off by: cleaning up or replace the dash and windshield frame. They are serviceable, but I got tired of sanding by then and didn’t care about the boogers under the paint.
Make all gauges work. I know the temp and oil gauges work and that’s all I cared about. The speedo needs to be looked at as does the fuel gauge (s unit is there, just never got round to running it to the dash.)
Reconnect e-brake cable that is dangling above the rear axle. Replace the steering column with one of those nifty aftermarket hot rod units. The one that is in it is a tilt steering with column ignition that is wrong for the Jeep. It does what it is supposed to, you spin it and the wheels turn, so I left it for now.
It has a power steering leak, but not a big one. I add fluid every year or so. Install rear license plate frame in appropriate location. (Below left brake light) Replace the odd stainless steel custom fan shroud from PO with the appropriate plastic one. Finish installing the soft top, and the rugs.. or don’t. Install CB radio, add siren and spot light for more fun! Mileage? Unknown.. I gave up on that a long time ago."
If you've never really looked at a map of Idaho, pull one out (or, I suppose you could use Google Maps). Between where I live in Boise and Coeur D' Alene in the North is one significant route -- US 95. Look to the East of US 95 and you'll see National Forest after National Forest. Then look about halfway between in central Idaho and, if you look close, you'll see the town of Kamiah. That's where a reader named Randy and his boys, Devon and Dusty, call home. And, at their doorstep are endless National Forests they can explore with their friends. It is a regular jeeptopia.
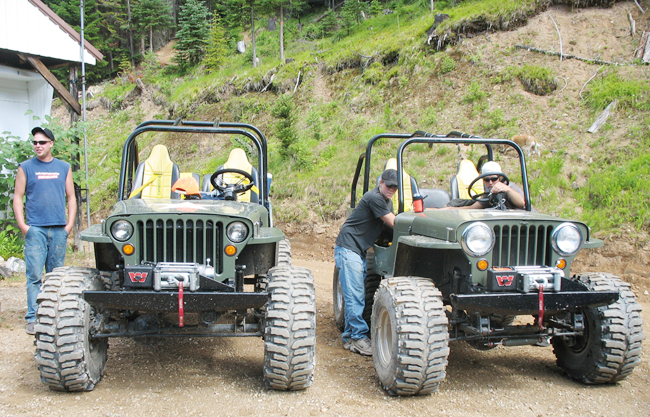
Before you get to Randy's story, keep in mind, that each of these jeeps started as basket cases, so there is still hope for your project! Also, a big thanks to Randy for taking the time to put together detailed descriptions of their rigs. Finally, check out the last pic ... I think Biscuit would fit in just fine there :-).
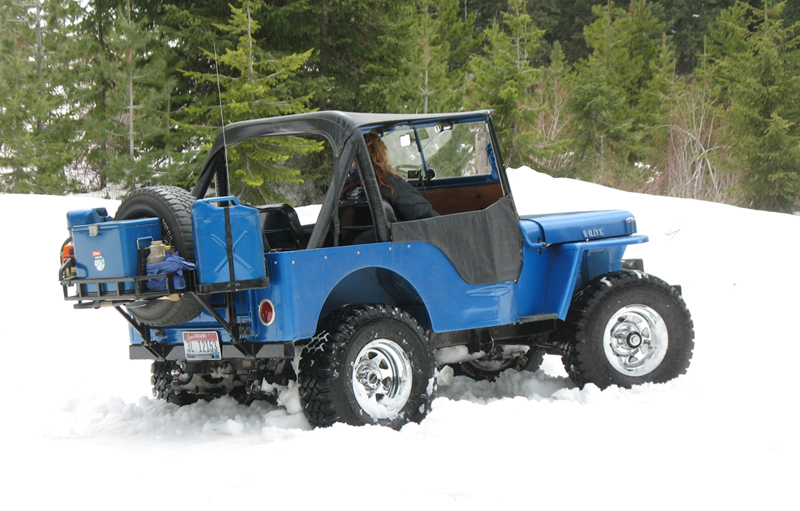
Randy’s Blue 1946 CJ2A: This Jeep was purchased new by my wife’s grandfather in 1946 and was used for decades on the family farm. After her grandparents passed away we were able to purchase it from the estate for $200 in 1993; it was about $199 to much considering the shape it was in.
We completely rebuilt it from the ground up with a new steel tub and repaired fenders, grill and windshield. The tub is for an M38 but was all that we could locate at the time. I did most of the body work and my brother in law painted it in our garage. The motor, transmission and transfer case were all rebuilt and 11” brakes were installed, we also installed a rollbar, stereo, CB and a back seat.
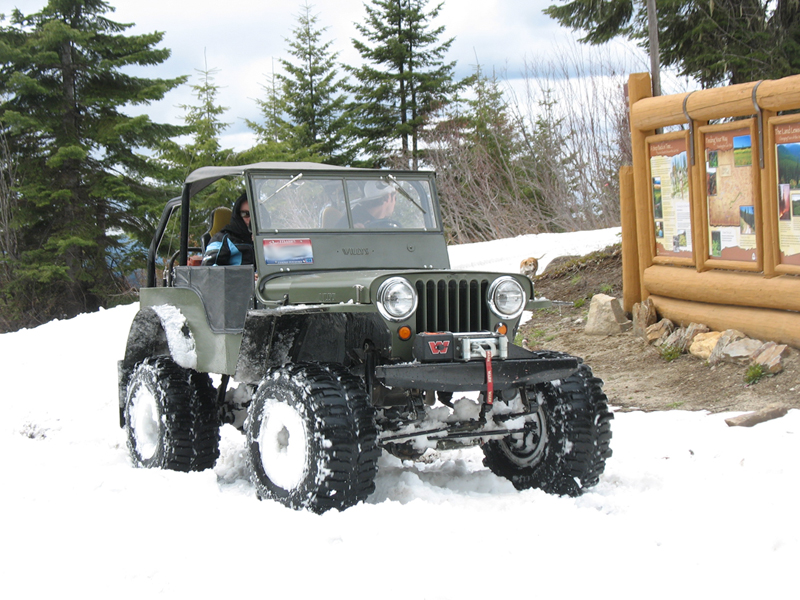
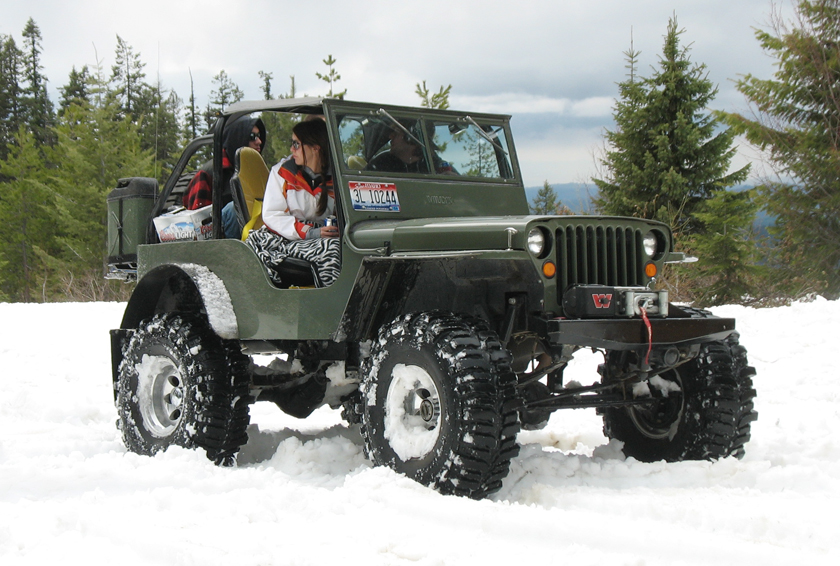
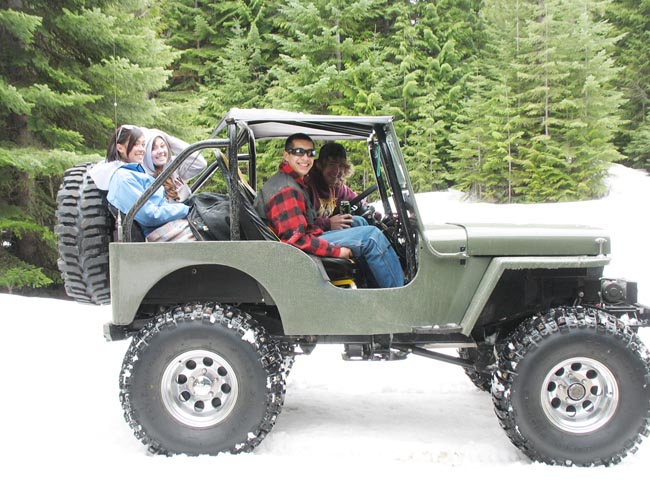
I built a spare tire/gas can carrier/cooler rack on the back and we also have both a bikini and full soft top. I run 32x11.50 tires in the summer and fall; 33x12.50 tires in the spring when running in the snow for better flotation. The low range 2 wheel drive pill has been taken out of the transfer case and lock rights have been installed in both axles. A Warn M8000 winch was installed a few years ago.
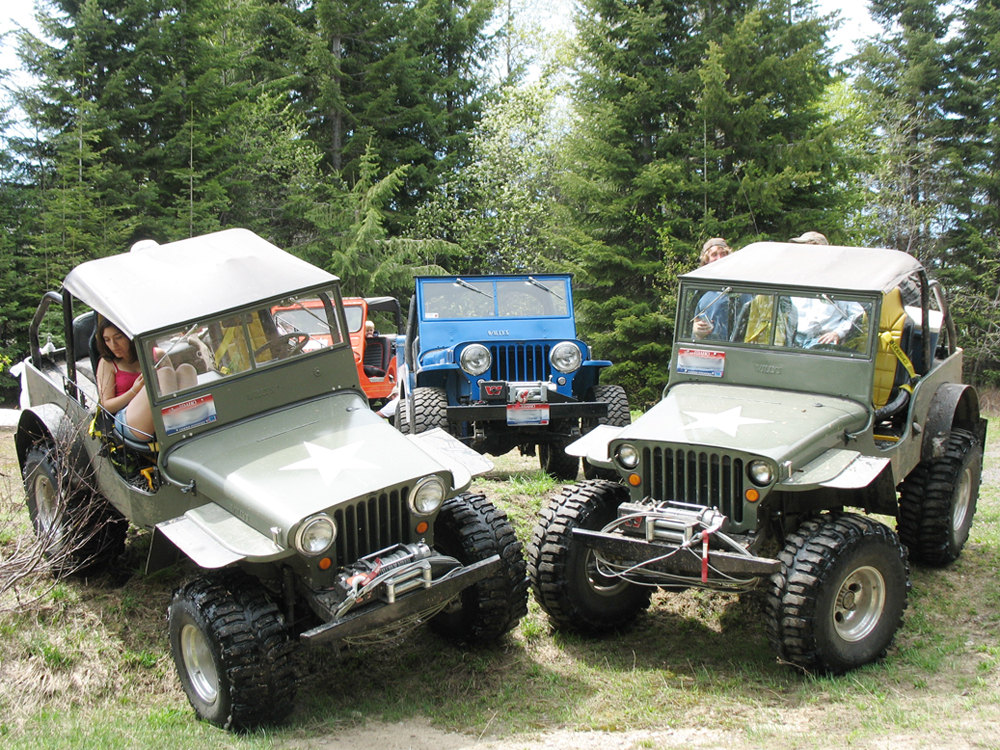
Dusty’s Green 1946 CJ2A: I (Randy) purchased this Jeep for spare parts around the year 2000. It was a total basket case with a rusted up headless motor and most of the back of the tub missing.
We decided to rebuild and modify it for my two sons to share; at the time Dusty was a sophomore in high school and Devon was in junior high. We started the project in November of 2004 and completed it for its first run on Memorial Day weekend of 2005. The 4 banger was removed and a Buick 231 V6 was put in its place, the T90, Dana 18 and stock axles were all refurbished and reinstalled as were 11” brakes.
New front and rear floorboards along with new wheel wells were welded in and we decided to take out what was left of the tailgate area and welded a flat back MB style back panel in its place. The lift is all from a spring over and we installed Saginaw power steering up front. Racing seats and harnesses along with a full rollcage were installed for safety and a rear seat was put in for passengers. A console contains a stereo and a CB is mounted to the front of it.
The tires and wheels are 35x14.50x15 TSL Boggers mounted on 15x12 Mickey Thompson wheels. I did all of the body work myself and my brother in law painted it Olive drab in our garage, a star was put on the hood just for fun. A Warn M8000 winch along with a winch mount and bumpers that we built ourselves were installed as well. The Jeep stayed pretty much this way for 5 years until after we found another Jeep for Devon that had bigger and better components than were in this one.
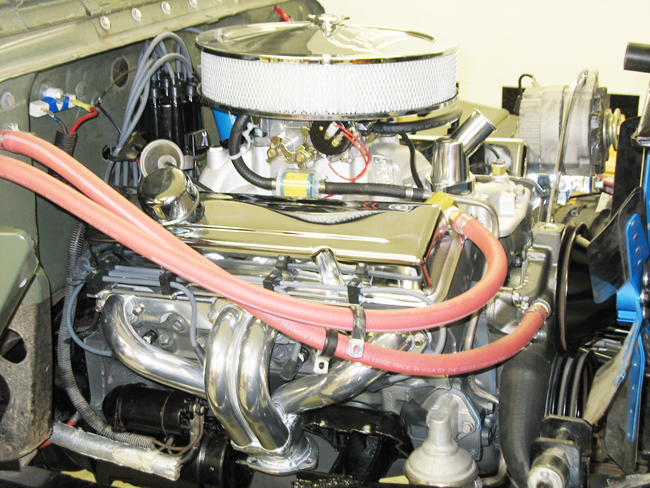
Once it became Dusty’s Jeep alone, he decide to box the frame and install a warmed up 350 Chevy with an sm465 transmission, Dana 20 transfer case that has been twin sticked and axles from 1975 CJ5. The axles are Dana 44 in the rear and Dana 30 in the front 3.73 gear ratios. New gears and ARB air lockers have also been installed in both ends in the past year. He currently has a set of wider Dana 44 axles to be installed some time in the future. Dusty did the entire drive train swap himself with only minor advice from me. He has since built a spare tire/gas can carrier/cooler rack for the back and plans on putting on a set of 40 inch tires after some fender trimming behind the back tires is done.
Devon’s Green 1942 MB: I purchased this Jeep off of E-bay for too much money but it already had the running gear that I was looking for which included a small block Chevy (283 not a 327 as advertised), sm420 transmission (no ceramic clutch as advertised), a twin sticked Dana 20 transfer case and Scout II axles; Dana 44 rear, Dana 30 front with 4.27 ratios.
The body was pretty rough and it had a thin skin of sheet metal installed all of the way around the tub that hid lots of holes and rust. A home built gas tank was in the back where a seat normally goes and a heavy spare tire carrier/cooler rack was mounted on the back. We started rebuilding this one on November of 2007 and had it mostly finished by Memorial Day weekend of 2008.
A warmed up 350 Chevy built to the same exact specs as Dusty’s was installed along with the refurbished running gear that came in the Jeep. All new spring hangers and reversed shackle mounts were built and welded on the outside of the frame in the front because of the wider Scout II axles, a new mount for the Saginaw power steering unit was installed and the frame rails were boxed.
The rollbar was cut apart and welded back together then installed in the correct place. The floor boards front and back were all replaced and the area between the rear fenders was increased by using narrower rear inner fender wells, as a result we were able to put in some comfortable small bucket seats. The rear fenders were opened up 2 inches and the rear axle was moved back an inch to make room for bigger tires.
Racing seats and harnesses were also installed in the front along with a stereo and CB radio. I had injured my shoulder during the winter and was dreading the thought of all of the sanding that would need to be done getting the body ready for paint when a friend of ours that owns a body shop (Orofino Body Shop) volunteered to do all of the body work and paint the Jeep as a graduation present for Devon; what a fantastic gift. We also had a star put on the hood and Devon built a rear bumper with a spare tire/gas can/cooler rack mounted on it.
A Warn M8000 winch was mounted on a winch plate and front bumper that Devon built as well. This winter he upgraded the axles to newer Scout II Dana 44’s in both ends with disc brakes in the front. We turned the front knuckles 15 degrees which gave it 6 degrees of caster and turned the back of the pumpkin up 9 degrees for a better drive line angle, new perches were welded on to get the angles correct. The axles now have 4.10 ratios with OX cable actuated lockers. He built a center console that houses the locker shifters and cutting brake handles for each rear brake. New shock mounts were welded on the axles and he built new shock hoops for the front, he added Bilstein 5150 shocks on both ends and a heavy duty tie rod and drag link set that is designed for Dana 60 axles was also installed, the tubing is 1.5 inch OD with .250 wall thickness and huge tie rod ends.
The tires and wheels are 13.50x37x15 TSL Boggers on Mickey Thompson wheels; 40 inch tires will be coming in the next year or two. All most all of the work done recently has been done by Devon, I helped him with turning the knuckles and installing the lockers but he did everything else himself.
Here are the boys Jeeps at the inlaws cabin in OroGrande which is near Elk City and Dixie as well. Every time the boys take their windshields off it rains, we got caught in a nice shower on this trip.
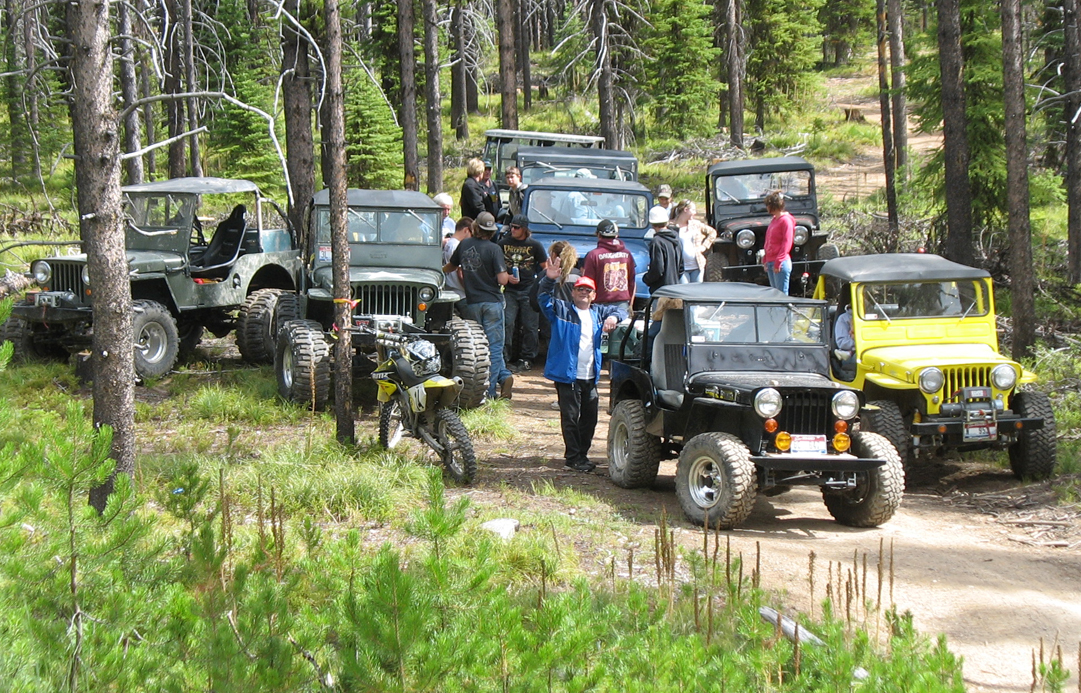
And, finally, this is a Jeep run with friends of ours that have cabins in the old mining town of Dixie (near Elk City) about 100 miles from Kamiah.
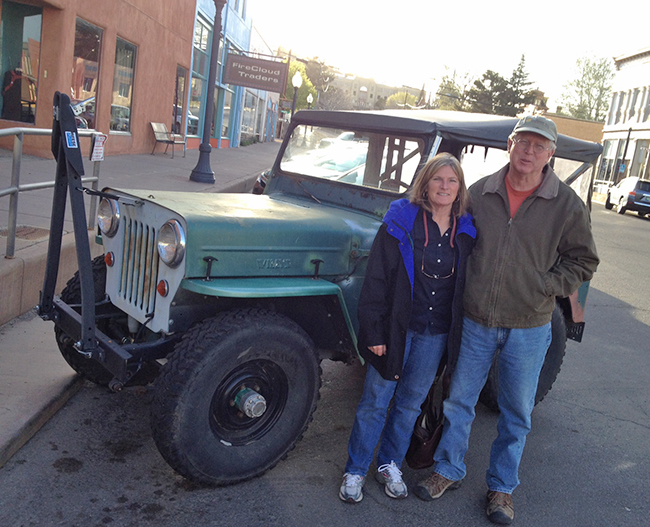
Gordon and Ellen stand in front of their CJ-3B Tractor Bob. A name thought up by their grandson, who is an avid reader of eWillys. Tractor Bob isn't Mr. Reliable; apparently, on more than one occasion, a jaunt about Silver City in Tractor Bob meant a relaxing hitchhike home. Therefore, Ann and I thank Gordon and Ellen for taking a chance and driving Bob to meet us for dinner and a narrated walk around the wonderful town of Silver City.
Before I share Wednesday's fun, let me comment on the La Quinta Inn in Las Cruces . . . On Tuesday night when we arrived at the La Quinta Inn in Las Cruces (did I mention the La Quinta Inn??), we were surprised to discover that when we got to our hotel room, it hadn't been cleaned (pizza boxes piled on a table and the beds remained unmade). Now, while I knew I'd gotten a great price on the room using Priceline, I did have an expectation the room would be clean. So, I went back to the desk and asked for a different room.
The mortified desk clerk apologized and quickly gave us a new room. Off to the second room we went (just a few doors down from the first one). We unpacked, then I went into the bathroom, only to discover there were no tissues in the dispenser (I really don't give a rip, but in this case it wasn't a good sign) and there was melted ice in the ice bucket container from the previous guests, meaning this room hadn't been cleaned/restocked very carefully. While we were too tired to complain, I did check out the bed to make sure the sheets were clean.
Wednesday morning at checkout, I explained our poor experience to the morning clerk. Like the evening clerk, the morning clerk was mortified. She promised to address the situation and told me I'd receive a coupon in my email to make up for the poor experience we'd had. When I checked my email I discovered that the La Quinta Inn felt our poor experience warranted a whole $5 discount. It's fair to say I remain unimpressed. Did I mention that was the La Quinta Inn in Las Cruces???
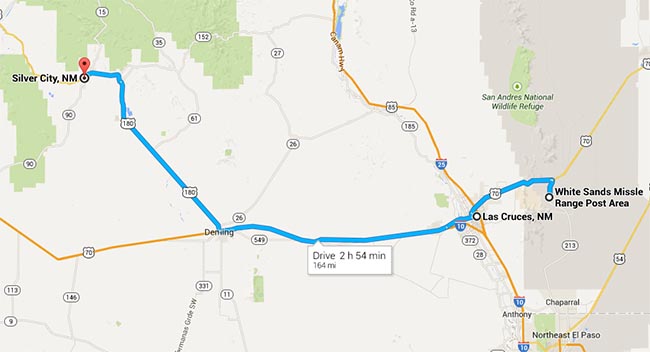
However, we didn't let our La Quinta Inn experience dampen our mood. Our goal for the day was to get to the White Sands Missile Range Museum and then head over to Silver City.
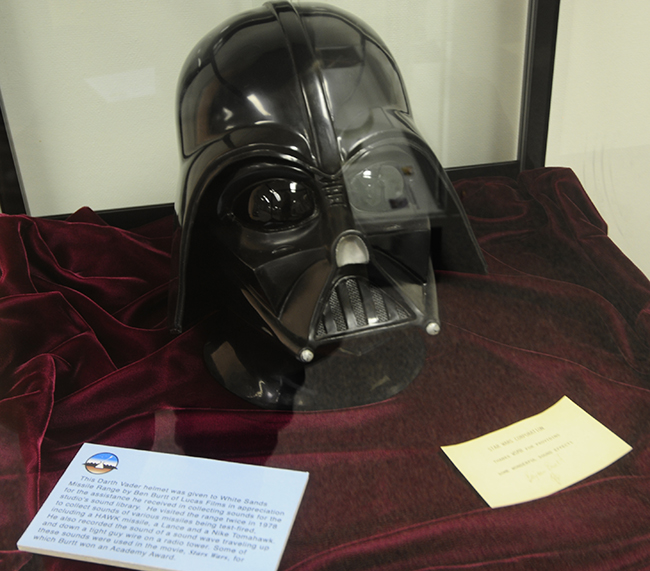
The Museum was a pleasant surprise. Even the price was reasonable (free). The museum is divided into two interior sections and an exterior missile park. We started with the main interior portion. One of the first exhibits we encountered was an original Darth Vader mask. Apparently, the guy who won the Oscar for the Star Wars' (for you young folks I am referring to Star Wars Episode IV) sound effects obtained a variety of sounds from the missile range, so he managed to get the Darth Vader mask donated to the museum. Nice bit of trivia!
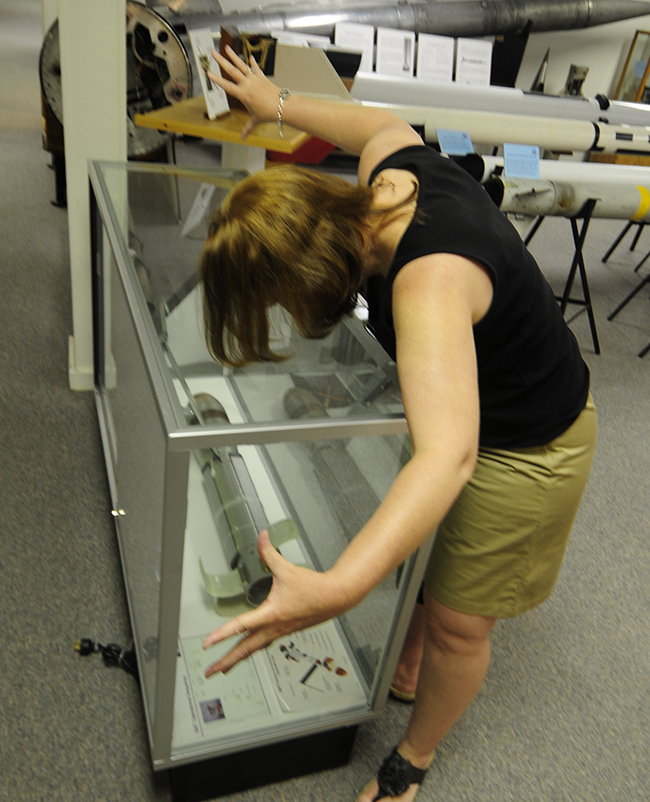
Ann was very excited about all the missile stuff. She was particularly interested in the specifics of the device in this case. She hunched over this exhibit for several minutes, fascinated by it. She attempted to explain some part of it to me and did this with her hands.
But, there was more than just missile history. There were other smaller exhibits. For example, there was a very small, but interesting exhibit on the Apache fight with the U.S. Soldiers during the 1880s. One of the soldiers involved in the fighting was very sympathetic about the Apache situation, noting the Apache had been lied to far too many times and had no choice but to fight, even likening them to the American Revolutionaries fighting for the right to their land. It was an interesting perspective from a small, but good exhibit.
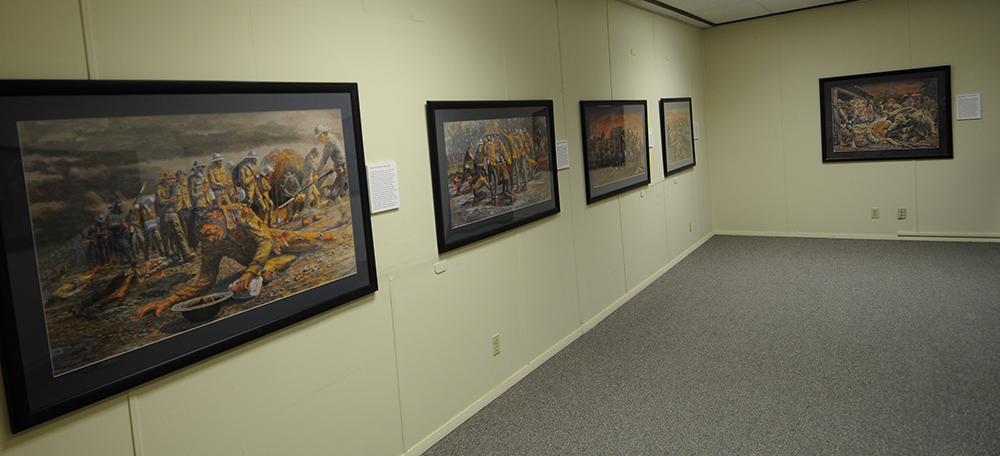
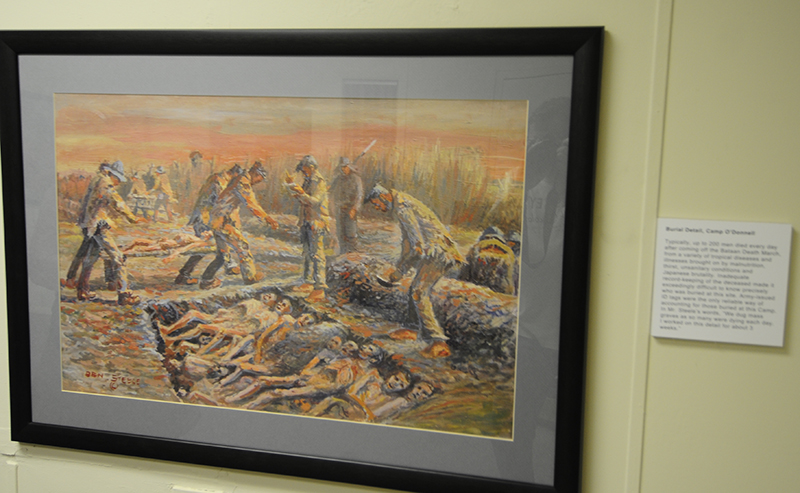
Another small, but powerful exhibit was a series of paintings done by Benjamin Charles Steele, who survived the Bataan Death March and Japanese prison camp. He drew sketches while a POW, but they were destroyed. So, after the war, he got a degree in art and recreated the paintings. The paintings coupled with concise descriptions tell a powerful story of his (and many others) experience as a POW in the Pacific Theatre.
These paintings line the entire room.It was hard to take a good photo of it due to the glass. This shows the burial detail to which Benjamin was assigned.
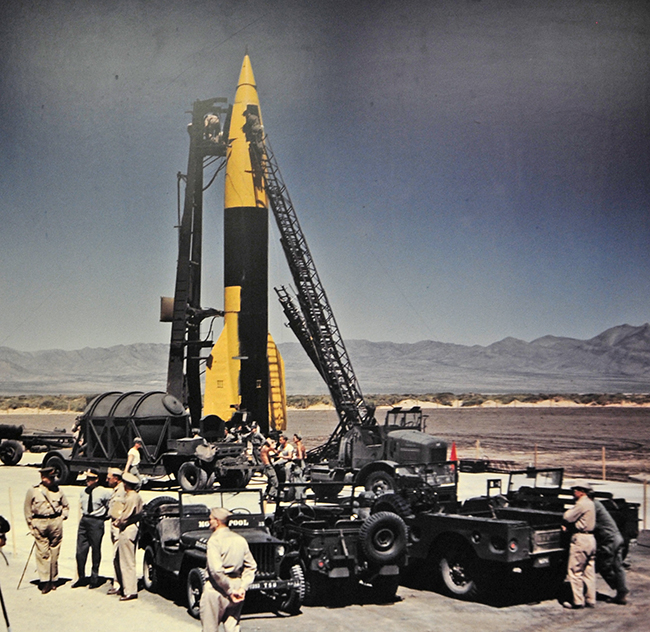
On a lighter note, there were several jeeps in photos in the museum. This one below is the best one and shows two jeeps, along with a V2 (I think ... I didn't look too close at that).
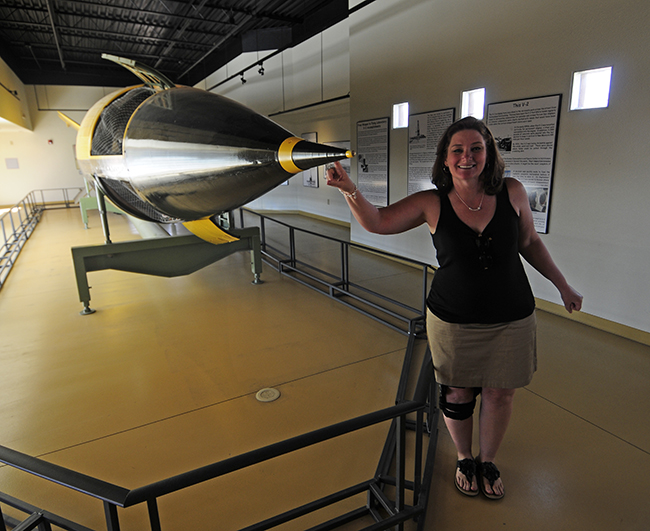
Once we were done with the interior exhibits we walked to a second building where a US Made V2 rocket (the one in the photo above???) rests. My wife almost touches the rocket in this photo . . . that is my story and I'm sticking to it.
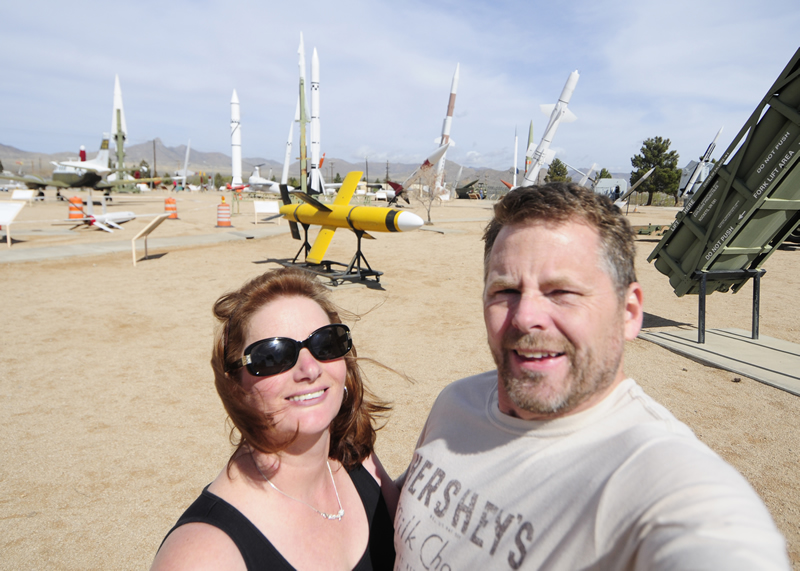
From the V2, we stepped outside to walk among retired missiles (and other stuff).
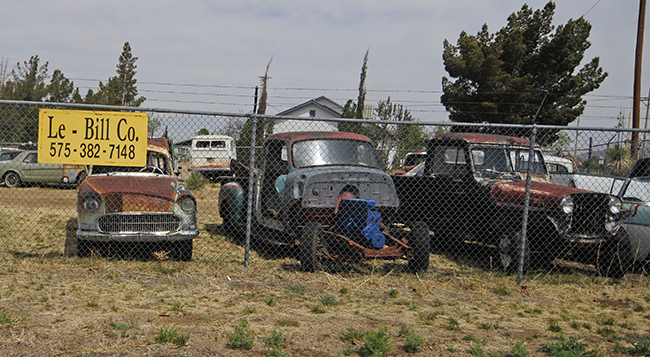
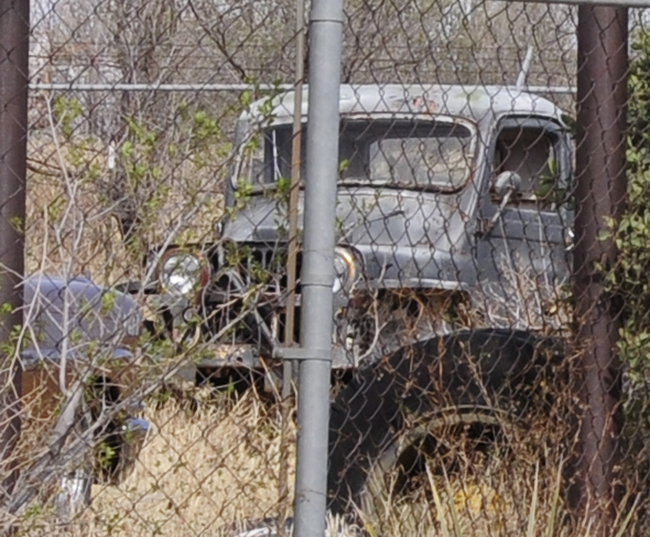
After the missile museum, we started our trek west toward Silver City, as we re-enterd Las Cruces, we spotted this small auto yard that had at least six Willys trucks and wagons. We didn't slow down to inspect it too carefully.
To the right is an early truck. Behind that you can just make out a white wagon. Just to the right of the yellow sign is the rear of another white wagon.
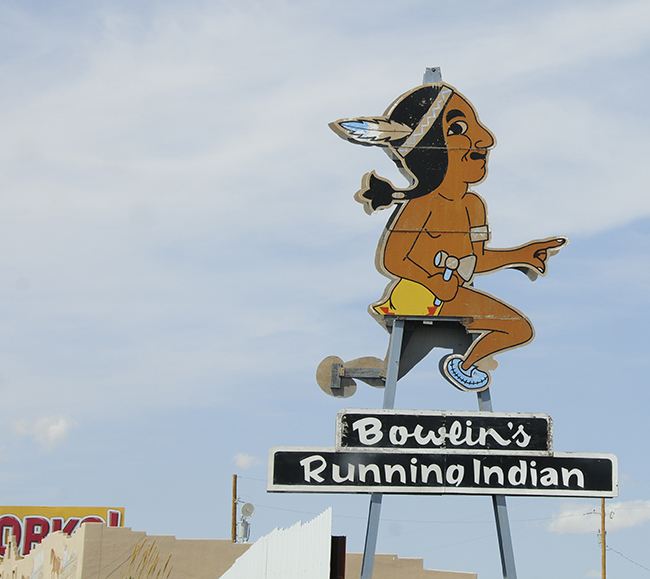
We drove for about a half hour on I-10 when we began seeing signs for a trading post. It was obviously a tourist trap, but that made it all the more fun. So, we stopped. Here's the sign that welcomed us:
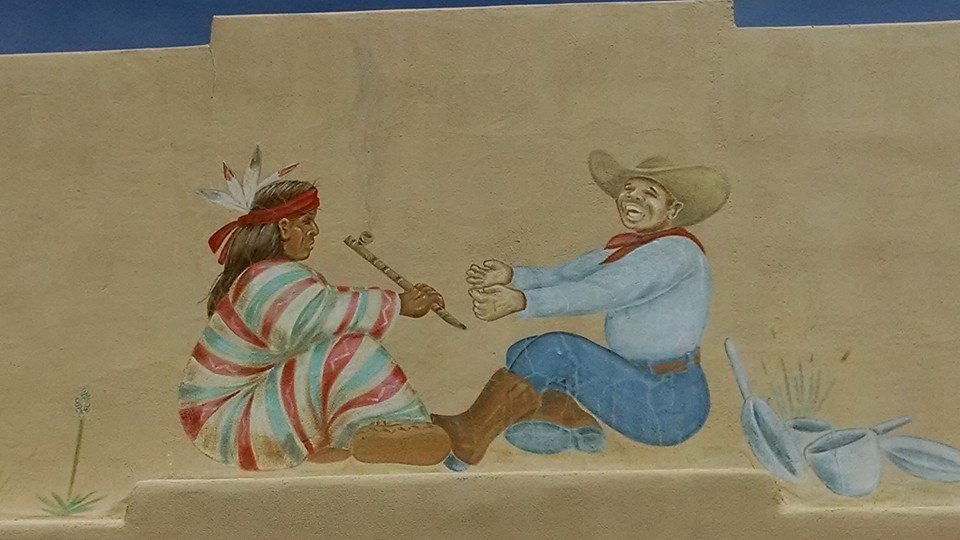
It's a big sign. the runner's shorts seem to be missing.This is one of the murals on the front of the trading post. Looks like this place is a fun time. That's a happy cowboy!
Despite an occasional stop for a photo that had to be taken, we finally made it to meet with Gordon and see his jeeps. Gordon has read eWillys for several years. He used to live in Boise and had jeeped some of the same trails I explored in Lost Biscuit when I lived there (here's one example).
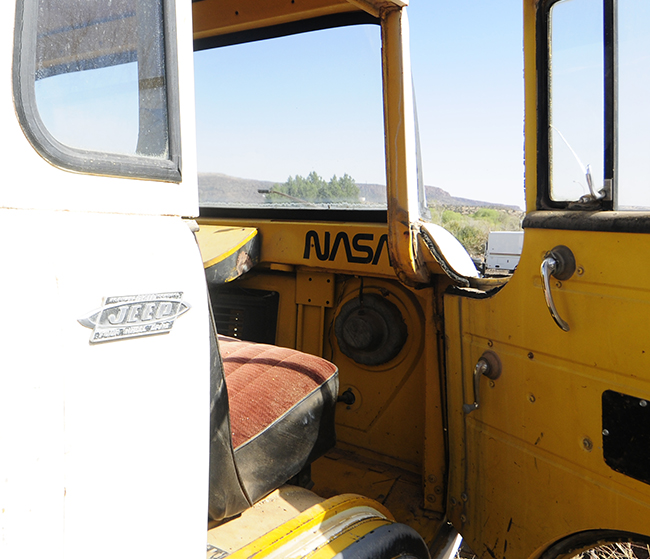
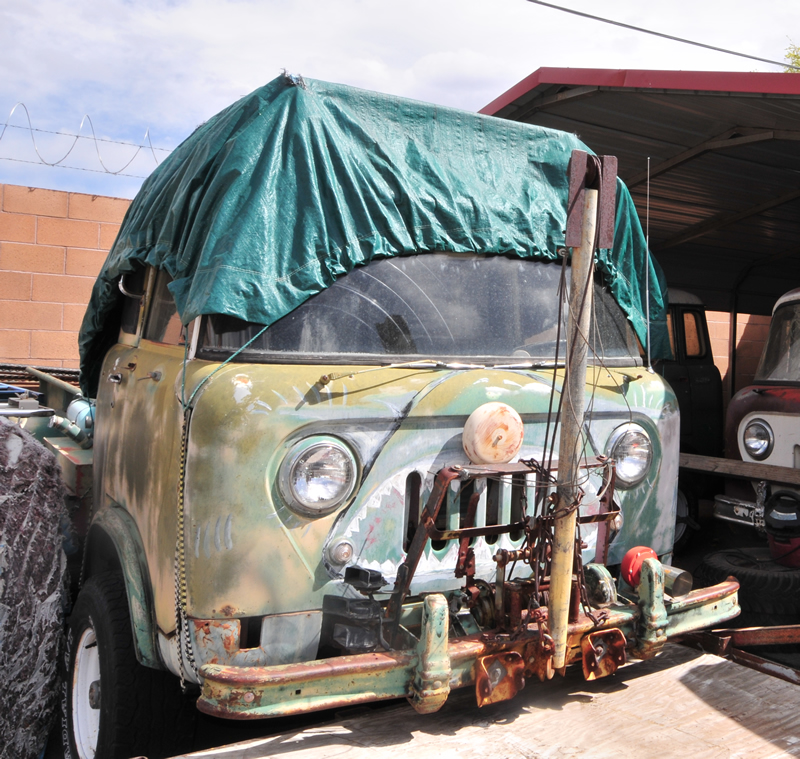
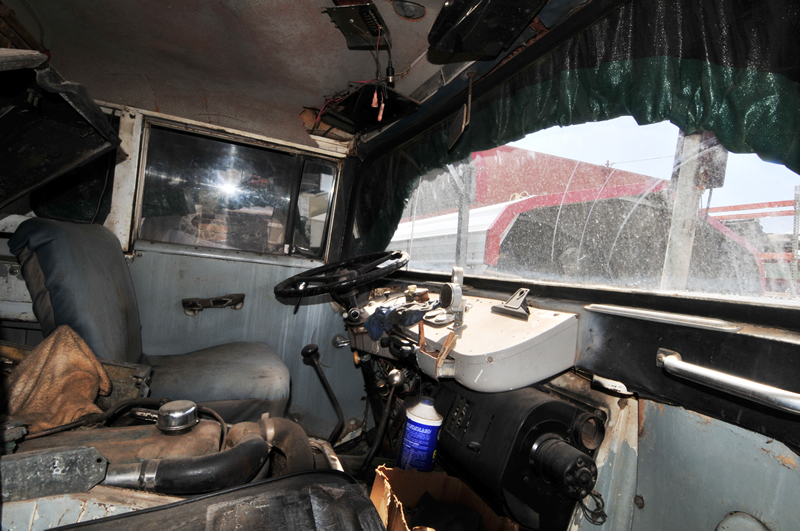
When he moved to New Mexico, he decided he wanted to have a Willys again. Of course, one wasn't enough. He kept finding deals on projects. Pretty soon, he had quite a few jeeps, mostly FCs. Perhaps the coolest FC is an FC with under 10,000 miles that was owned by NASA.
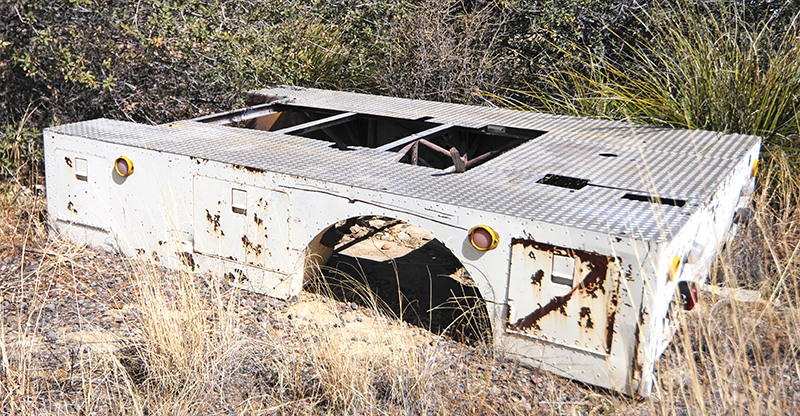
This runs. It had a strange aluminum utility box (see below). Ann was quite proud of this photo, which shows both the Jeep and the NASA insignias.Custom aluminum bed built by or for NASA that was on the FC.This is the partially complete new bed.
Here are a few of the other FCs:
The chassis is good, but the cab isn't. However, he has another cab that is good with a chassis that isn't.This is a dually that came with two windshields. They are in the wooden box.This is a FC-170 with a frame shortened by a previous owner. Its wheelbase is now about halfway between a FC-150 and an FC-170.Here Gordon and I are discussing world peace and recent politics ... yeah, right. We are talking jeeps.
Gordon also has these two jeeps for sale:
After Gordon completed our tour, it was time to head to a hotel that Gordon arranged for us in Silver City. However, on our way to the hotel, we spied a peculiar jeep:
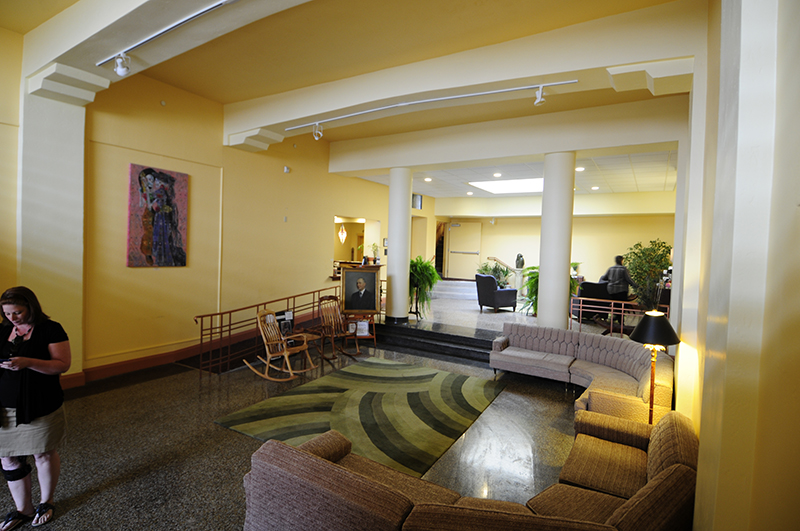
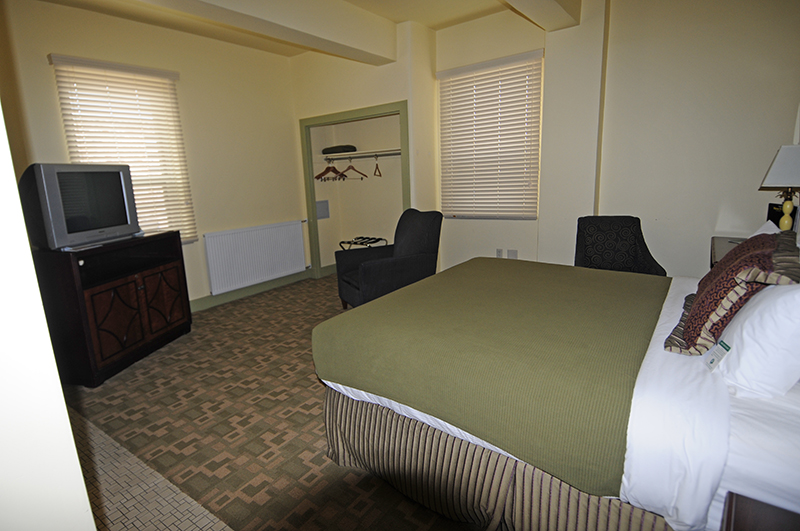
In downtown Silver City, we arrived at the Murray Hotel, an art deco themed hotel originally built in 1938. Unlike our experience at the La Quinta Inn the previous night, the Murray Hotel clerk was wonderful, even providing me with a history of the hotel as she checked me into it. When we got to our room, it was great, a nice blend of old and new. And clean, too. Not a pizza box in sight!
The lobby interior!Our room. It's clean, quiet and at least one of us is sleeping fitfully in the bed. The other will soon end this long post and join her.
Just before dinner, Gordon and Ellen arrived in their CJ-3B and took us out for some excellent Mexican food. Then they gave us a tour of old main street, which disappeared during a torrent in the late 1800s, replaced by a 55 foot gully. Shops along main street had to start using their back doors to keep in business. The gully still runs heavily with water during the rainy season. The streets become rivers as well, however the sidewalks are so high off the street (in some cases nearly three feet) that the stores appear to stay dry.
Many thanks to Gordon and Ellen for their hospitality and warmth. If you ever have a chance to visit Silver City, it's a neat small town with an artsy feel to it. And, if you get a chance, try out the Murray Hotel.
Tomorrow we head to Phoenix via Globe and Mesa, where we'll see Joe, Joel, and the progress on the GPW :-)
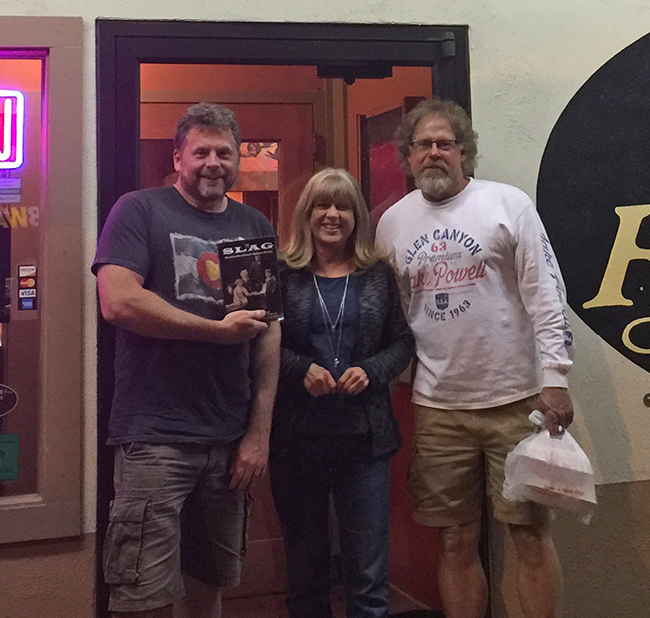
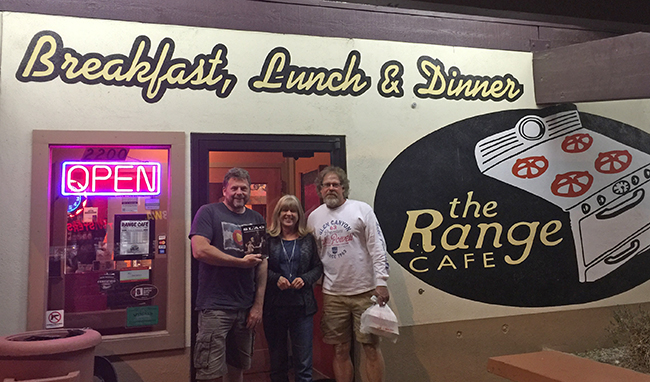
Me, Benita, and Scott at the Range Cafe in Albuquerque. Benita has been test reading the book. She's read about a 1/3 of it so far and is really enjoying it!
Today we drove from Tularosa to Albuquerque (See yesterday's post here, or look below today's post). Along the way we didn't do much sight-seeing, but the winds had picked up ... a LOT! I had Ann drive while I worked. Part of the time she was driving into the wind causing the jeep (and the laptop on my knees) to rock. However, she did well and we were soon at the University of New Mexico.
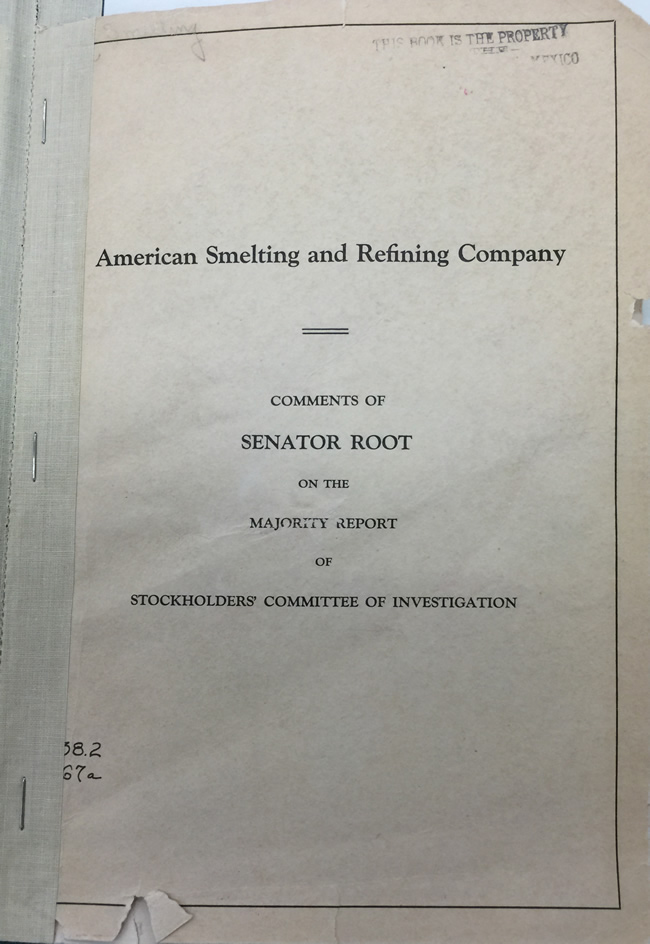
A month ago I discovered that only the U of NM and Yale University had a fourteen page report that I hadn't known existed, an important one that will help shape the one of the final chapter in the book. The document was stored at the campus' business library among the general books. If I had a little less character, I would have walked out with it, especially because I doubt no one else on the planet appreciates its significance. Damn you Conscience!! Alas, I settled for photos of it.
Elihu Root was the Guggenheim's legal counsel, while simultaneously pretending to be an independent arbiter of the fight between the Guggenheims and the Eilers. I knew he'd been quoted in the newspapers, but there was never any mention there of a physical report.
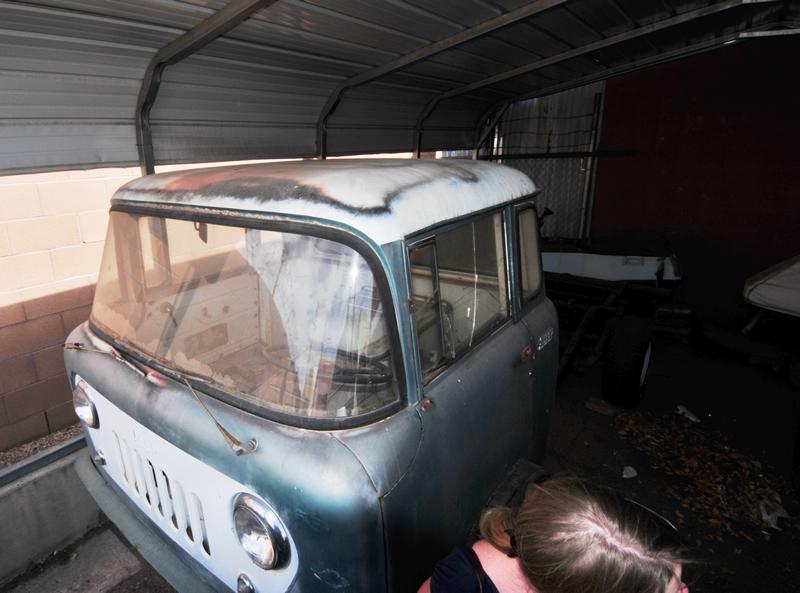
The stop was a quick one, which worked well for us, because our next appointment was jeep-related :-) A half hour later, we were in downtown Albuquerque meeting with Benita. She and her partner Scott own multiple FCs and are regulars at the FC Roundup. First she showed us their unique camper FC, one that was used for years at a mine. It's got horns, a bell, and a hoist on the front. The back of the FC had camper shell made by an unknown builder, but it appears to be professionally made. A hole in the rear of the FC's cab allowed access to the camper. They've pull off the camper shell and are restoring it.
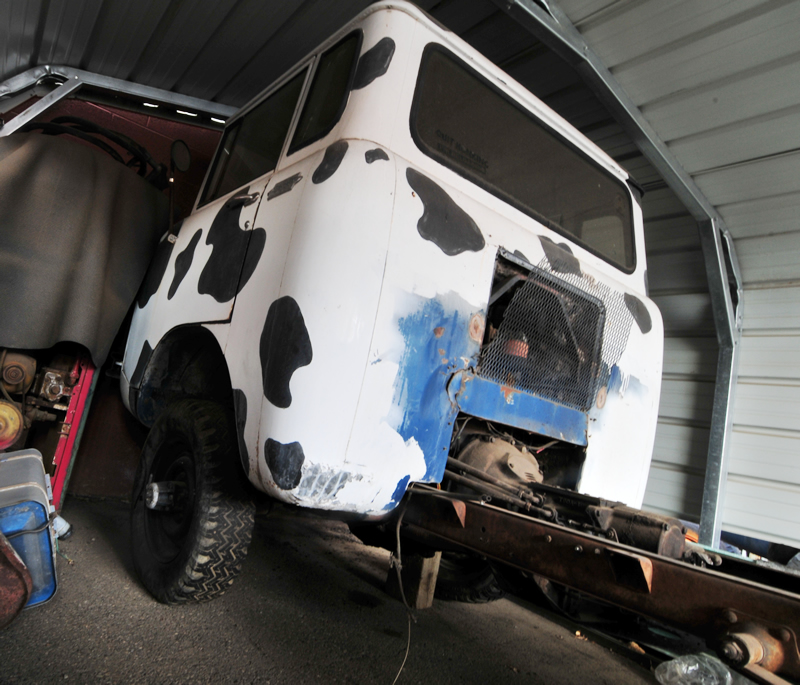
The next FC she showed us was a cow painted one. It was used as a search and rescue jeep. Unfortunately, the person who owned it had died, so no seems to know for sure why it was painted as a cow.
Here are a couple other FCs they own:
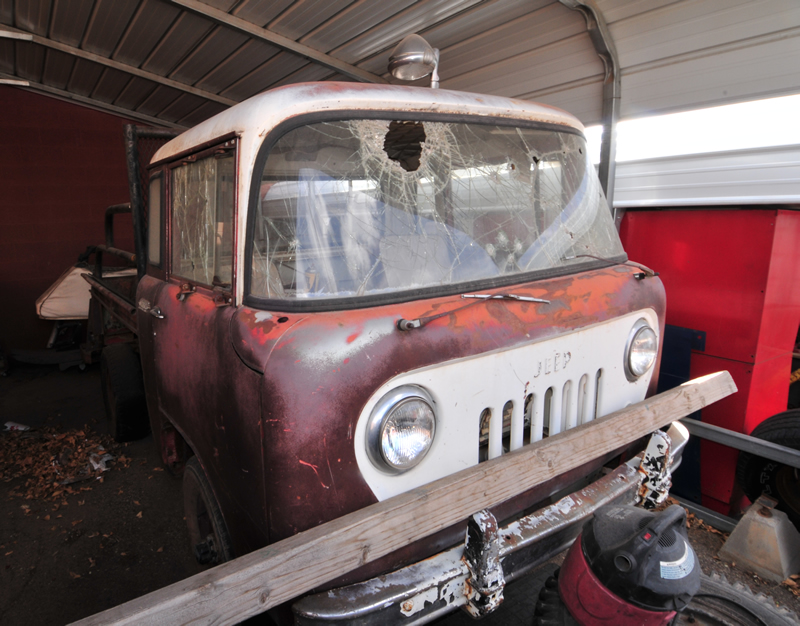
This was their first FC. It had a variety of customizations in the back.The glass on the front of the FC has been shot, but the shooters managed to miss the body!
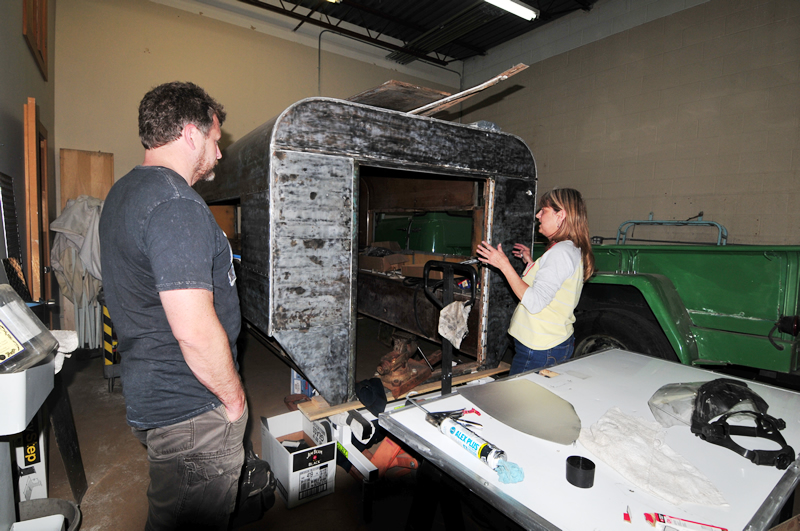
These photos show the camper that was on the back of the first FC. It is well made.
This FC is Benita's. The utility bed isn't a Stahl or any other make we can readily identify. We believe it is a custom bed. The thing is well designed and built. It runs and drives. Benita just needs to get some body work done on it, which she hopes to do herself. It's a neat truck.
They have one more FC, an M-677, which isn't stored with the others currently. They had it at the FC Roundup last year, so some of you might have seen it.
After the tour, we briefly parted from Benita so we could secure out motel room. When we arrived, it turned out the wind (which was still howling) had knocked out the power. However, they pulled out some paper and we got check in.
A little later, we drove to meet Benita and Scott for dinner. On the way we spotted this CJ-3B.
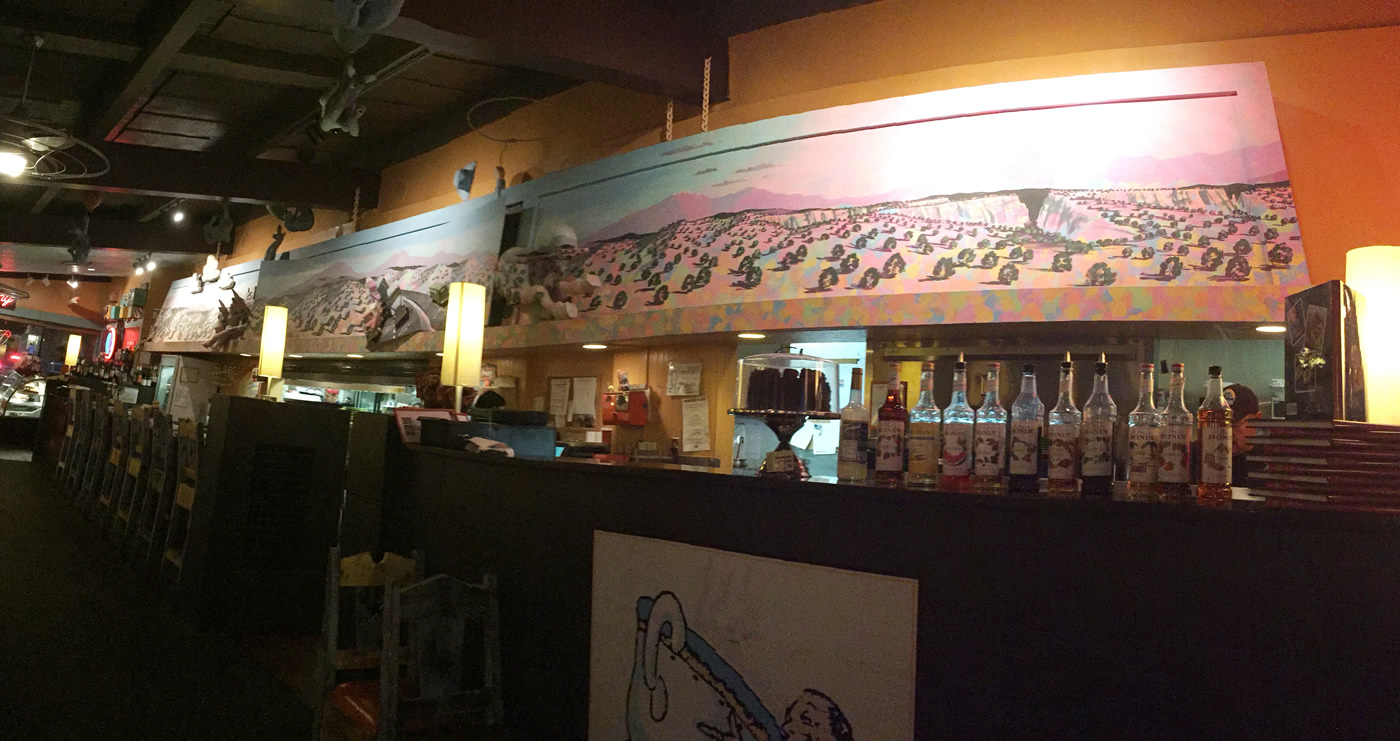
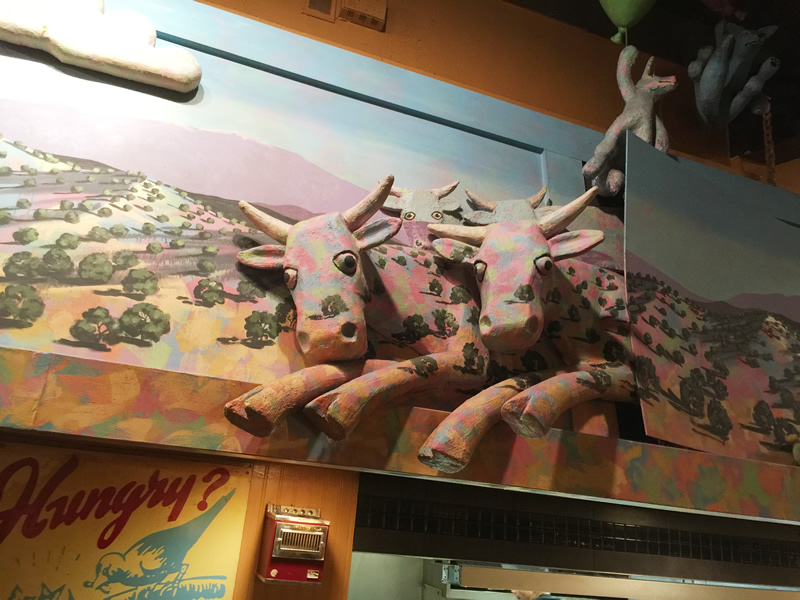
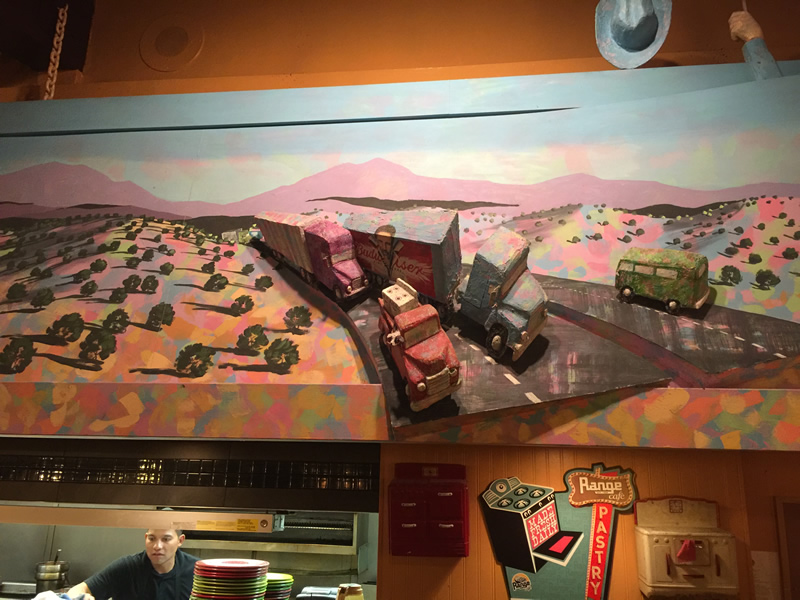
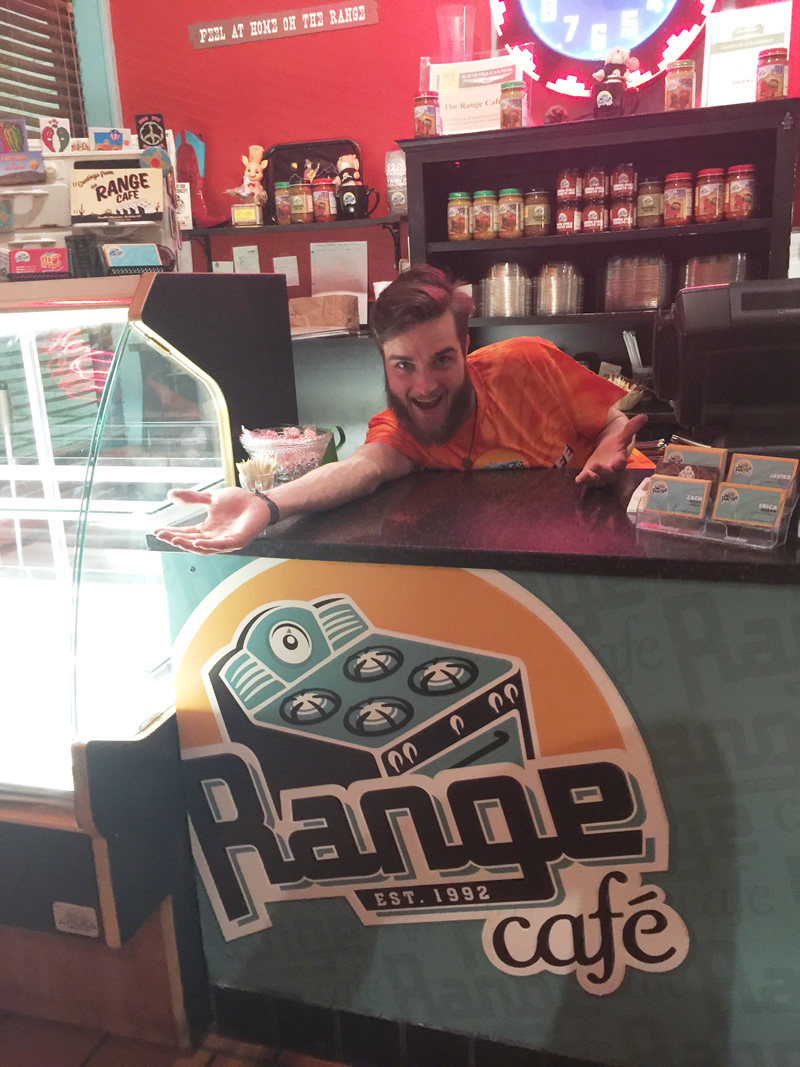
We arrived at our destination, the Range Cafe, to find they'd already secured us a table. As we walked in we were surprised at how cool the interior of the restaurant was. It's got some seriously funky stuff all over the place. Very cool!
Long and cool mural.Mural had some 3D aspects.Another cool 3D element.Strange man at country of Cafe Range.
We spent the next three hours eating some delicious food (I had a burger topped with a chile relleno, yum) and talking. It was a fun evening. Thanks to Benita and Scott for our dinner and the company.
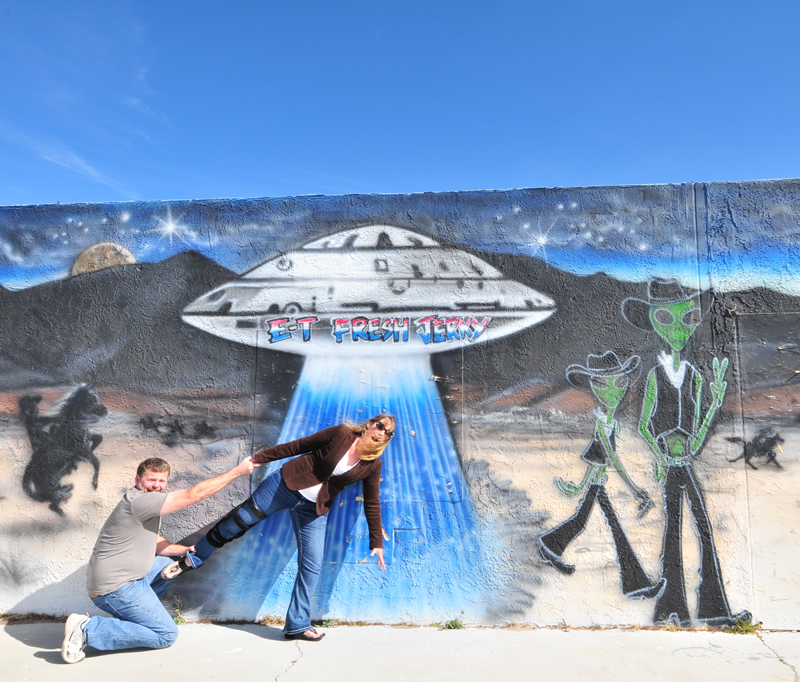
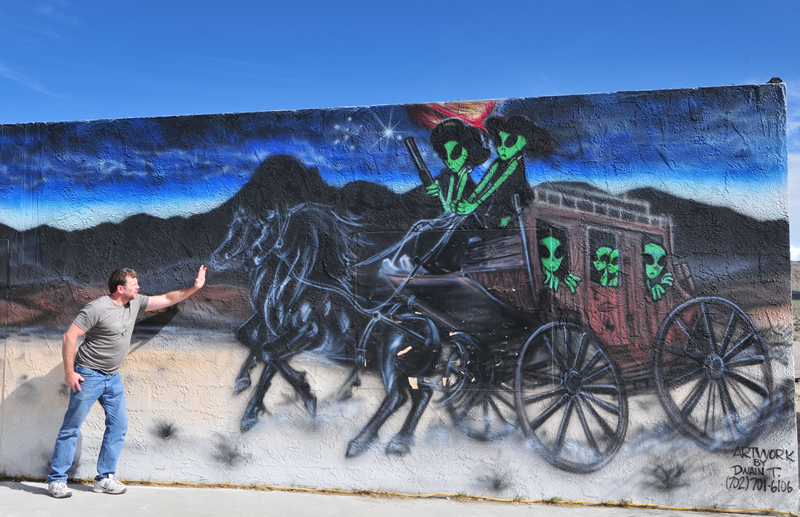
Good thing I was there to keep her from getting beamed up! I'd miss my travel partner.
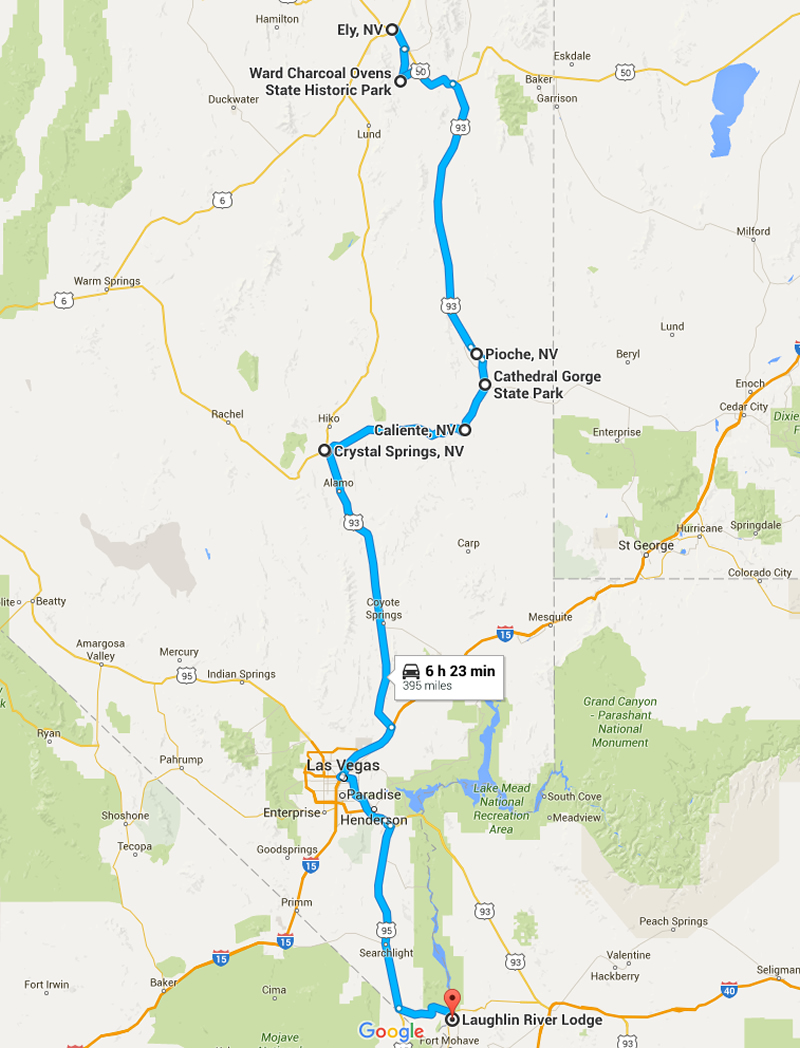
Today we drove from Ely to Laughlin (see Yesterday's post). We hadn't planned to go that far, but hotels/motels in Vegas on Saturday night were expensive, while Laughlin was dirt cheap. And, since we'd never been there, we decided this was the opportune time!
We drove from Ely to Laughlin.
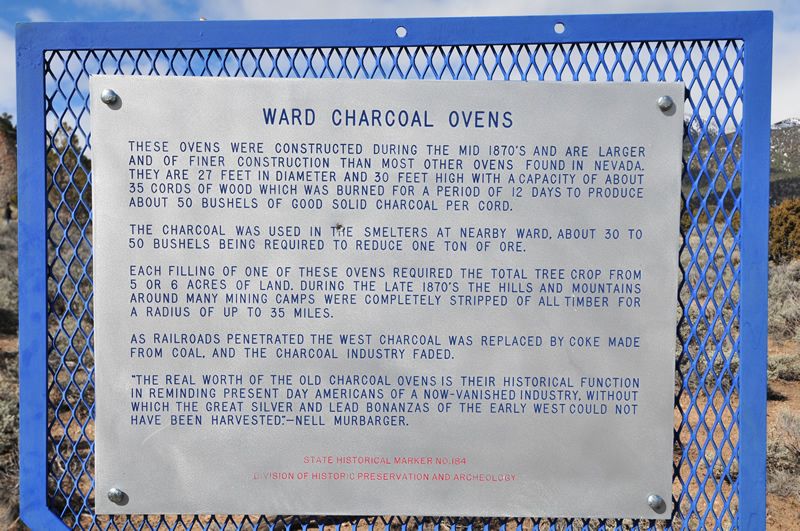
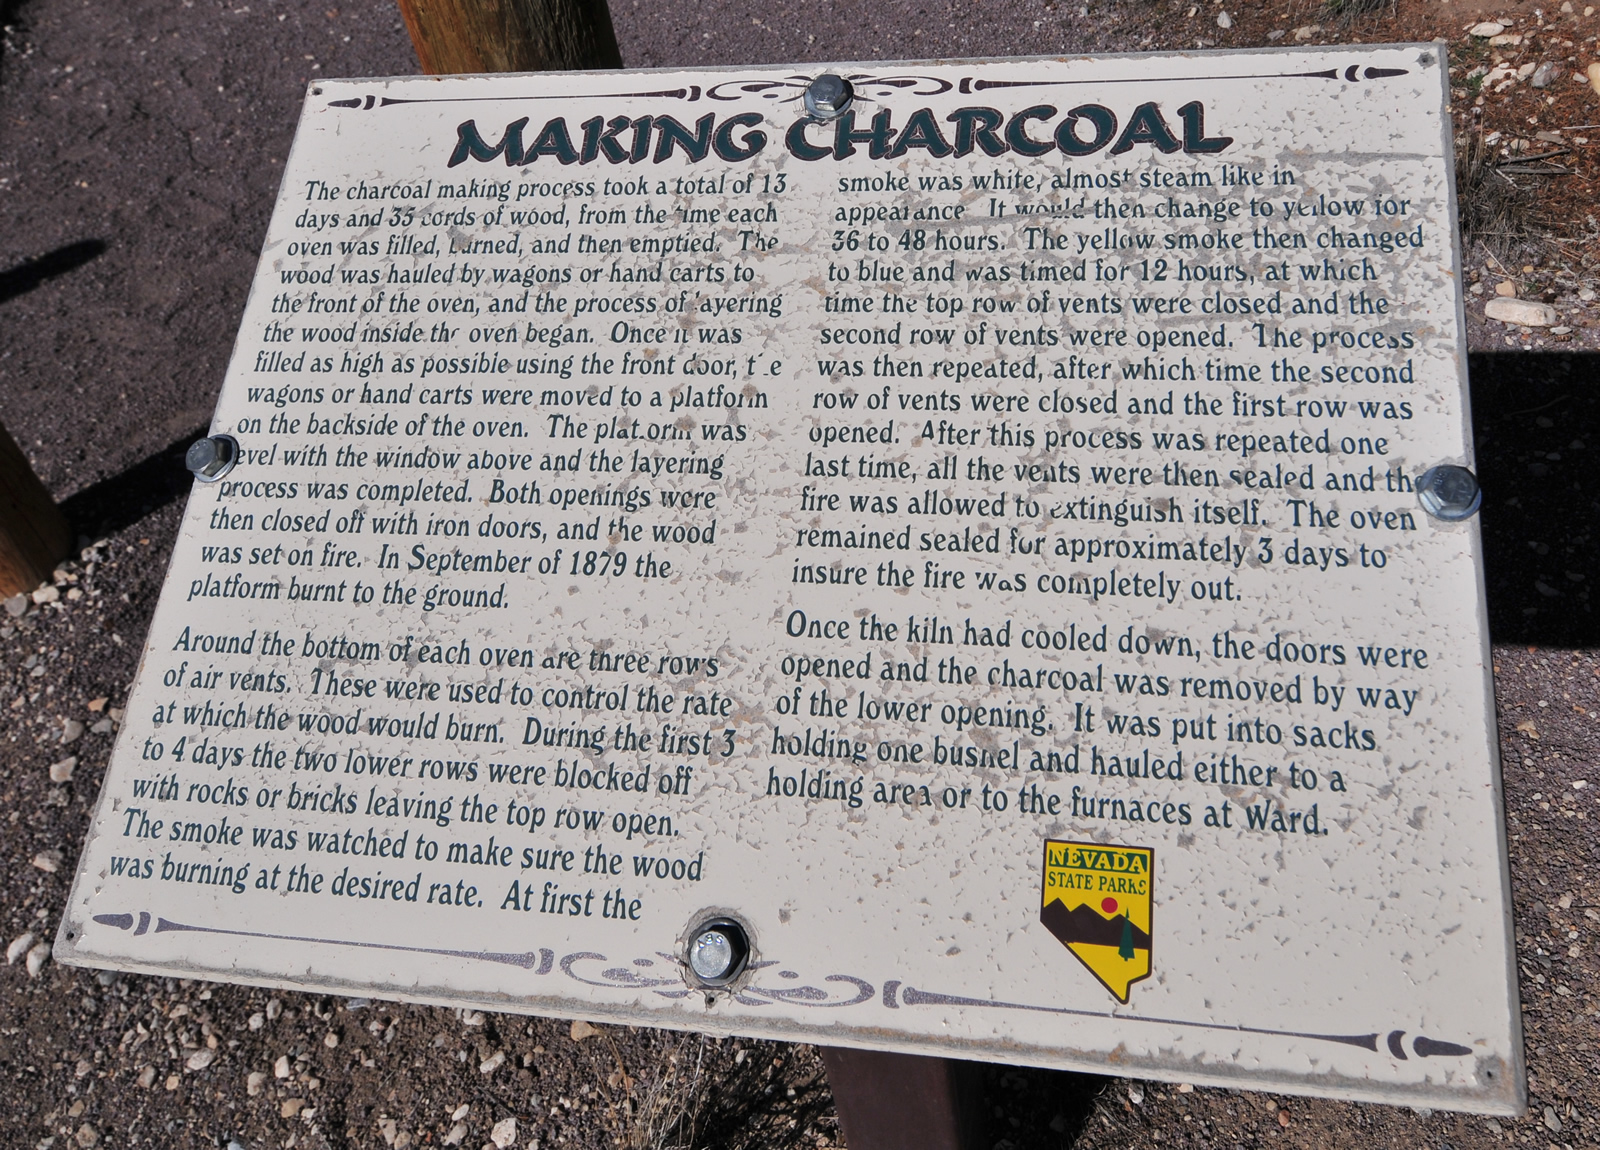
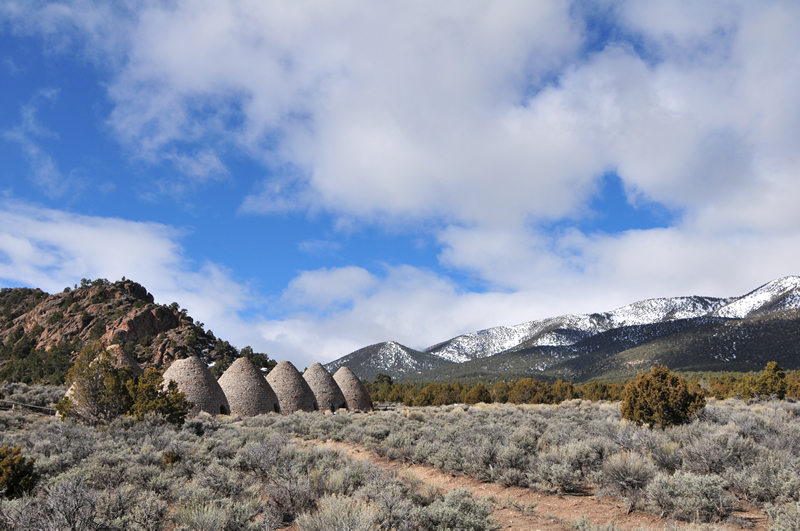
Our first objective of the day was a visit to the Ward Charcoal ovens. To reach them, we drove south on highway 50, a road that spans the width of Nevada and once called the loneliest road in America by Life Magazine. Just past Ely, we turned onto a dirt road and followed it for ten miles or so. As usual, when we arrived, we had the place to ourselves.
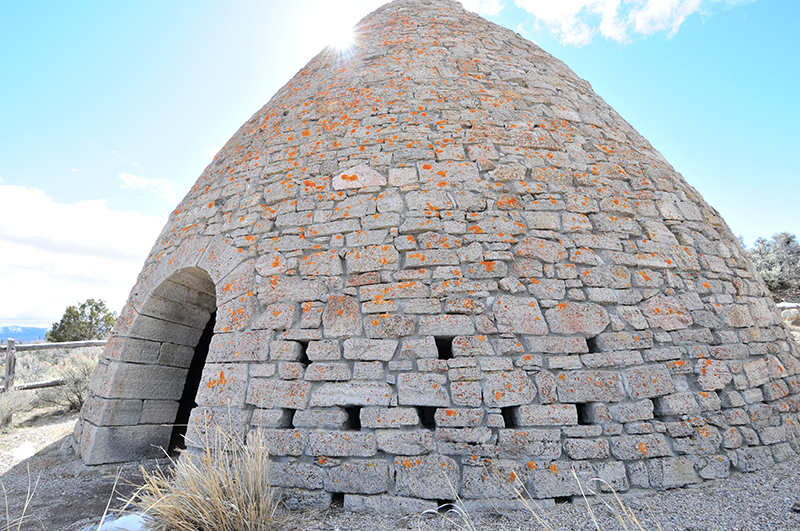
The ovens were constructed in the late 1800s to turn wood into charcoal for fuel in nearby smelters. When coke replaced charcoal, they were then used as, among other things, places to stay for sheep herders and cowboys. Finally, the area was turned into a state park. The ovens were much larger and in better shape than the one's we'd seen yesterday in Utah.
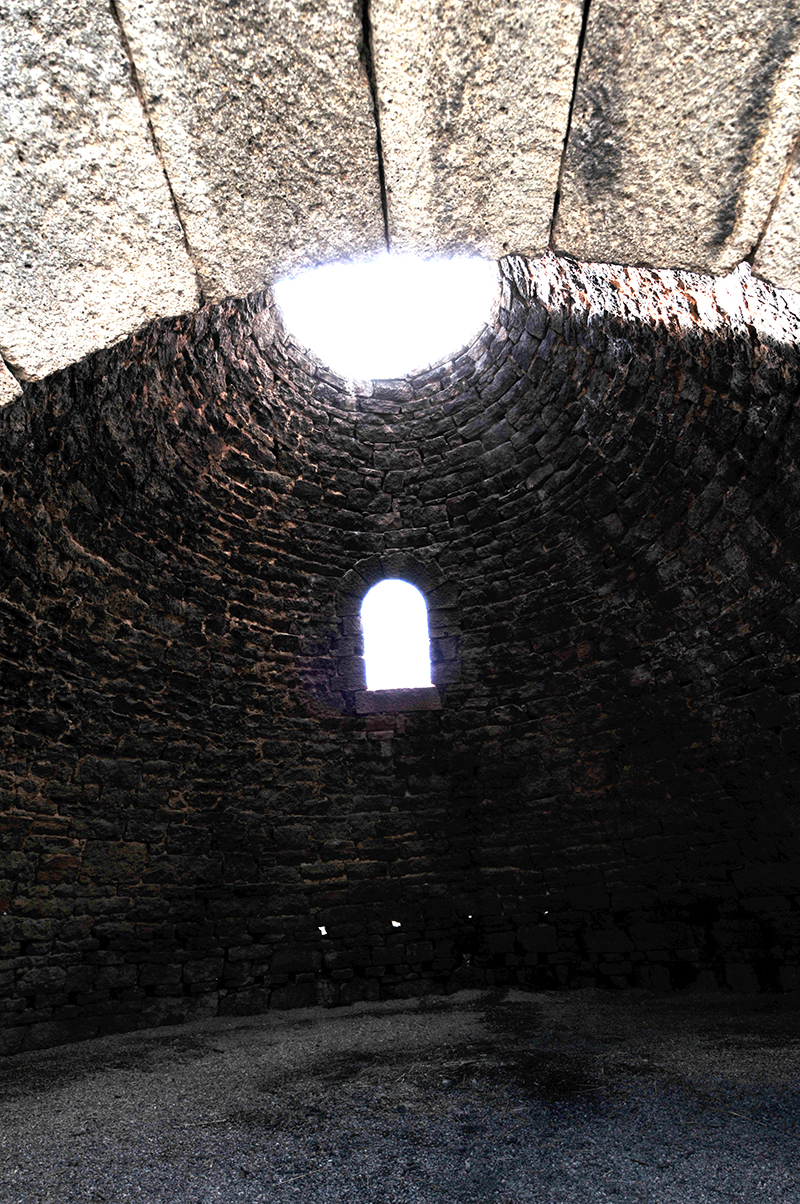
History of the ovens.How they make charcoal.The six ovens all lined up. The setting was georgeous.The entry is about six-feet high. The holes in the side allowed workers to control the air flow. A steel door used to be on the front of the oven.It was hard to get a good photo of the interior, but I bet it was cozy place when the weather was bad. Best of all, you could have a fire!
From the ovens, we drove south on Highway 50, then turned onto Highway 93, also known as the Mormon Trail. We drove for more than an hour; it's a lonely road that rivals Highway 50. It follows the valley south. Along the way we saw multiple entrances for the Silver State OHV Trail, a place with hundreds of miles of off road trails. We didn't explore any, but it looked like a fun place to motorcycle/jeep/ATV.
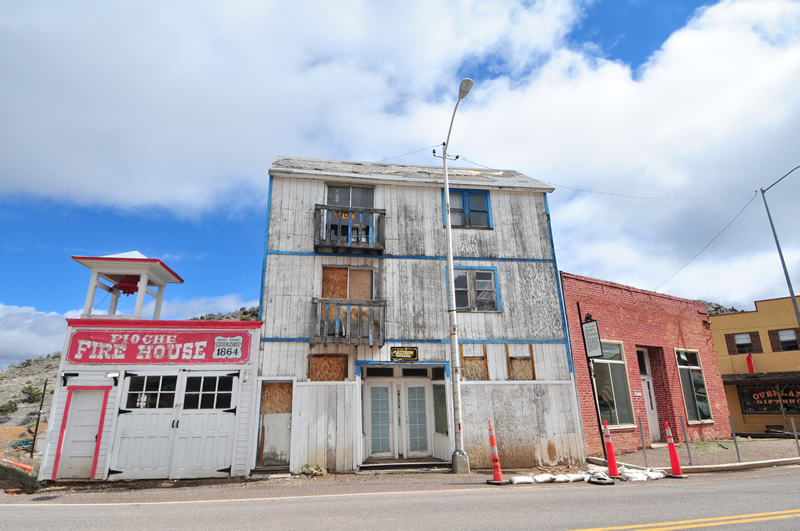
Eventually we arrived at the small town of Pioche, a mining town dating back to 1864.
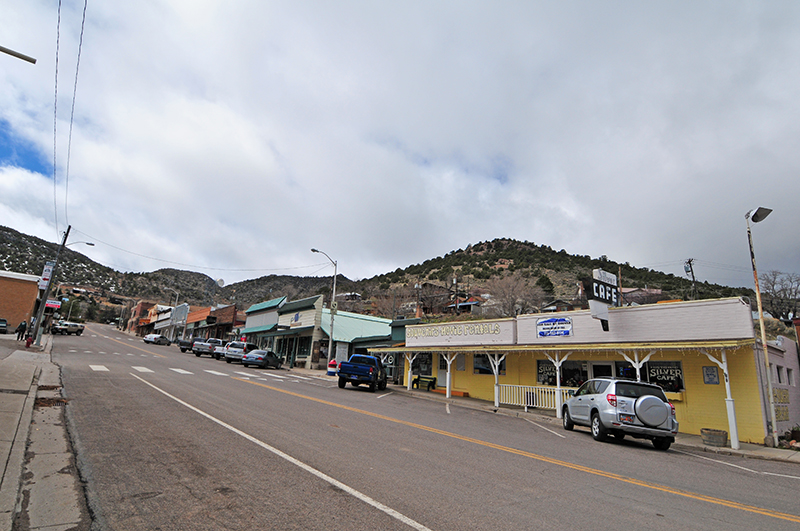
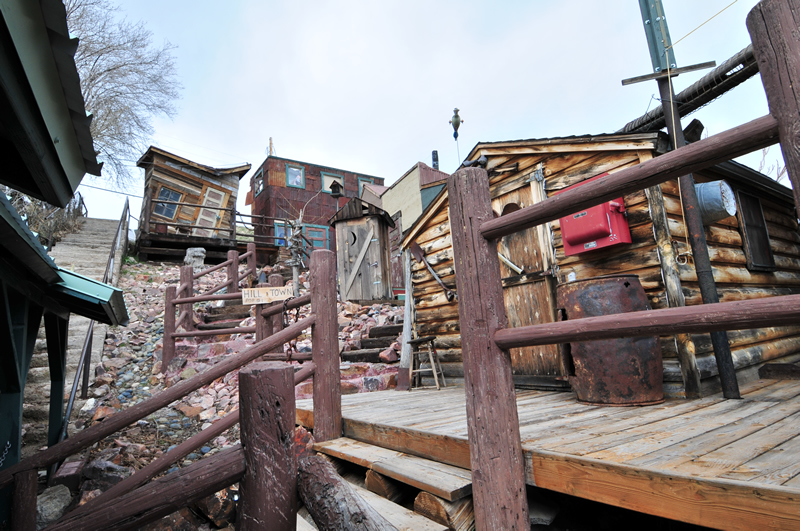
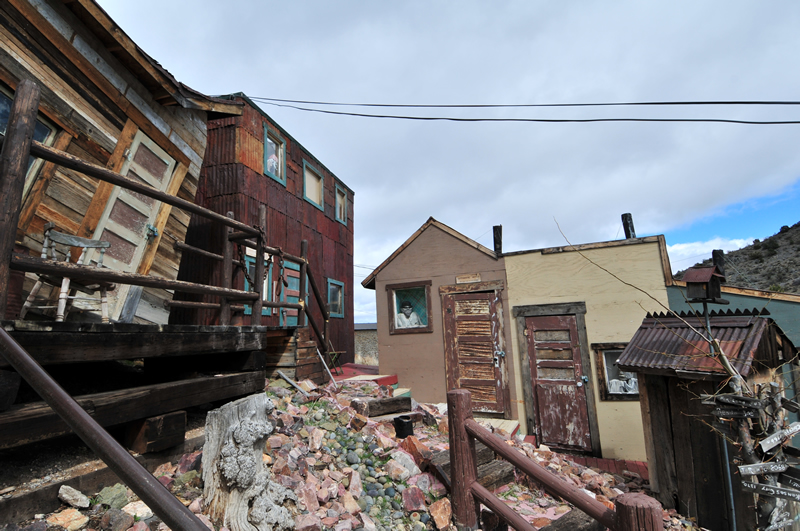
Firehouse building from 1864. The red building was of a similar vintage and was a business community hall/club at the time.This is downtown PIoche. Yes, the road climbs, but not quite as steep as the photo suggests.We weren't sure what this was. It appears to have been some kind of old, pretend mining camp, but a goofy one. Maybe during the summer something happens here?There's a sign on the door of the Assay office. it read --- Optomistic Assay: We find the silver lining. While some Assayers were professionals, others were true amateurs. Samuel Clemons wrote about one assayer in Virginia City who had a habit of finding a silver lining in all ore he assayed. So, the miners gave him some worthless rock to assay and, sure enough, he told them there was value (which made the miners laugh).
I talk about the town of Pioche (pronounced Pee-oach like poach according to author Rich Moreno) in my SLAG book and quote a Montanan who went to Pioche in 1872. The miner wrote back to his friends in Montana about how dangerous the place was. He said he was tired of carrying his guns all the time. It was the deadliest place in Nevada for a few years.
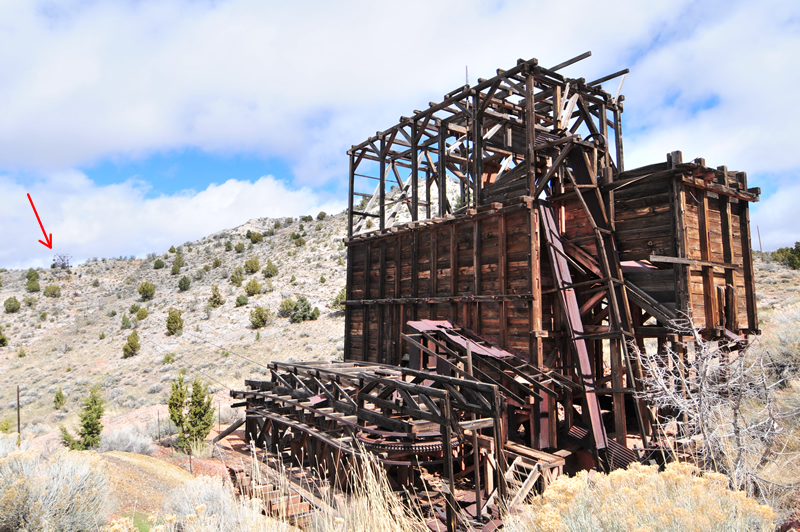
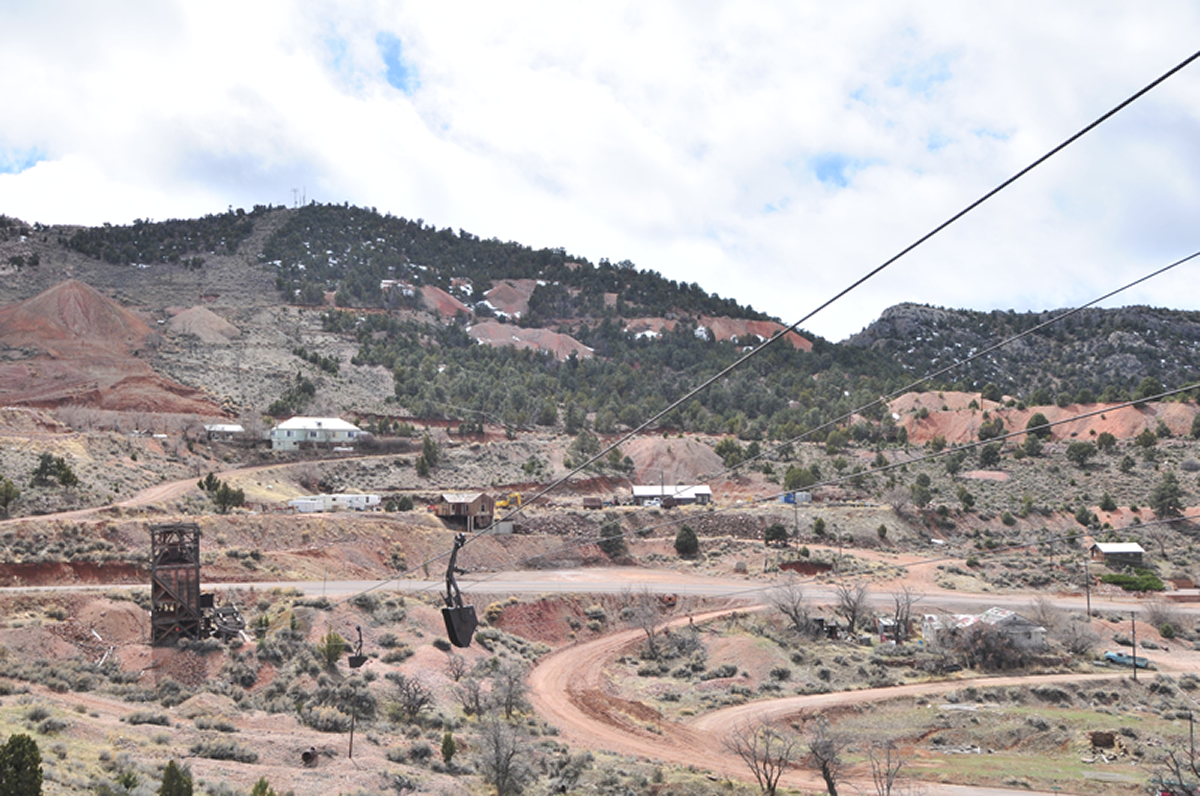
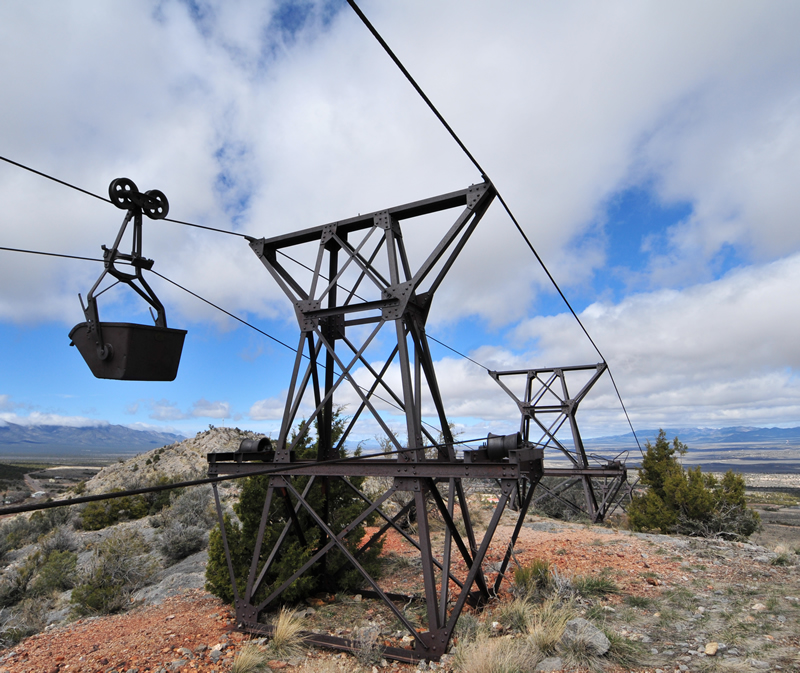
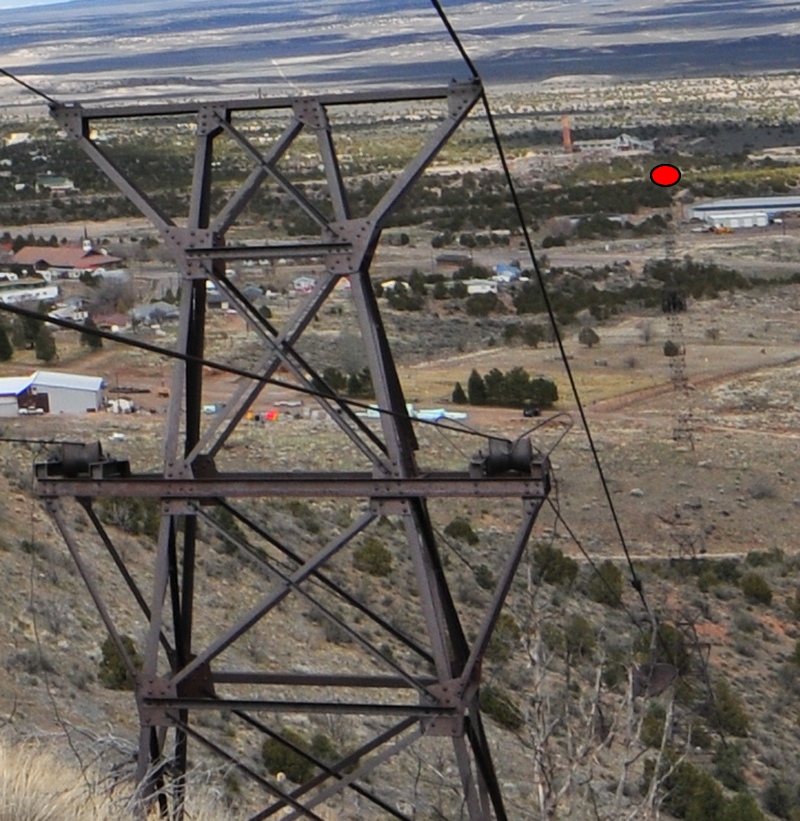
There are a variety of mines, equipment, and tailings above Pioche. We decided to investigate them, in the hopes we could find some old equipment to photograph. After a short drive, we found an old ore tram, built to haul ore from the mountain, over a ridge, and down to the valley floor. It worked similar to a ski lift. Here are a series of pics to show how far the ore was sent:
The ore started at this end, a powerhouse that controlled the cables and ore cars. Somehow, the cars were filled and they began their trek upwards to the ridge where the arrow points.At the lower left is the building shown in the upper photo. You can see an ore car still dangling from the cable. I took the photo from on top of the ridge. In the background are numerous mines and tailings.This is the top of the ridge looking toward the valley. That's another ore car.The red dot shows how far the tram extends. Pretty cool!
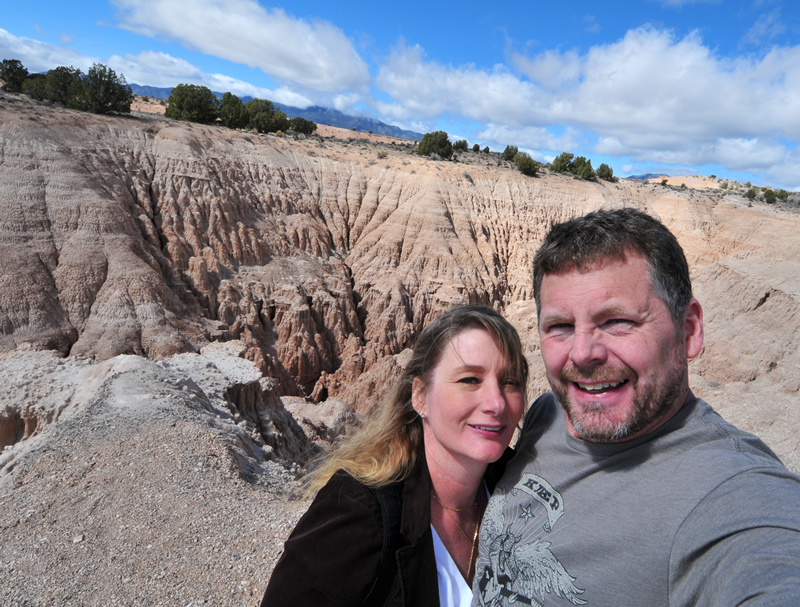
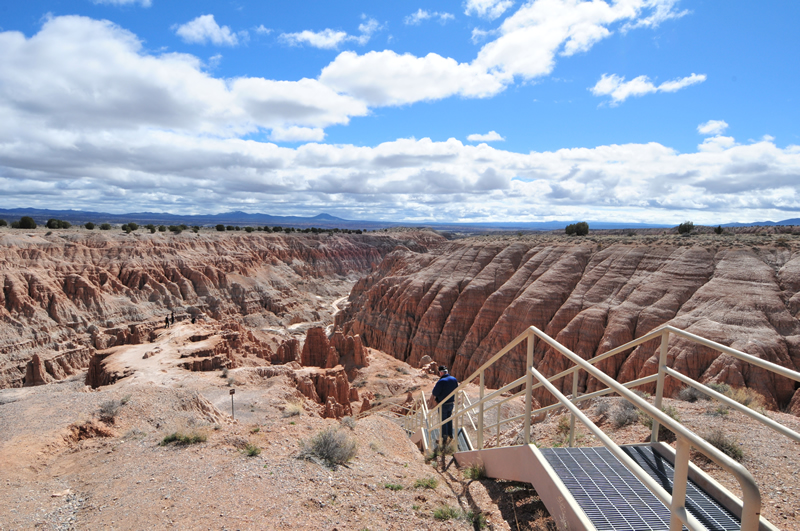
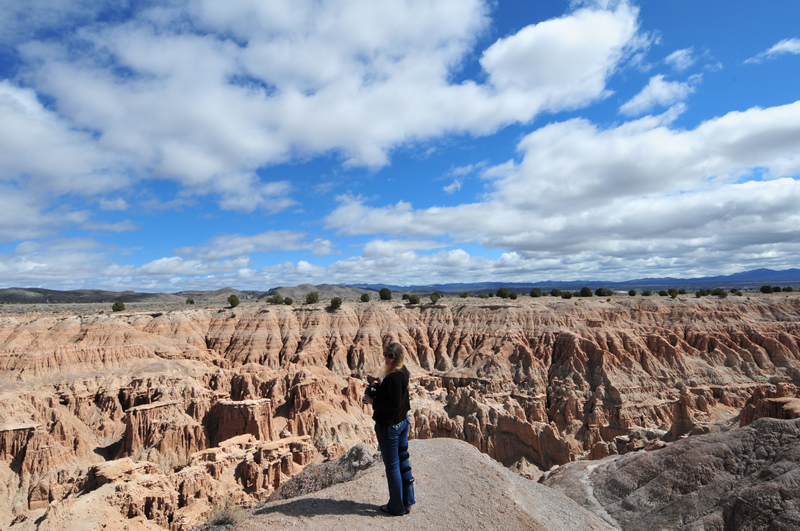
We left Pioche and the trams behind for the natural scenic beautiful of Cathedral Gorge, another beautiful Nevada State Park. Those that have visited Bryce Canyon National Park will recognize the similar erosion characteristics. While Cathedral Gorge is pretty, it doesn't have the color of Bryce.
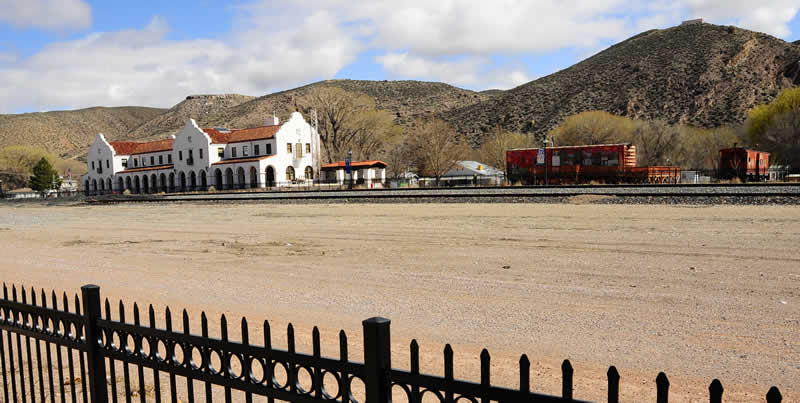
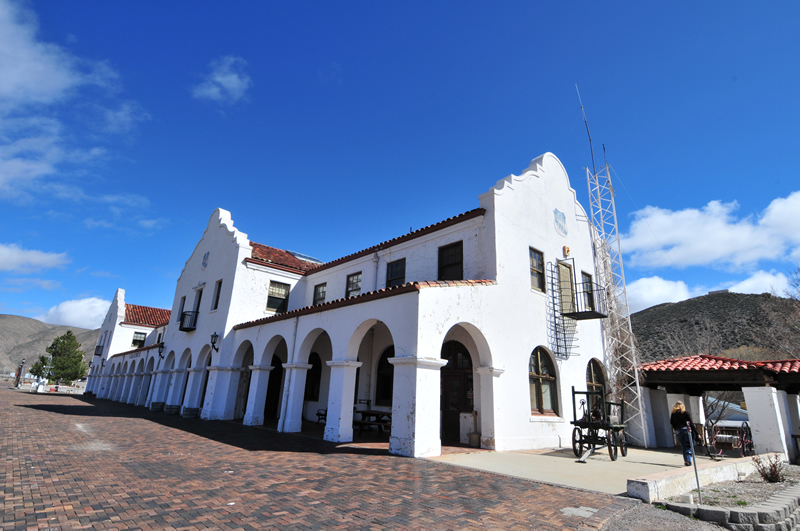
We didn't linger long at Cathedral Gorge. Following the gorge, Highway 93 becomes an unexpectedly pretty drive. The road wound through canyons similar to drives we've had in southern Utah. Eventually we arrived in the small town of Caliente. There's not a whole lot in the town, but one neat place is a former train depot that is now a town library and museum, both closed during over visit.
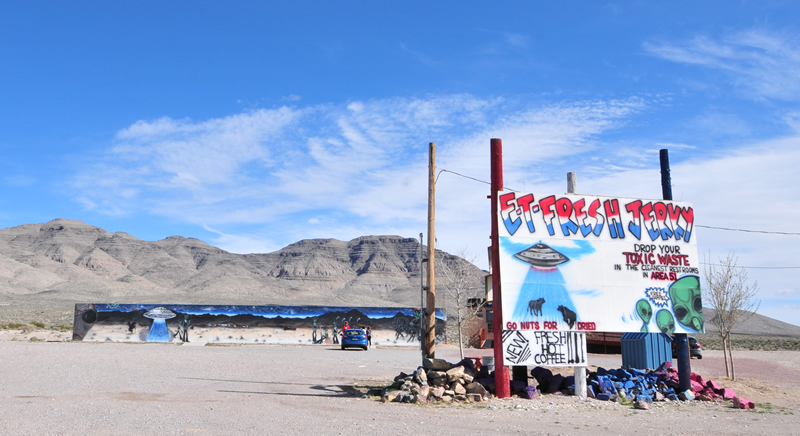
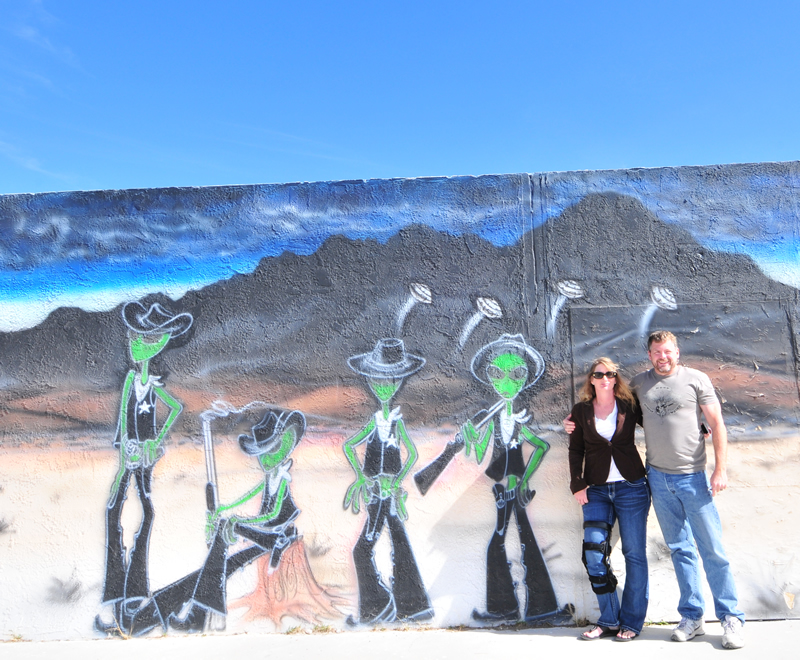
The drive out of Caliente was equally beautiful, until we left the area behind and entered another long valley that took forever to cross. We crossed several more valleys, but aliens blended time and space in such a way that we didn't know how long that took. Fortunately, our phones got service just as the Alien's spell wore off to tell us were were at Crystal Springs and the start of the Extraterrestrial Highway.
Our first stop was ET Beef Jerky where we took a couple photos:
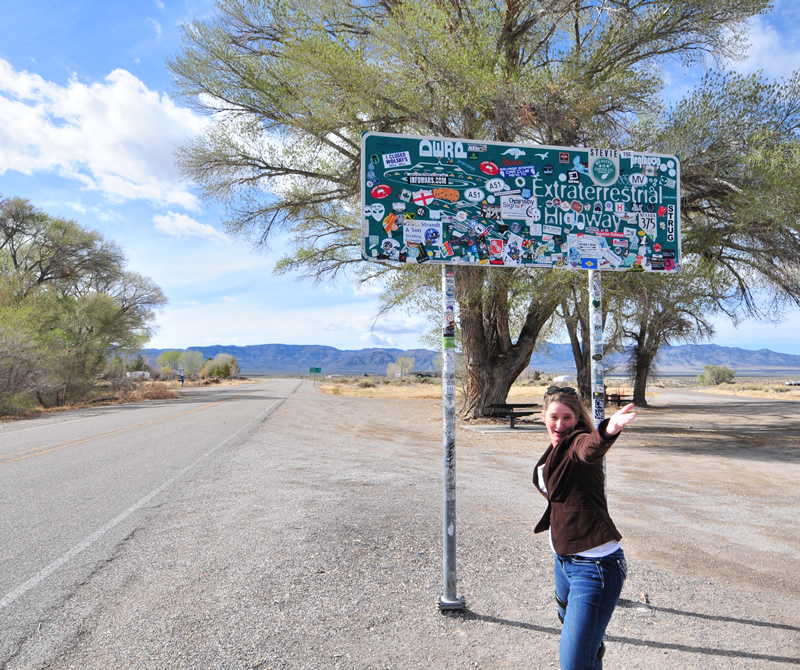
Our next stop of the ET Highway sign, just a short drive away.
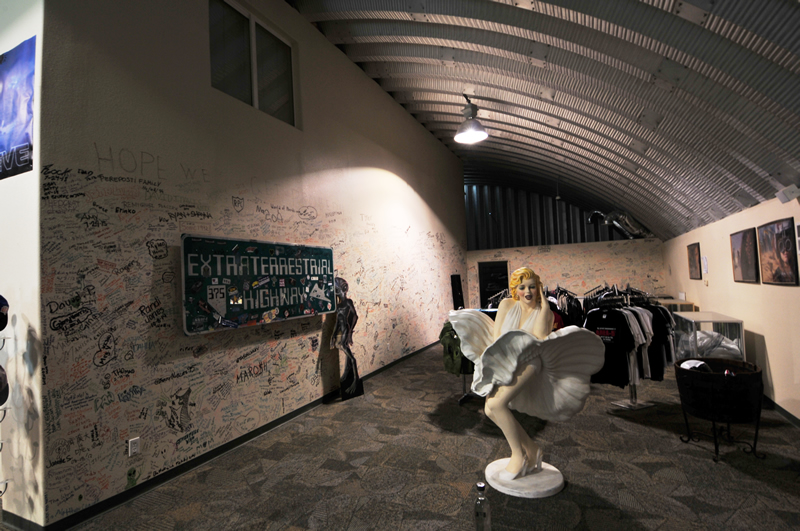
I was here almost ten years ago. The number of stickers has grown.
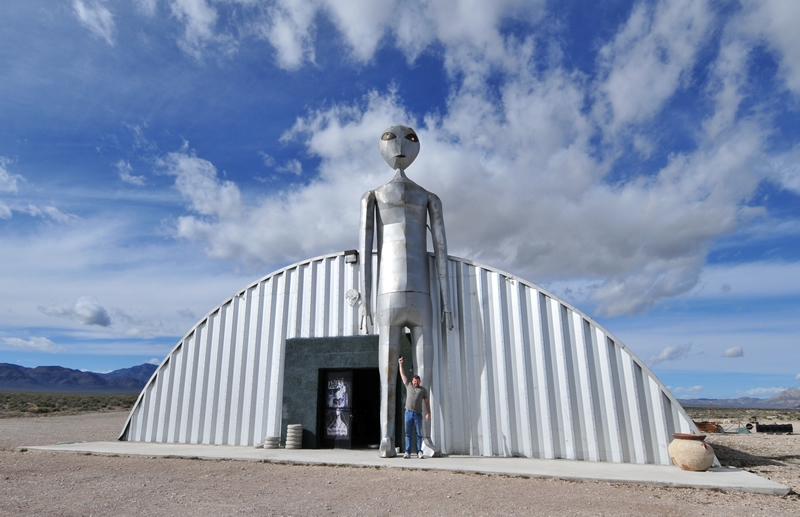
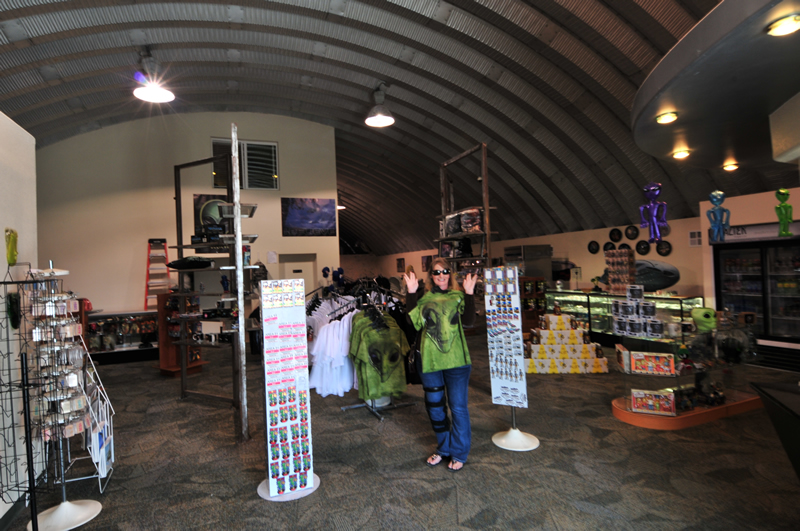
Just up the road from the sign is the Extra Terrestrial Research Center. We couldn't resist a visit.
ET never looked so big in the movies.
The day was getting late, so we made a run south for Vegas. That's when we discovered the high price of rooms there. So, we drove two hours south to Laughlin, where rooms were less than half those is Vegas.
I thought I was going to have to report that we'd seen no jeeps today. But then, just as dusk was falling, we passd this beautiful flattie near Spotlight, Nevada. We were lucky to get this photo (thanks to my wife!). As we passed the owner, he honked at us. He must have realized we were taking pics. We also wondered if he was a reader and recognized our Washington plates.
Tomorrow we drive further south for Yuma. Why? Why not!
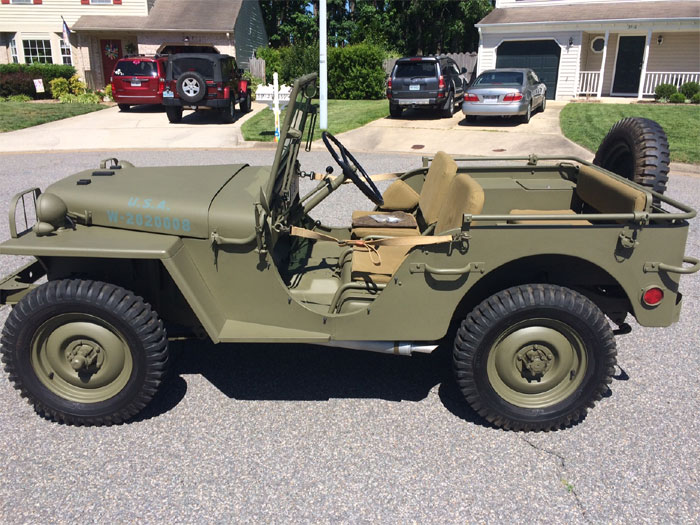
Fully restored 1941 WILLYS MA Prototype Jeep in factory class condition. This Jeep is ready to drive and display. Approx. 900 miles since restoration and full drive train rebuild. This Jeep has a clear Virginia title. 2 keys are included with the Jeep. Original MA Maintenance Manual is included. Make sure you look at all the 151 pictures and 2 YouTube clips in the provided links.
Serial: MA79594 Engine: MA-79924 Body: 1076 DOD: 7-24-1941 Registration# W-2020008 is correct for this serial MA79594
Frame: Original Frame with original serial number tag riveted in the LH bumper gusset reinforcement. No rust, no pitting, no structural issues. “STEEL” marked pintle hook.
Body: Ken Hake body with original MA cowl – No bondo on this vehicle. Rust free. Painted in 319 with the correct blue drab hood and rear panel registration numbers. This number is correct for this MA serial #. Correct 3 stud spare tire carrier. John Geesink windshield has 2 manual wipers. LH pane has 1” crack in upper left corner. Hardware is marked TR20 in most places. Correct canvas fasteners all around. John Geesink tank. Original MA tool box locks for H700 key. 2 manual wipers. KingBee mirror.
Engine: Original, fully rebuilt WILLYS MA engine in very good running condition. One exhaust valve leaks at idle - it can be heard in the clips. Once RPM is slightly above idle, leak disappears. I’m treating this issue with lead additive as timing is correct and compression is good as well. Cylinders are STD bore. See link: http://g503.com/forums/viewtopic.php?f=4&t=229678 Compression test Nov 2013: #1: 90lbs; #2: 85lbs; #3: 90lbs; #4: 93lbs. Correct CARTER 450S Carburetor - was NOS when installed. Reproduction AC Pancake air cleaner. Water pump has a small occasional leak at the pump shaft seal. Radiator is a KEN Hake reproduction.
Axles: Rebuilt 1942 Willys axles with original MA axle shafts
Transmission: Correct rebuilt T84 transmission -side shift – correct RH side fill and drain plugs, shifts thru all gears, has the tendency to jump out of 2nd when coasting.
Transfer case: Correct rebuilt T18 transfer case, original thin shift levers. Ken Hake E-Brake housing
Brakes: All new brake shoes and wheel cylinders as well as master cylinder and brake lines. The Jeep stops fine and does not pull to one side. Silicone brake fluid from day one.
Steering: Original rebuilt ROSS steering gear with the raised collar around the sector shaft housing. All new tie rods and bell crank bearings. Correct MA shifter setup mounted to clumn
Wheels and Tires: 5 original 16-4.00 Kelsey-Hayes solid drop center steel wheels with 6.00-16 NDTs made in the USA. Tires are 95%. All tires hold air. The Jeep currently has front hub flanges fitted where the splines have been removed. An original set of hub flanges is included.
Electrical: Correct 6V Neg ground system: Starter: AUTO-LITE MZ-4100; Regulator: AUTO-LITE VRP-4006-G; Generator: AUTO-LITE GDA-4810; Distributor: AUTO-LITE IGW4129; Date code: April 1941 Original MA Push-pull main light switch. Original SPARTON horn. All auxiliary equipment works the way it should. Battery is 2 years old from Batteries Plus. Ammeter indicates charging above idle.
Wiring: Correct wiring harness from MV Spares
Lights: SEELITE headlight bulbs with correct CB marker lights with the round cast mounting pads. Original CB service and stop taillights. Lights work the way they should incl. all BO lights. Reflector bezels are unmarked and have plastic lenses installed.
Gages and Controls: Original and correctly restored gages, NO flaking numbers on the speedo wheels; speedometer cable is new; ALL gages work - speedometer shows 50mph when you actually go 40mph, needle does NOT bounce. A 50psi oil sending unit is installed. All knobs, switches and controls are correct for the MA.
Seats/Canvas: Correct split frame driver and passenger seat. Correct MA rear seat. Seats made by Ken Hake. All Beachwood Canvas. Original MA half doors are included. MA door way straps were NOS when installed.
Clips were take Aug 9th 2014:
The detail pics were taken Aug 9th 2014: http://www.surfacezero.com/g503/showgallery.php?cat=3823
Also included:
8 1/2 x 11 Show/Display placard Original TM 10-1103 MA Maintenance Manual Dan R.Post copy of TM 10-1103 Some small MA parts
Awards: This vehicle was only once entered into judging and won 1st Price in Factory Class restored vehicle WW2 category in Aberdeen 2012.
Auction Terms & Conditions: This vehicle is being sold as is, where is, with NO warranty, expressed or implied. I highly recommend an inspection or test drive in person for your confidence – A 3rd party inspection is welcome as well. Ask all questions you may have BEFORE the auction ends. Please allow some time for special picture requests and provide your email address with the request. I will not accept negotiations after the auction. The title (and a bill of sale) and vehicle will be handed to the new owner once the vehicle is paid for in full. No trades are considered.
A $500 deposit is due within 24 hours of end of auction. Balance is due at Pick-up of the vehicle within 14 days of end of auction – unless other arrangements were made before the end of auction.
Shipping: Buyer will pay all shipping costs. I can recommend www.uship.com for your domestic shipping needs.
Accepted methods of payment: $500 deposit by PayPal, the remainder in cash, certified US bank checks or wire transfer before pick up – no exceptions. All payments other than cash will need to clear my bank before the title or vehicle will be released.
International Bidders: International bidders are welcome! This vehicle is located in Virginia Beach, Virginia right by a major sea port of the Atlantic Ocean. I offer to transport the vehicle to a shipping broker in the Virginia Beach / Norfolk area free of charge.
Shipping across the US to a major port can be an expensive hassle for foreign buyers – this is your chance to buy a Jeep hassle free delivered straight to your broker.
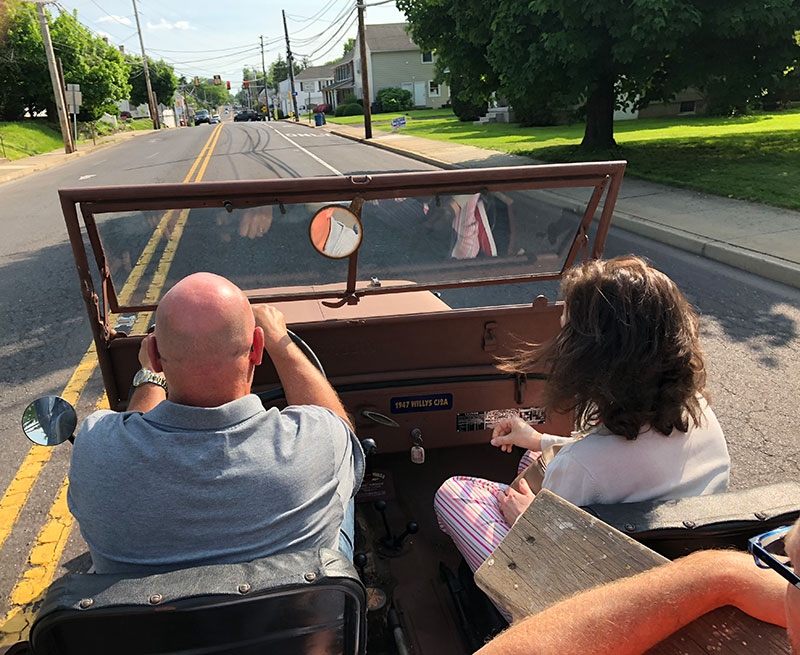
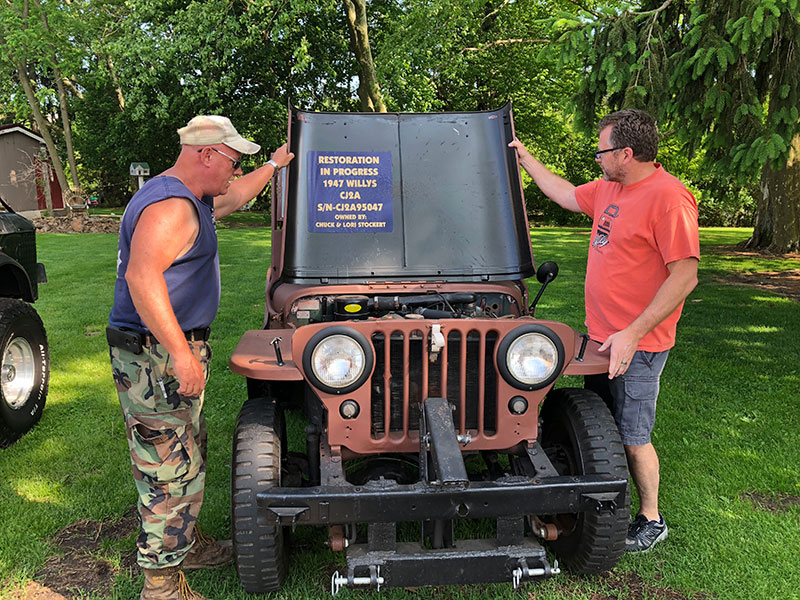
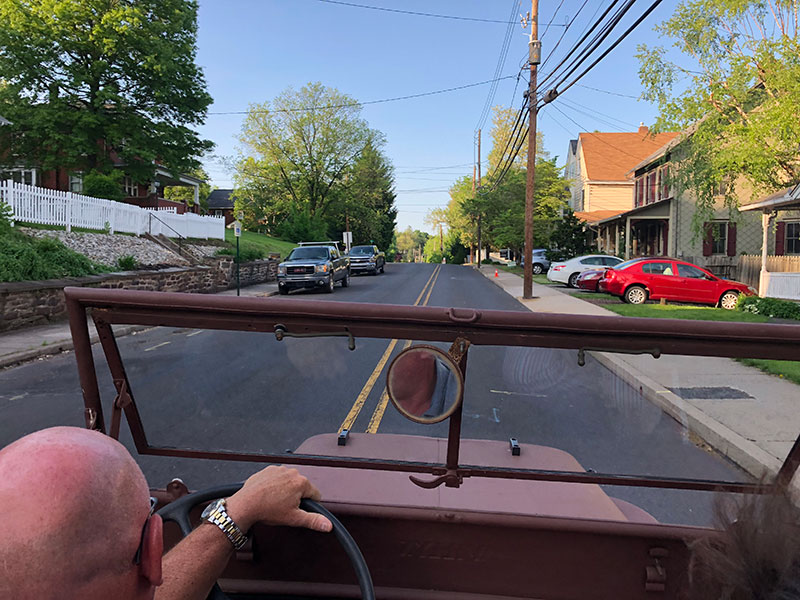
Heading out to dinner with Chuck and Laurie in their CJ-2A. It was perfect weather for a drive. in my hand is a step ladder so we could get Ann in and out of the jeep.
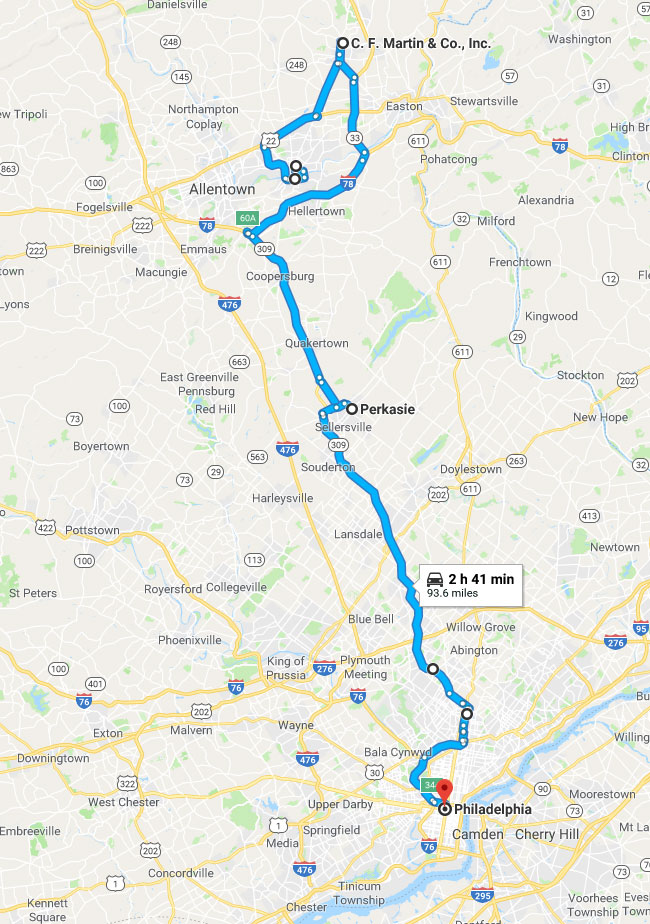
Day 25: We changed up our plans for Wednesday and it all worked well. We drove from Bethlehem to Philadelphia, with our Jeep's navigation steering us through north Philadelphia, precisely the place folks said we shouldn't go. Thanks Jeep-Nav. Why it didn't take us onto the Interstate is beyond me.
Wednesday's drive from Bethlehem to Philadelphia.
On Tuesday night, after looking at the Crayola Experience more closely, we decided that it might be geared too much for kids. So, after doing some research, we chose to visit the fairly new National Museum of Industrial History, followed by the Martin Guitar factory.
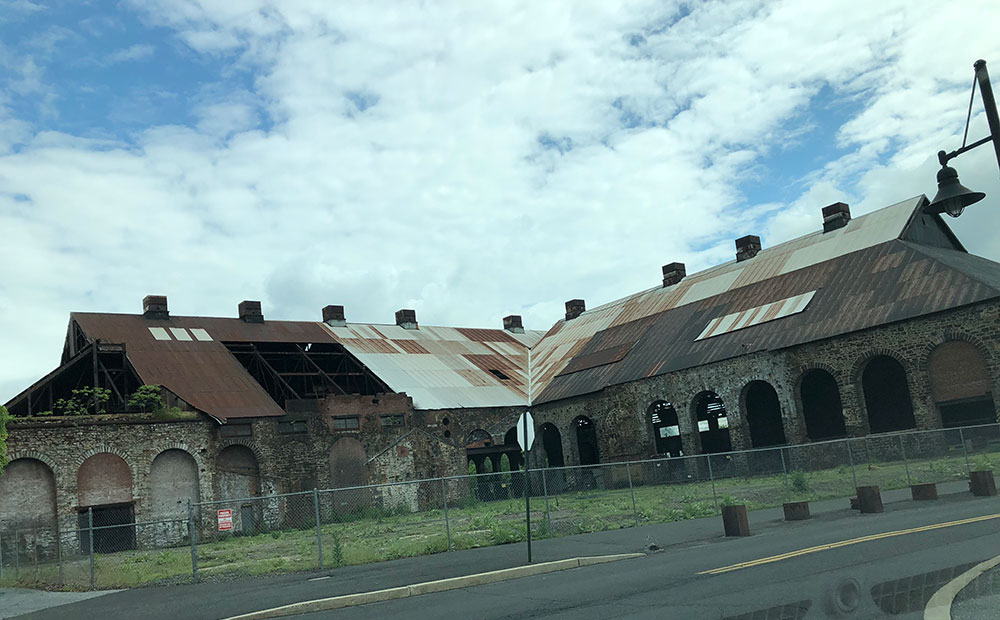
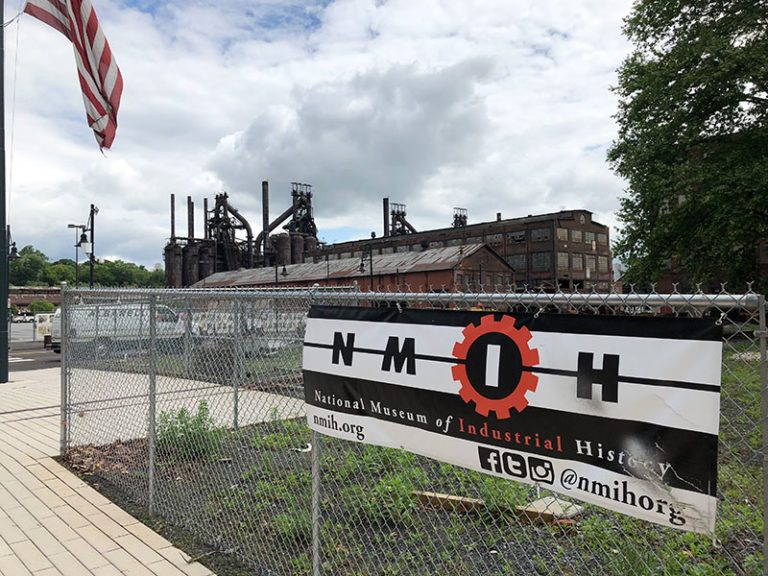
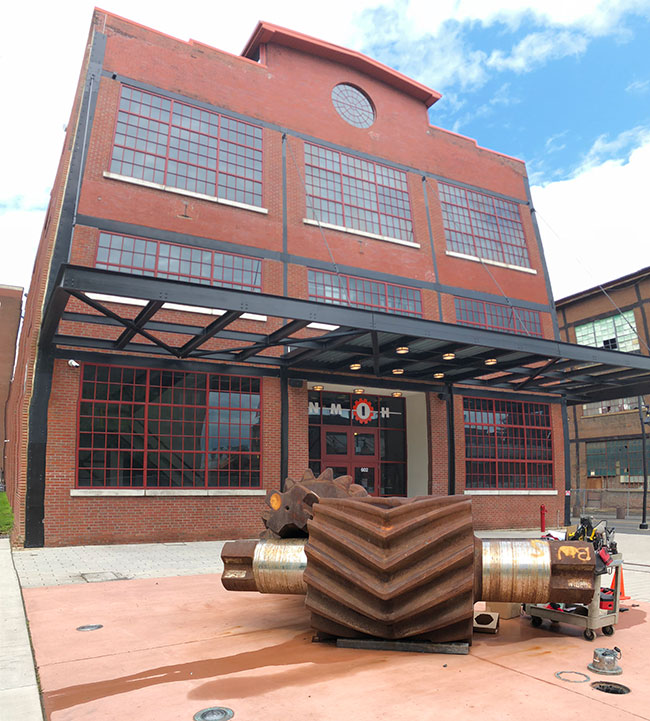
We started at the NMIH, located inside one of the original Bethlehem Steel buildings. There were plenty of reminders that the effort to restore/retain the Bethlehem buildings was an ongoing process.
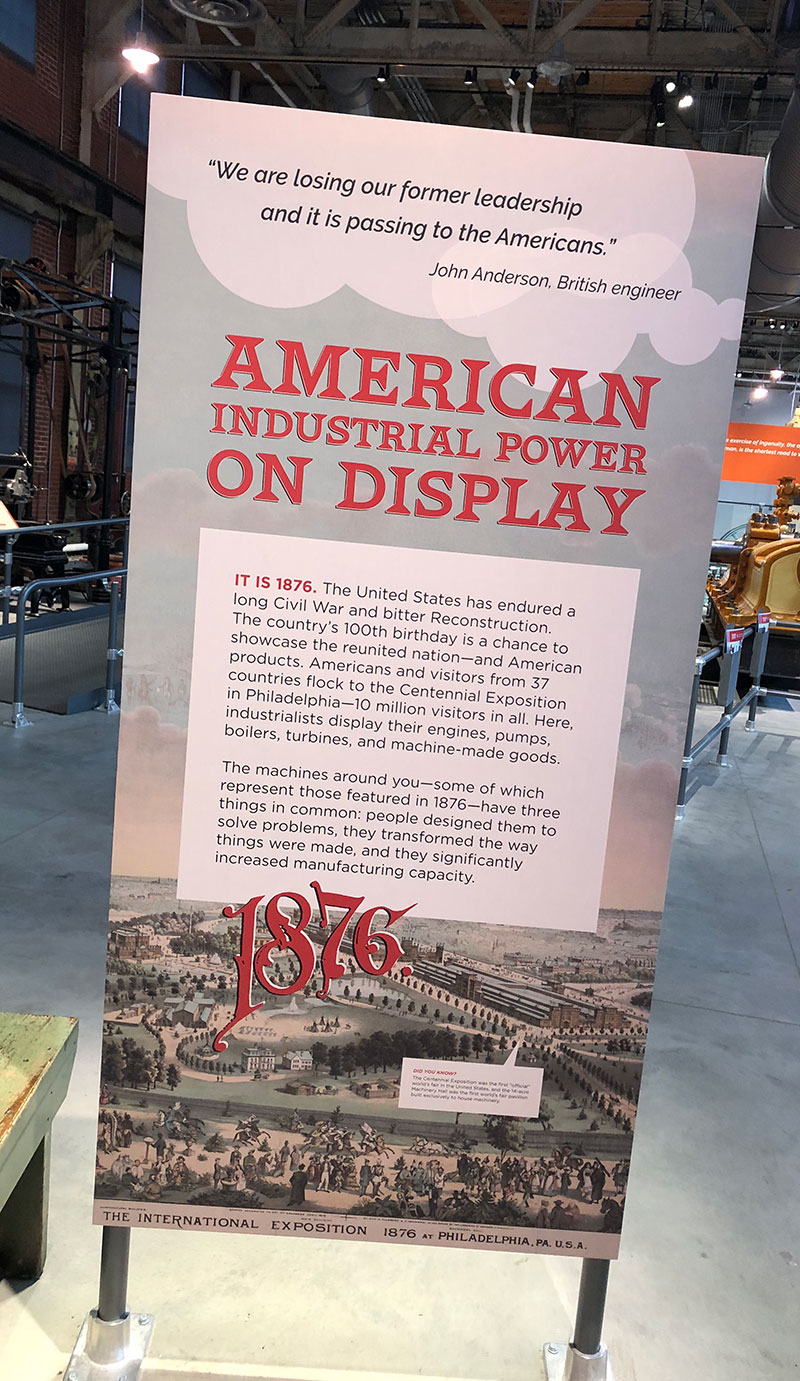
The museum is, in part, based around the International Exposition of 1876 Exposition in Philadelphia, the first World's Fair in the US. A guy who used to work at Bethlehem and now gives information to tourists greeted us as we entered the main hall. After he shared information with us we didn't know, I shared with him some background on how the Exposition came to be. It's a complicated situation, but in part it was the result of the 1871 Vienna Exposition which was attended by a number of Americans, including Rossiter Raymond whom I wrote about in SLAG.
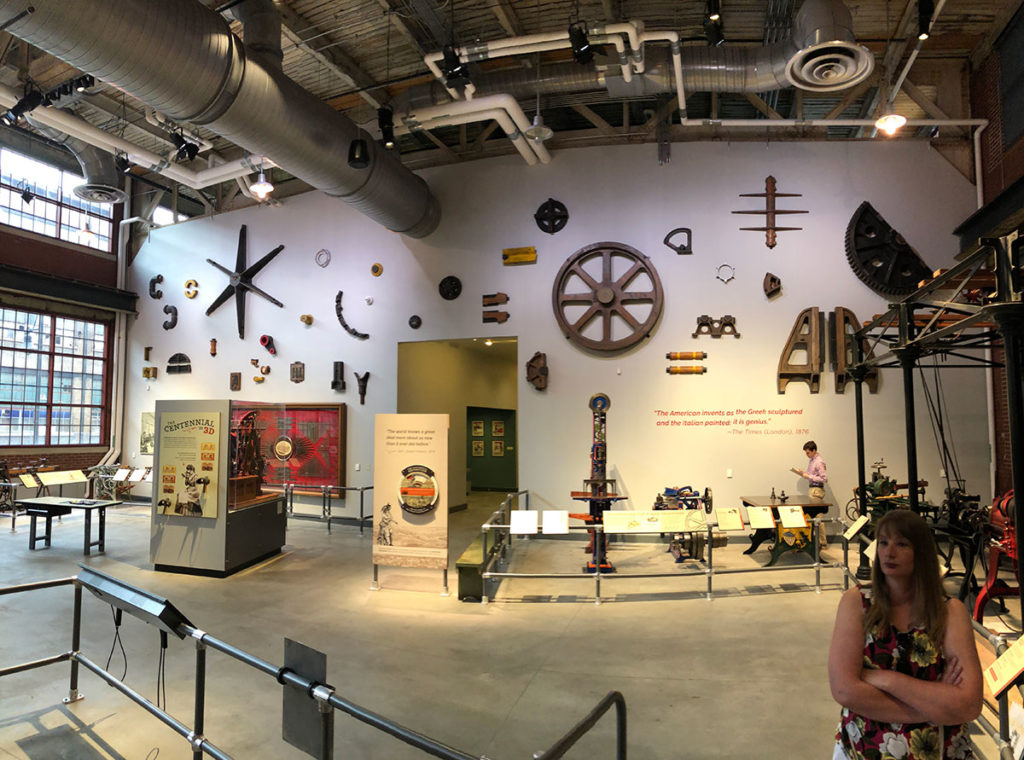
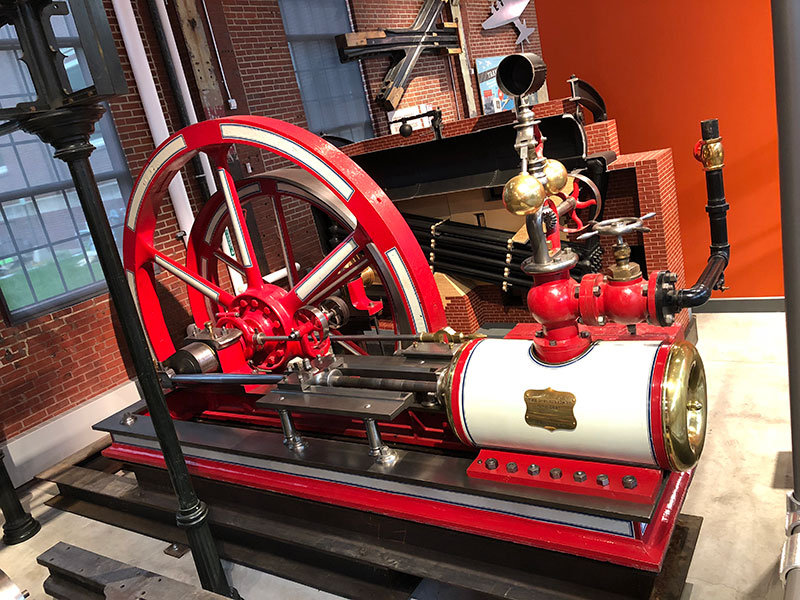
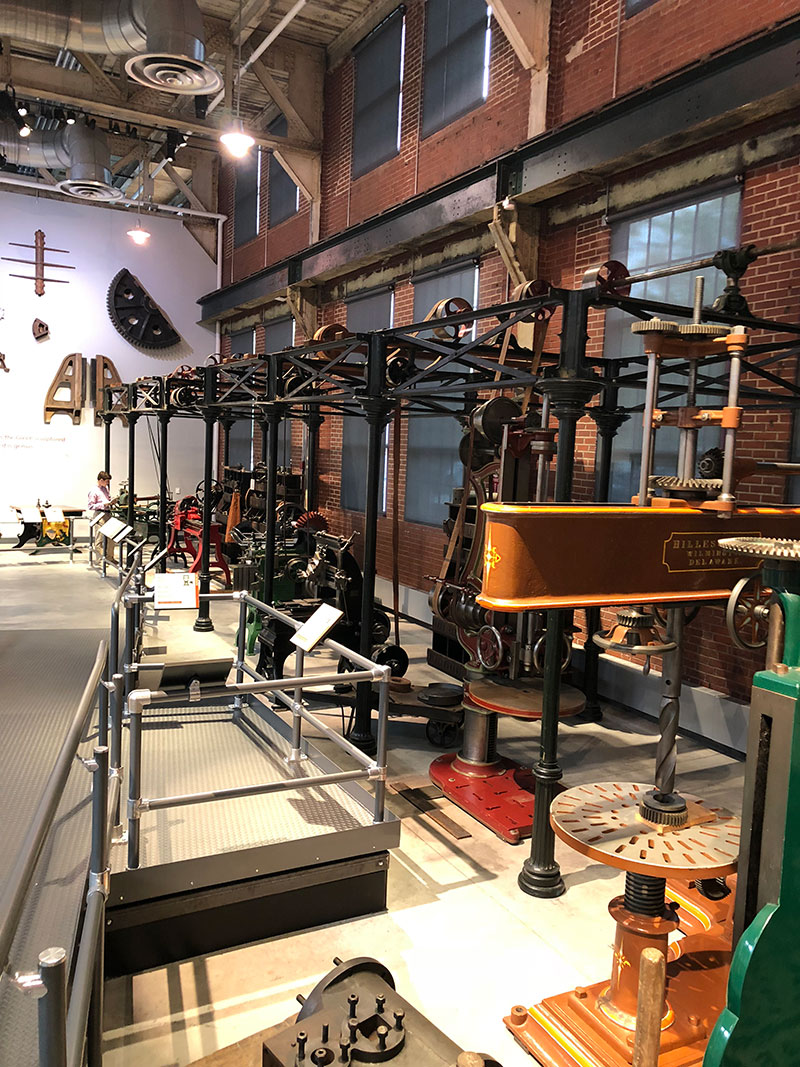
Here's some of the machinery that would have been at the 1876 Exposition.
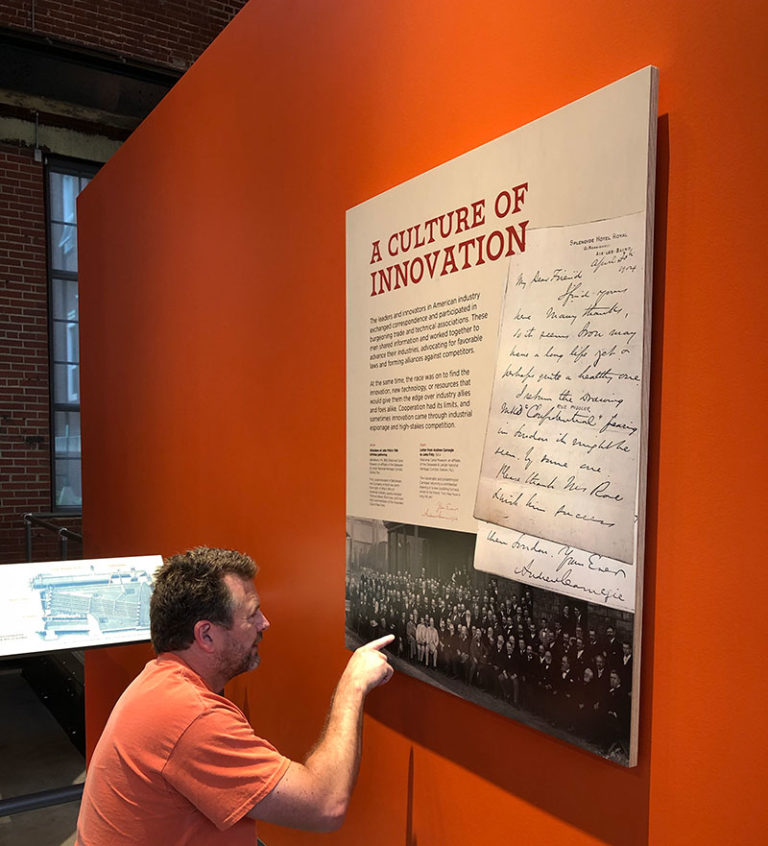
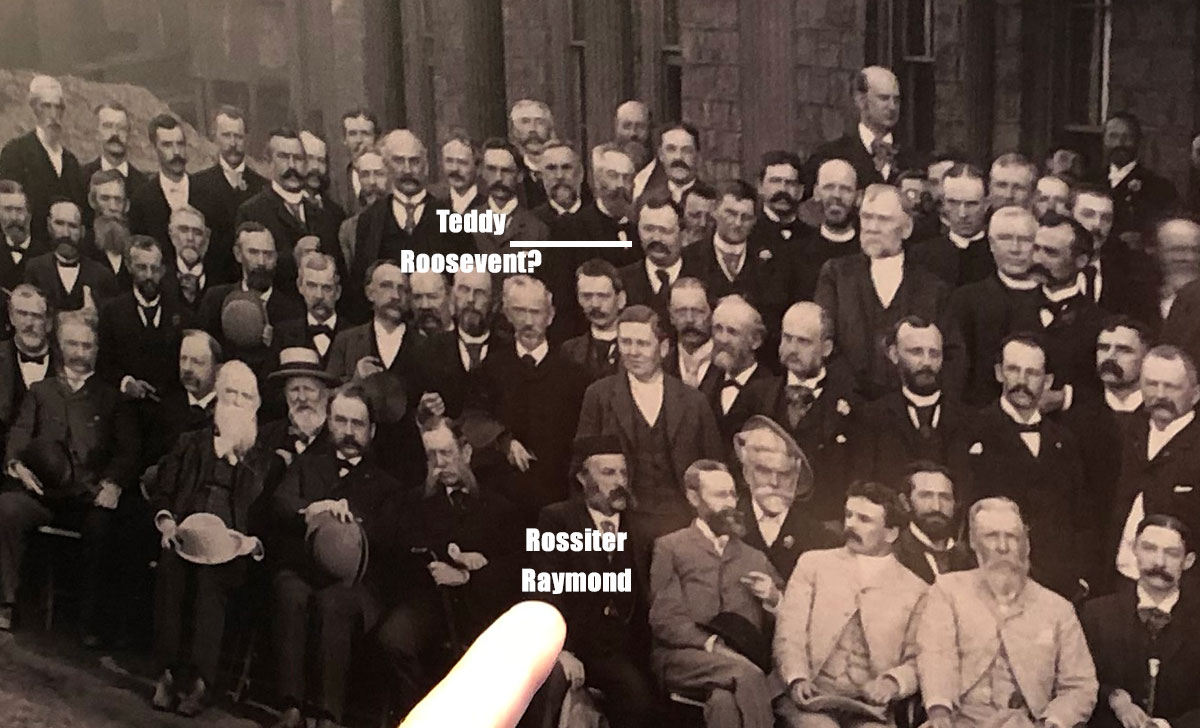
As we walked up a ramp I spotted a photograph showing Andrew Carnegie's birthday party in 1892. Ann suggested I look closer to see if there was anyone I knew. Sure enough, there was Rossiter Raymond with his trademark cap in the front row (he was a little vain about his baldness). His characteristic sideburns and mustache are pretty unique, too.
Two rows behind him looks to be a young Teddy Roosevelt, but I'm not 100% sure on that.
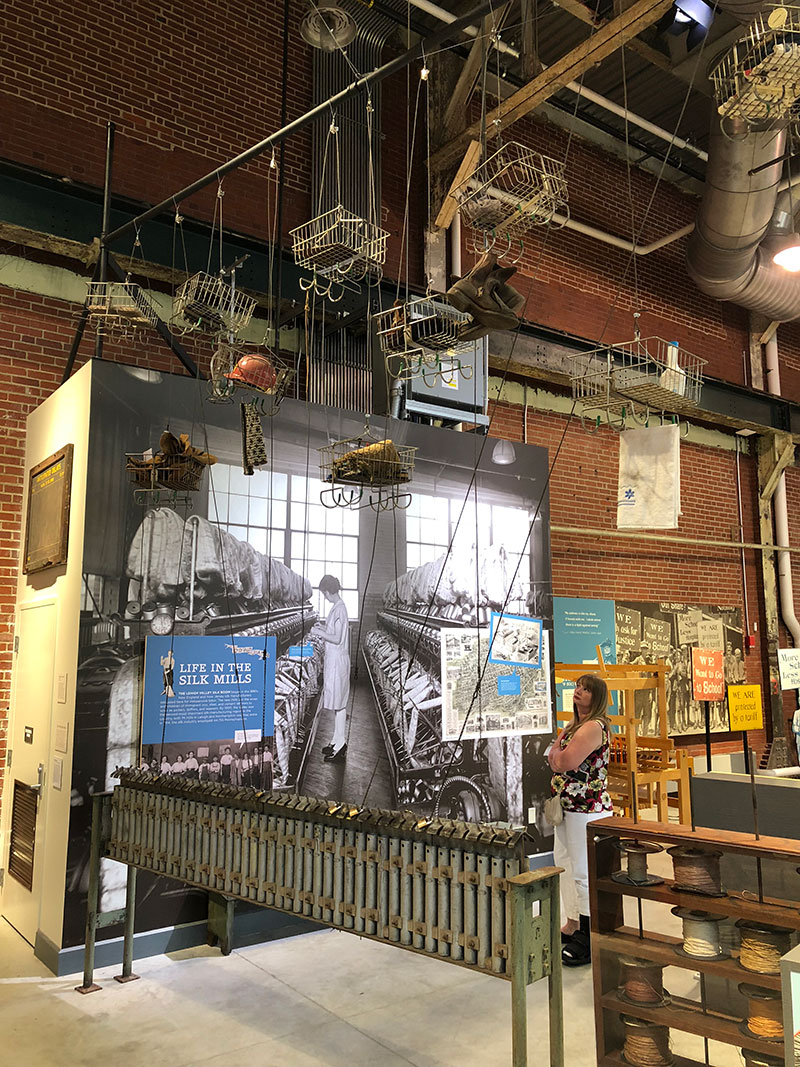
This setup was interesting. Rather than a row of lockers, employees put their items in baskets, hoisted them upward, then locked the basket's cable in place.
That's just a smattering of what we saw. We both thought it a good museum. Afterwards, we drove a couple blocks to a local coffee shop (LIT Coffee Roastery and Bakery). The owner helped served us coffee and she was a delight. It's a neat place; I hope it works out for her.
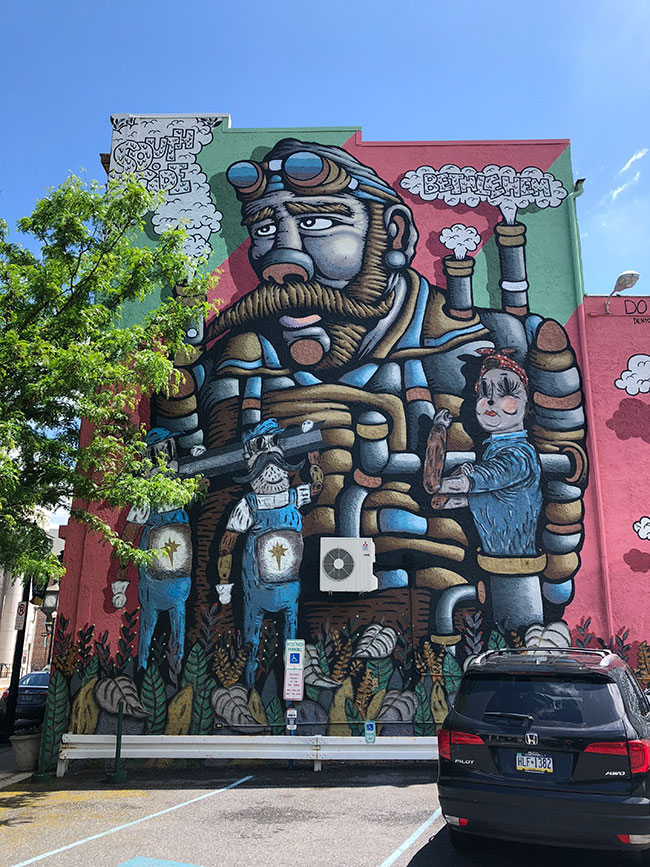
Outside the shop's building we spotted this mural.
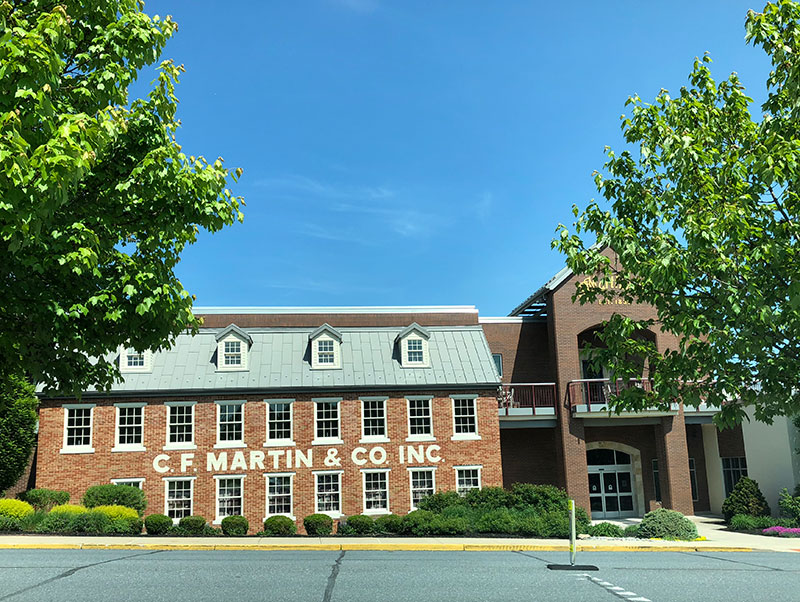
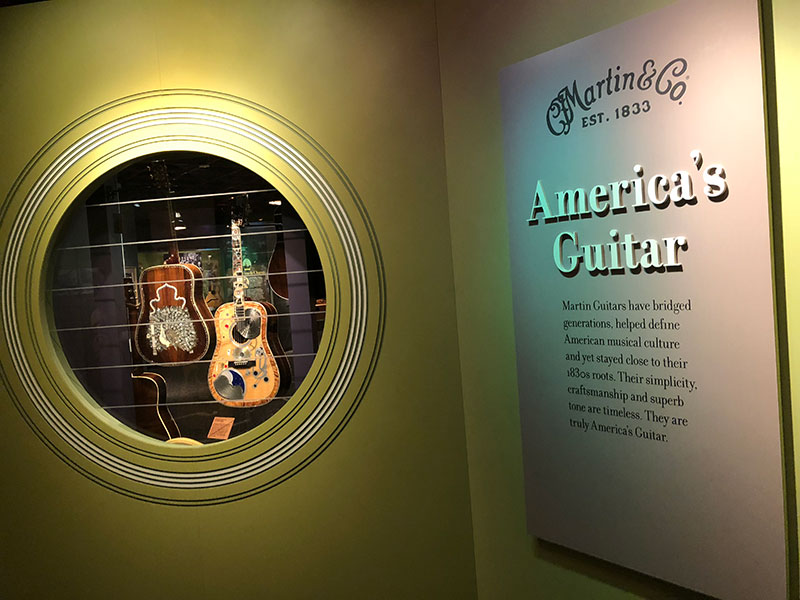
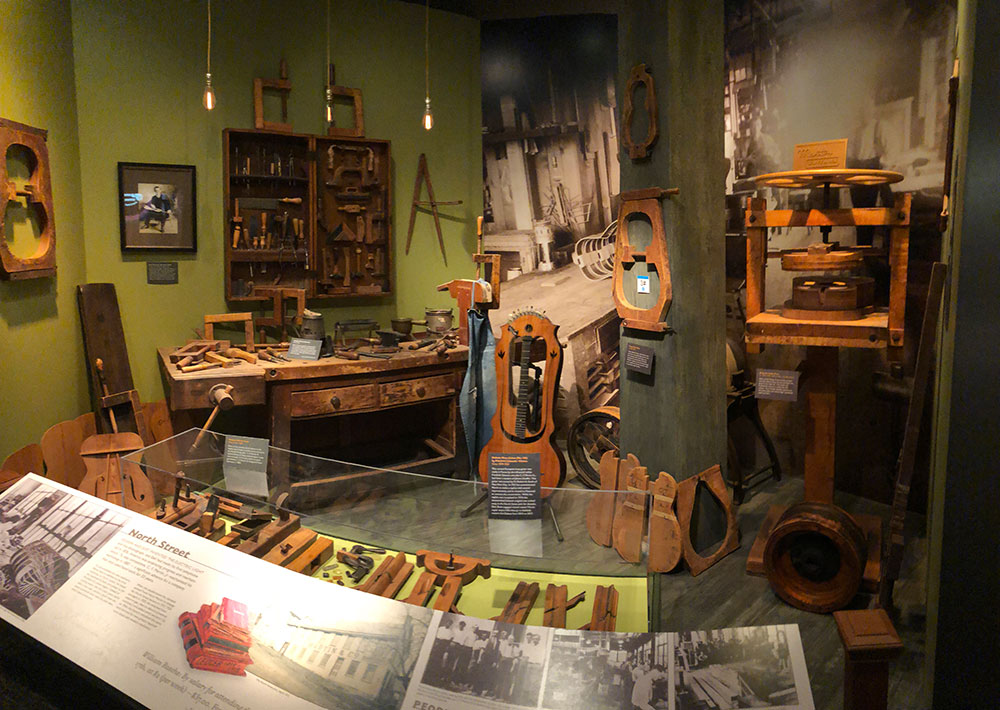
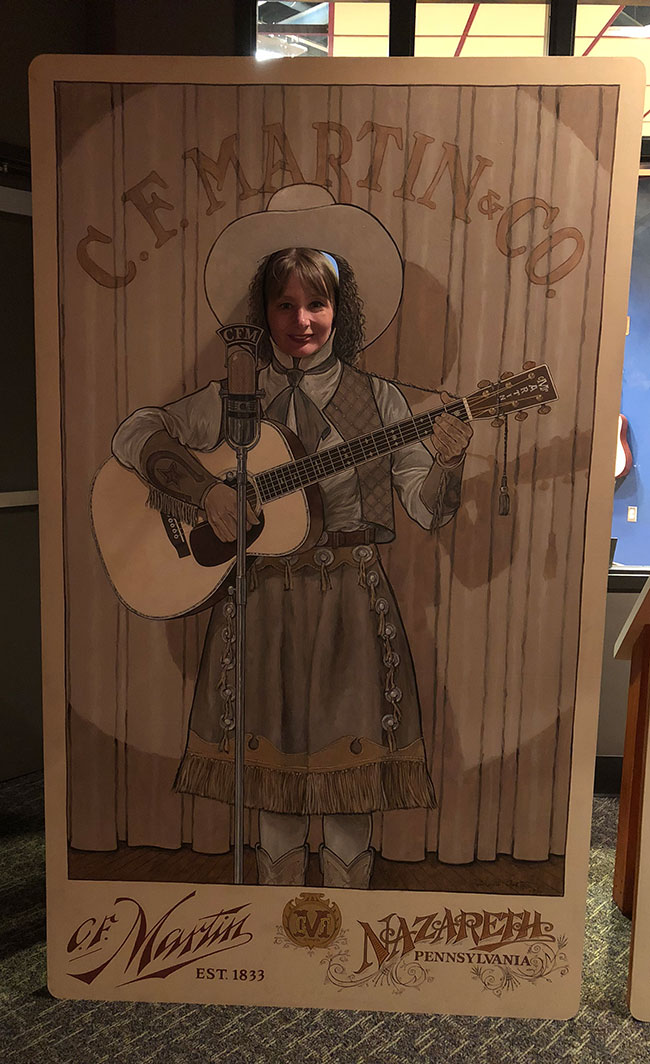
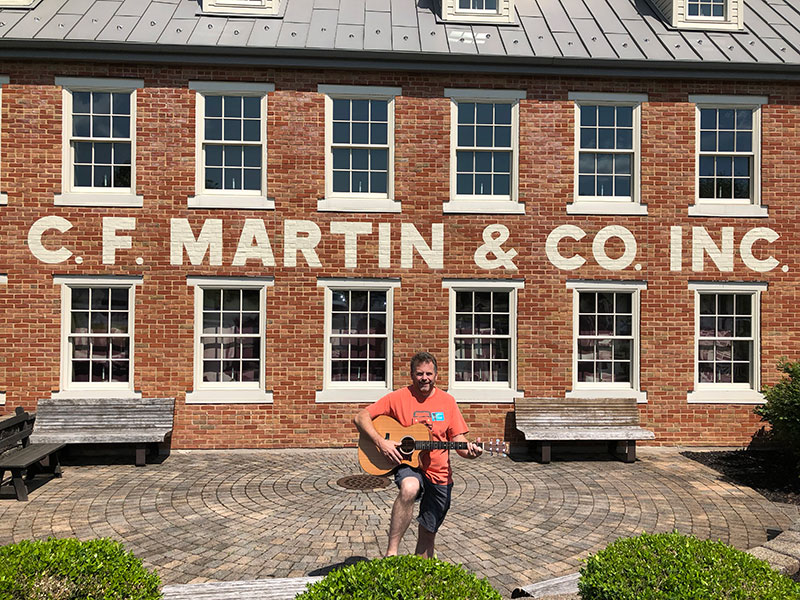
With some caffeine in us, we left for Nazereth to take a free Martin Guitar tour. I own a Martin, so we thought it would be neat to see the factory. As we waited for the tour to begin, we explored the free museum.
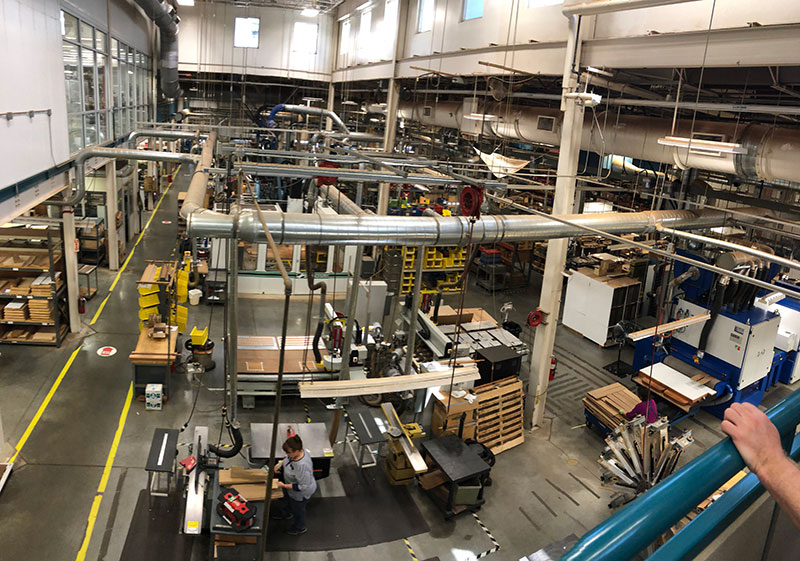
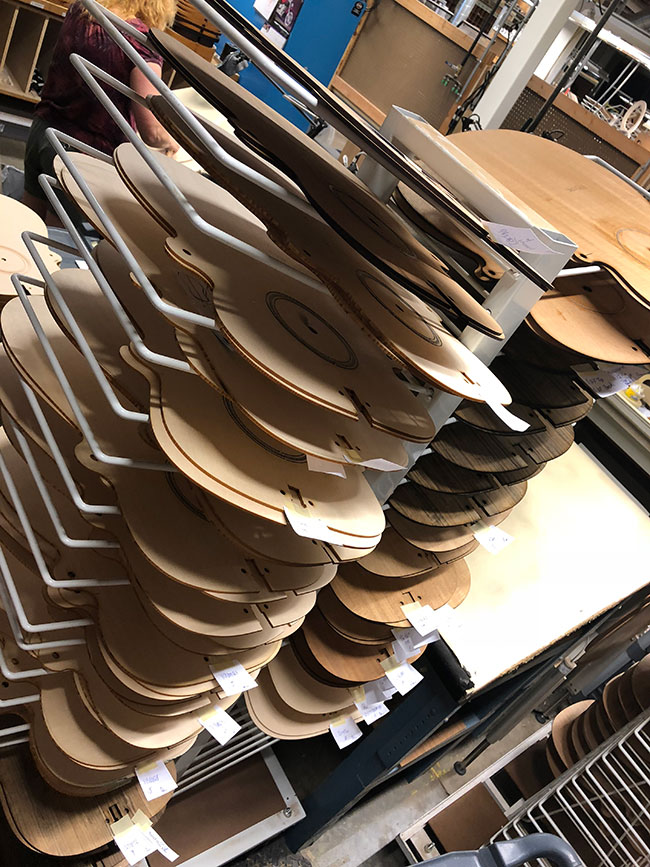
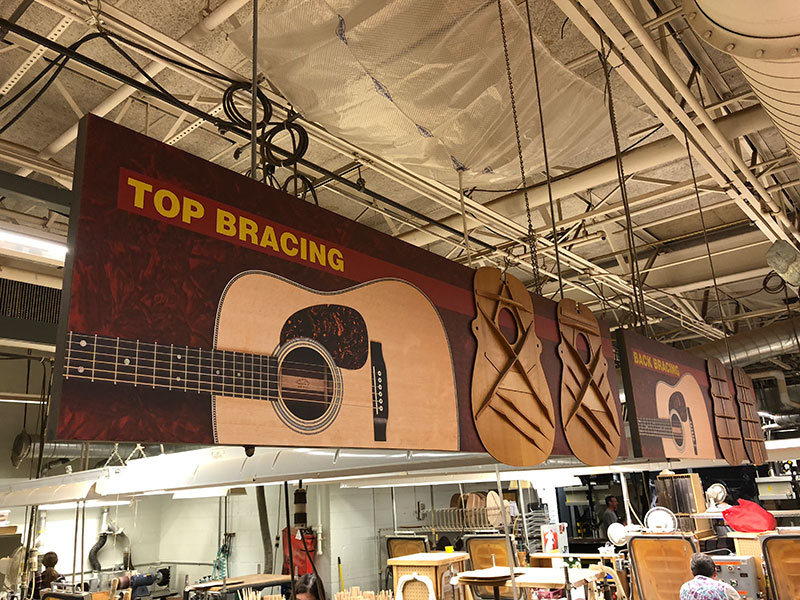
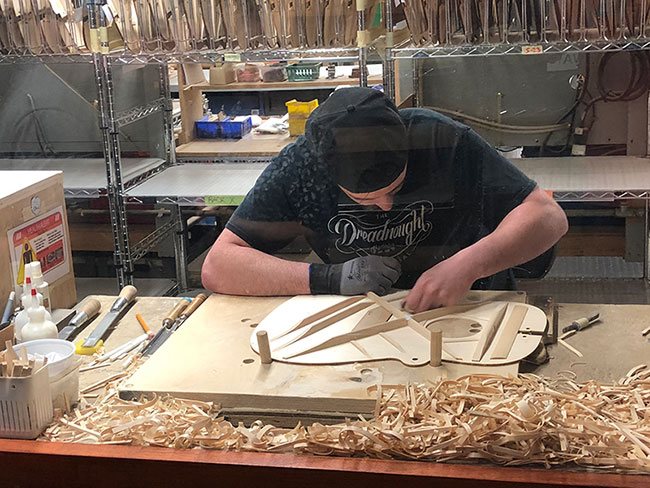
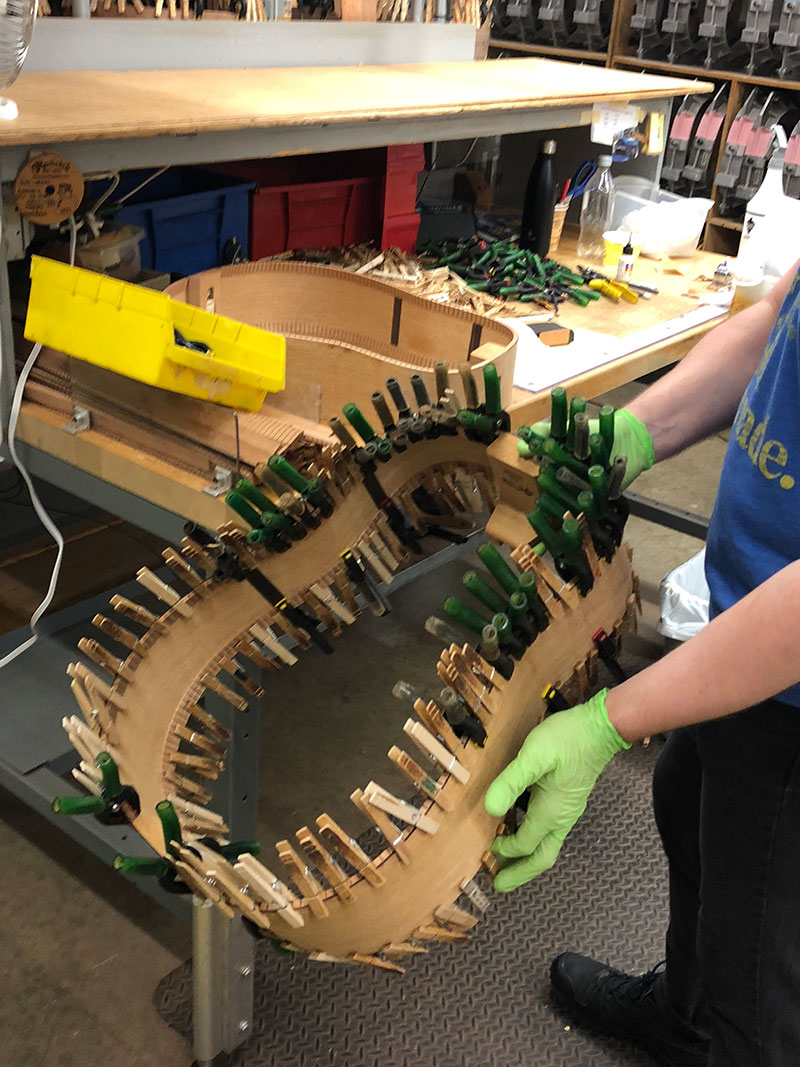
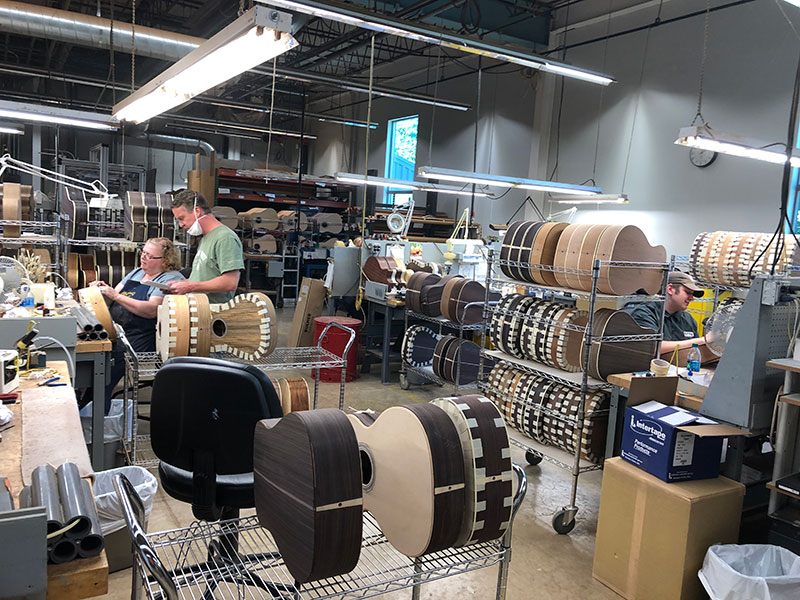
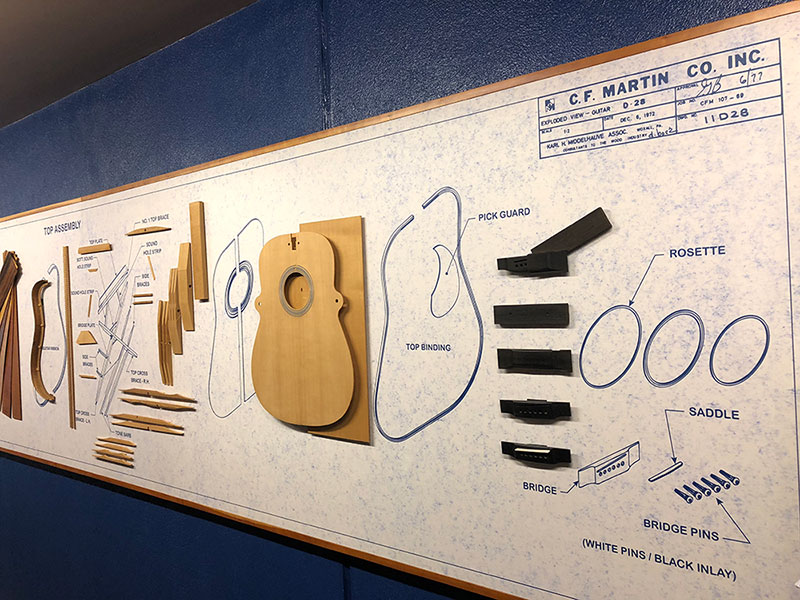
The tour lasted an hour and a half and was very in-depth, taking our group of seven on a guided trip through the entire manufacturing process. The shop employs over 500 people across 200,000 feet of building space.
And, of course, I had to take one with my guitar:
Our last stop fo the day was a visit with Chuck and Laurie. Chuck had offered to show us his jeeps and take us out to dinner. It proved to be a perfect day for both.
This 1946 CJ-2A is one Chuck had owned years earlier. When he sold it, the buyer promised Chuck could buy it back whenever he wanted it. One day Chuck got a call offering to sell it back to Him. He jumped at the chance. The body is in pretty good condition. He plans on getting to work on it as soon as his shop in the barn is finished.
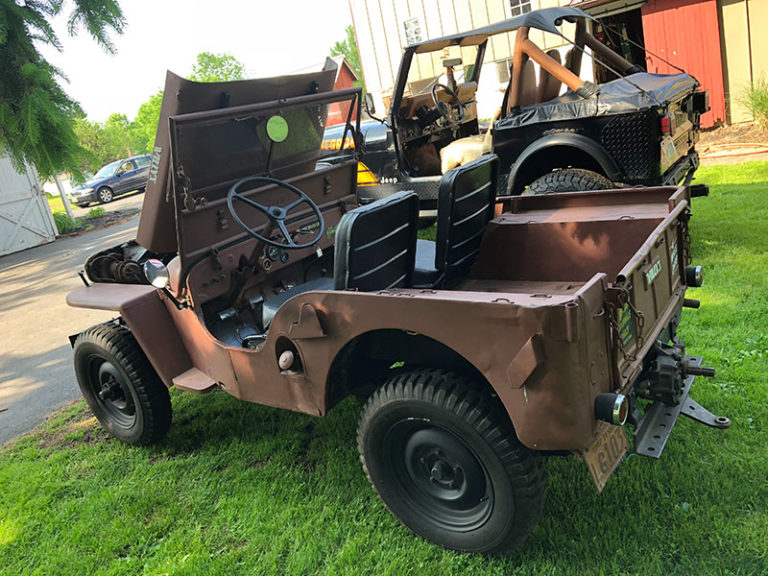
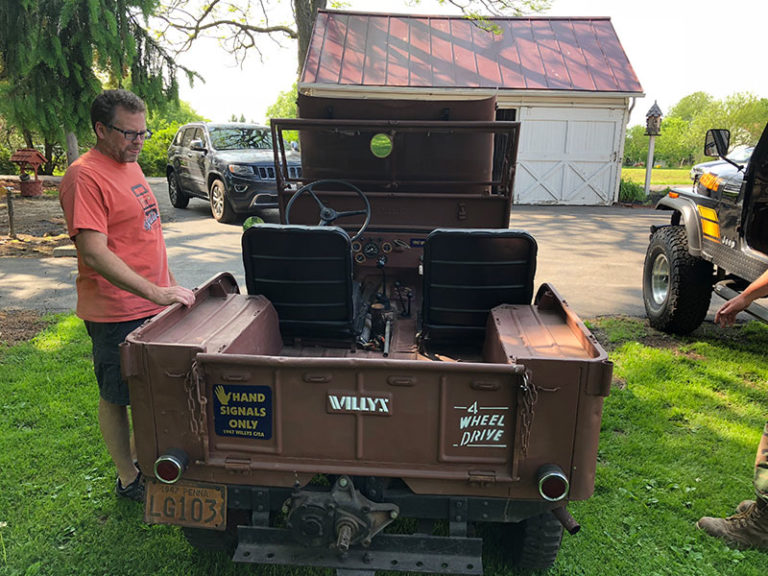
He also showed us his 1947 CJ-2A he'd bought and got running again. He plans on keeping it pretty much the way it is.
We ended up piling into it and going to dinner.
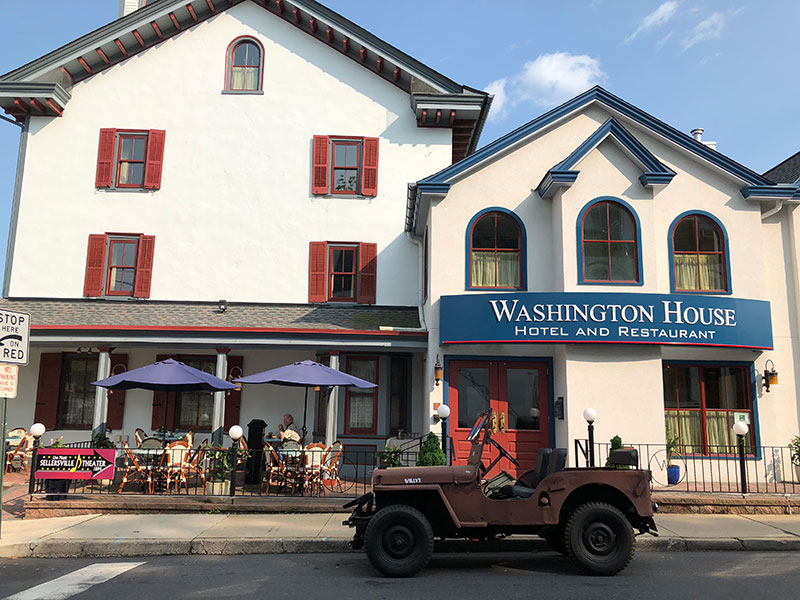
The food was fantastic at the Washington House. I had a wonderful swordfish steak, the best I've ever had. The company was also great. We spent a great evening on the patio swapping stories. As the sun dropped behind some buildings, we climbed back into the jeep, and headed back to Chuck and Laurie's place. Many thanks the them both!
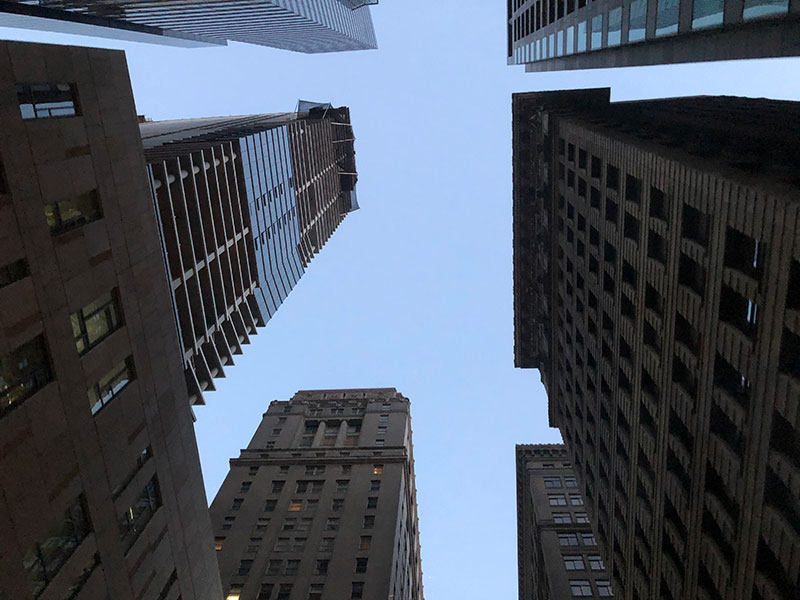
Our next destination was Philadelphia, to visit a cousin with whom I share a great great great grandfather. We are staying very close to the center of the city (though not quite where this photo was taken).
It's now 1:30 AM, so this post may be jibberish. I am sure I will need to revisit and edit it. We plan to take it easy and enjoy one or two sites in the city on Friday. It will be another perfect weather day for that.
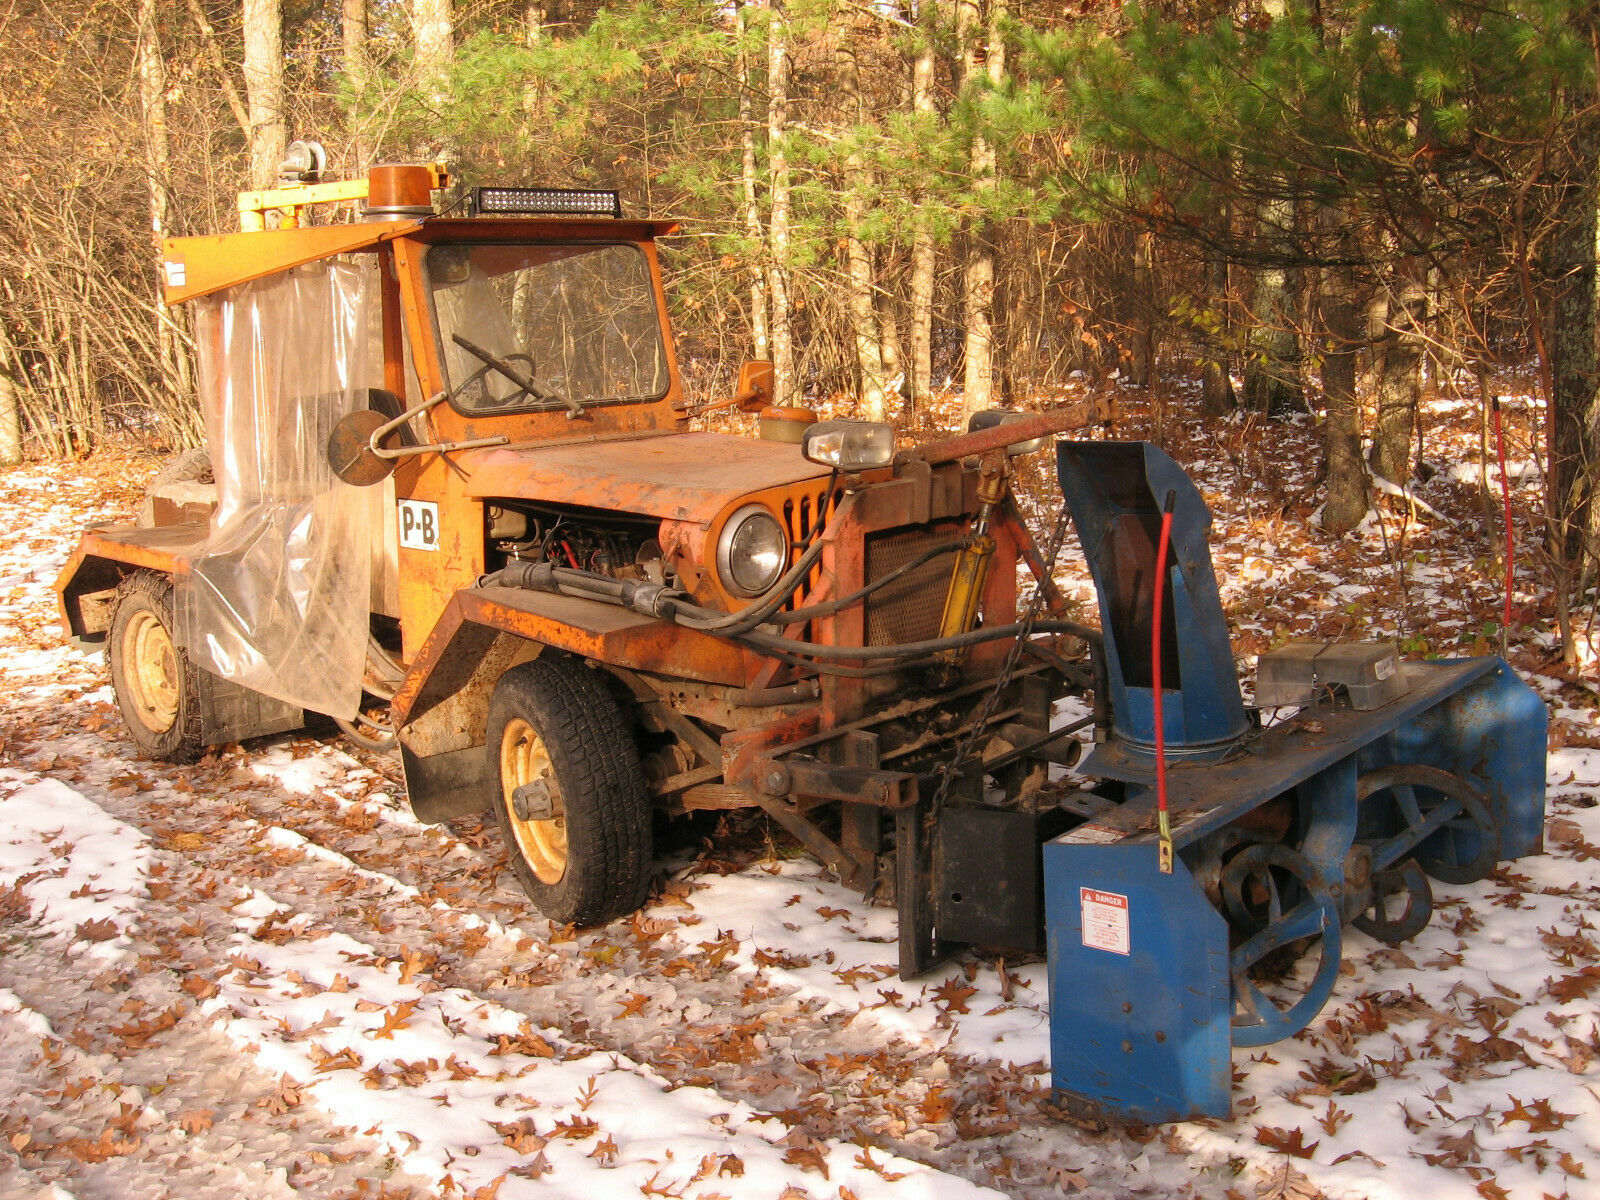
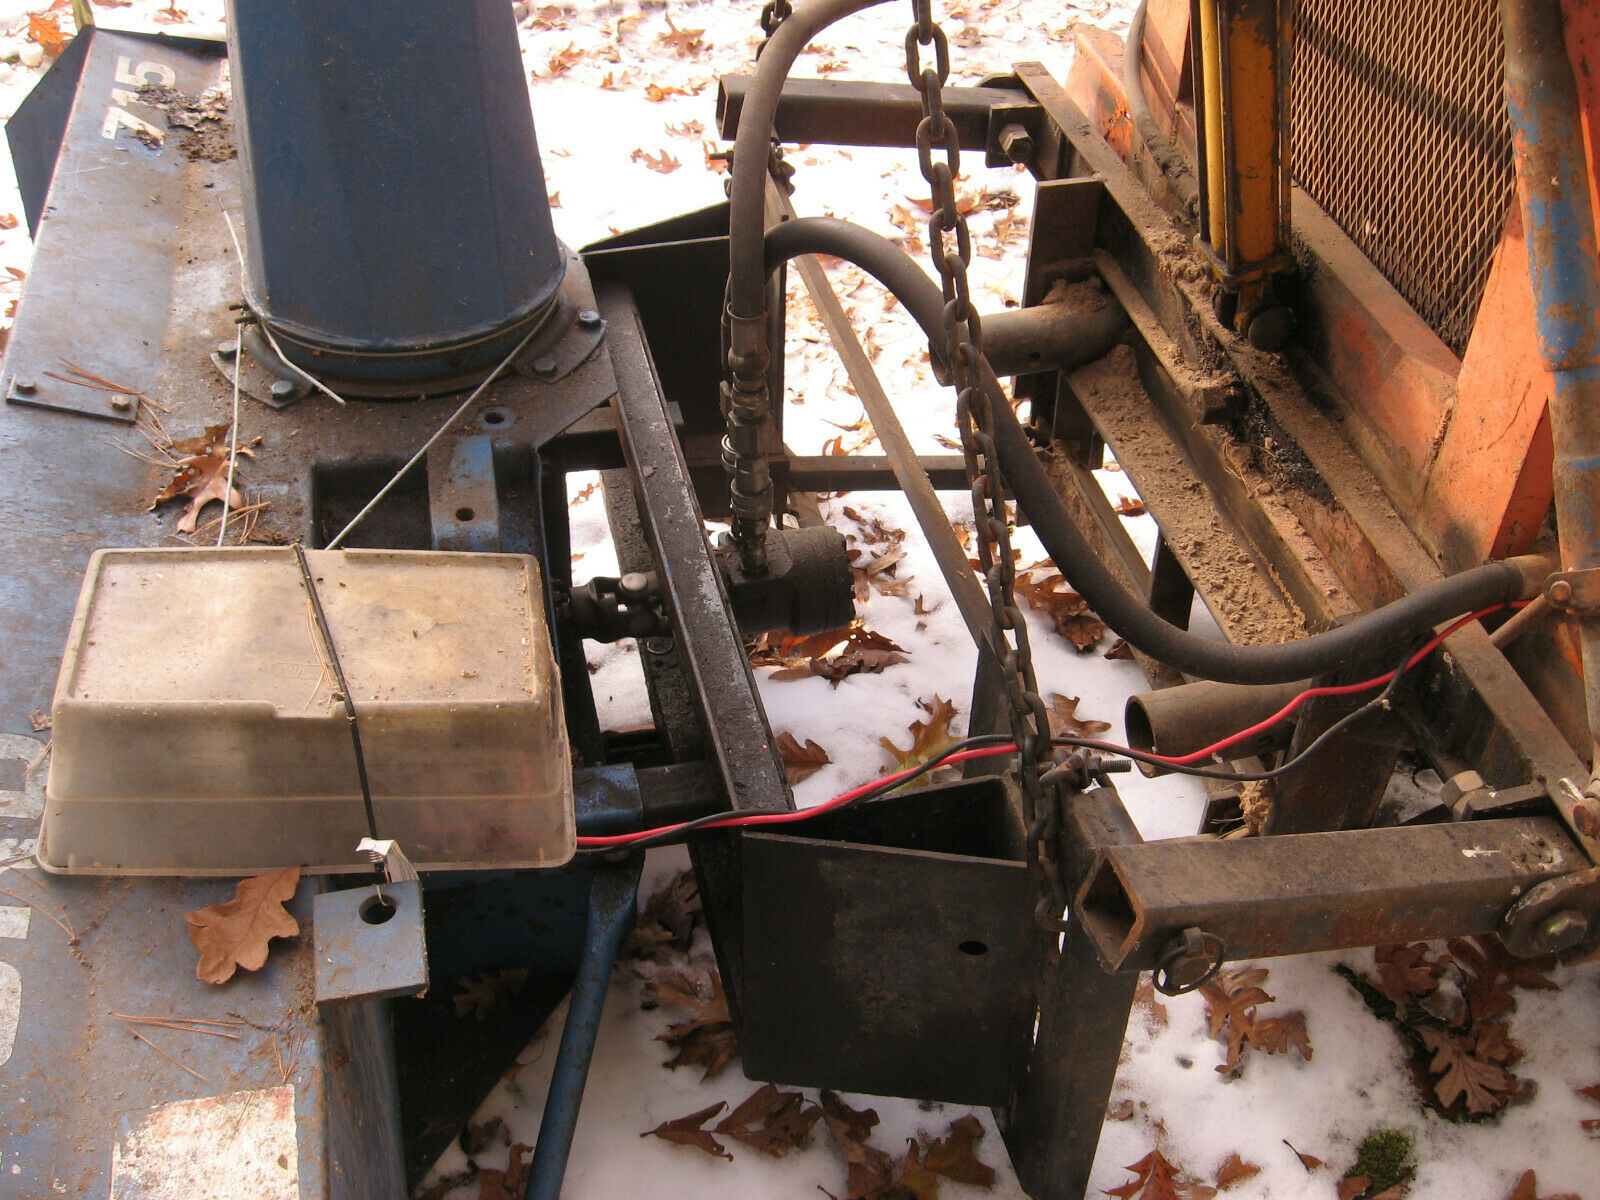
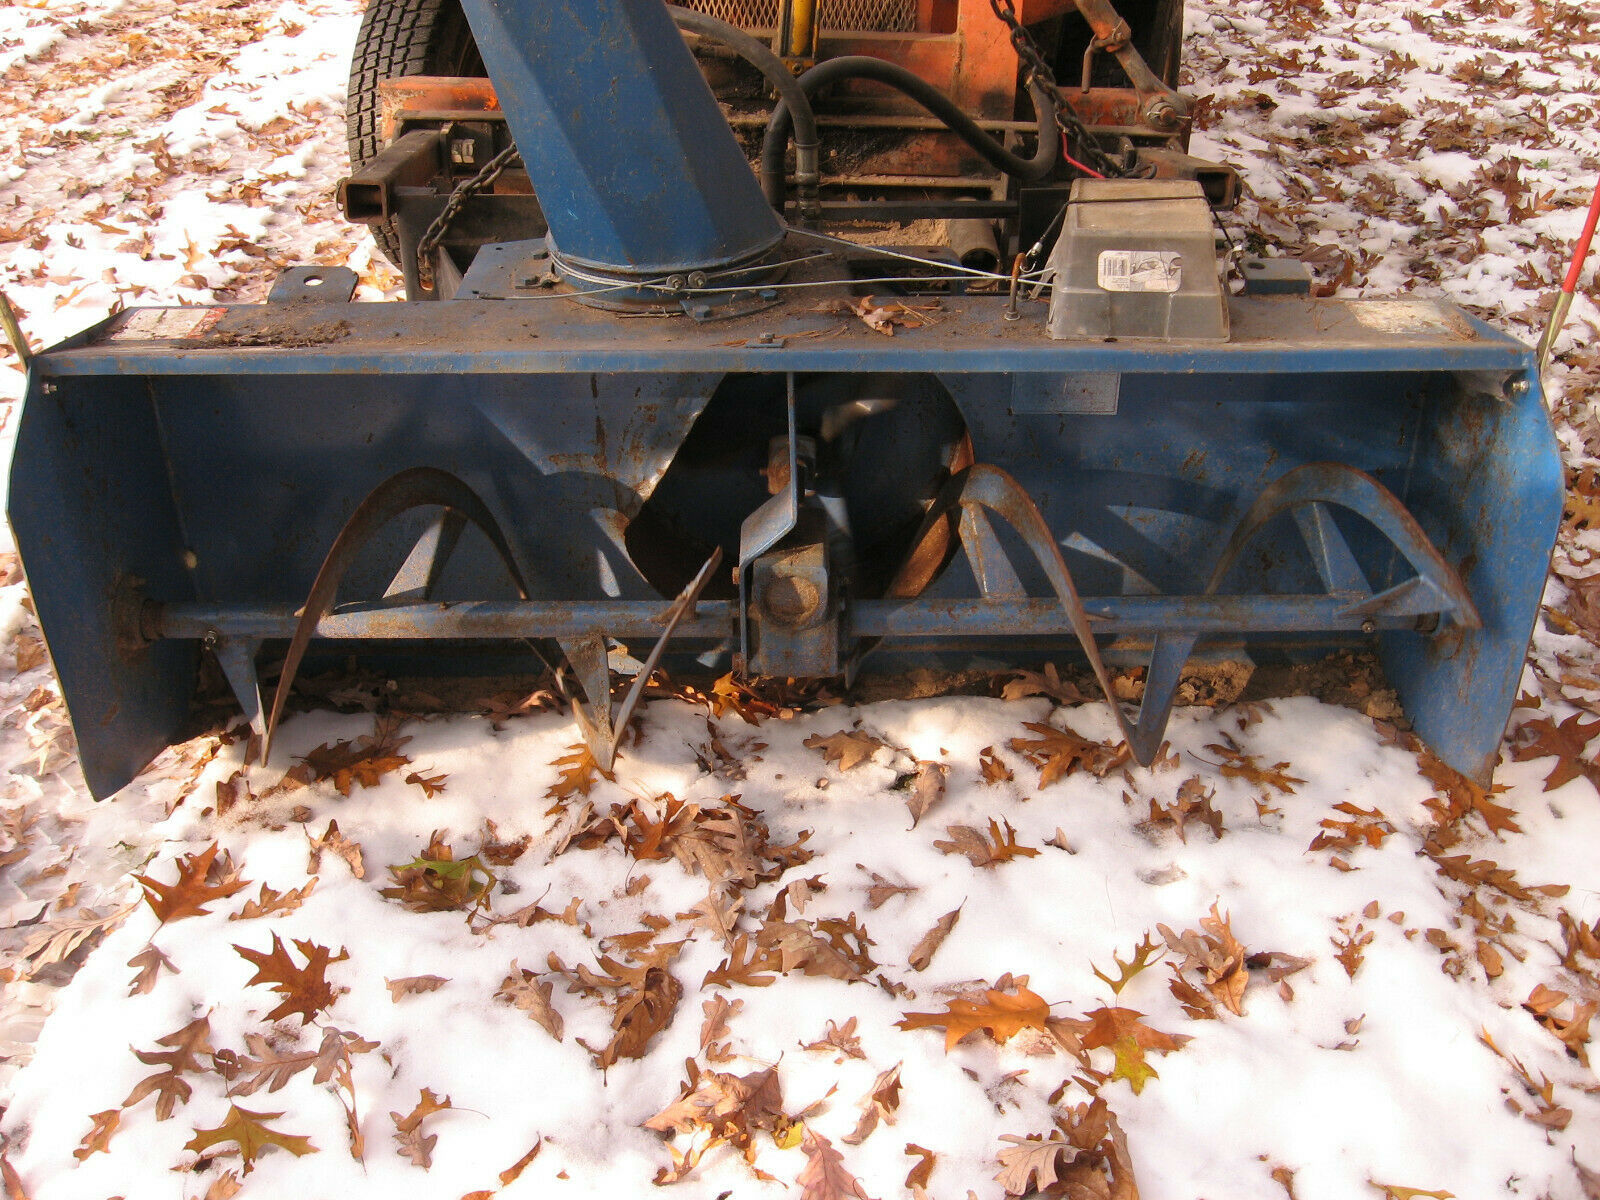
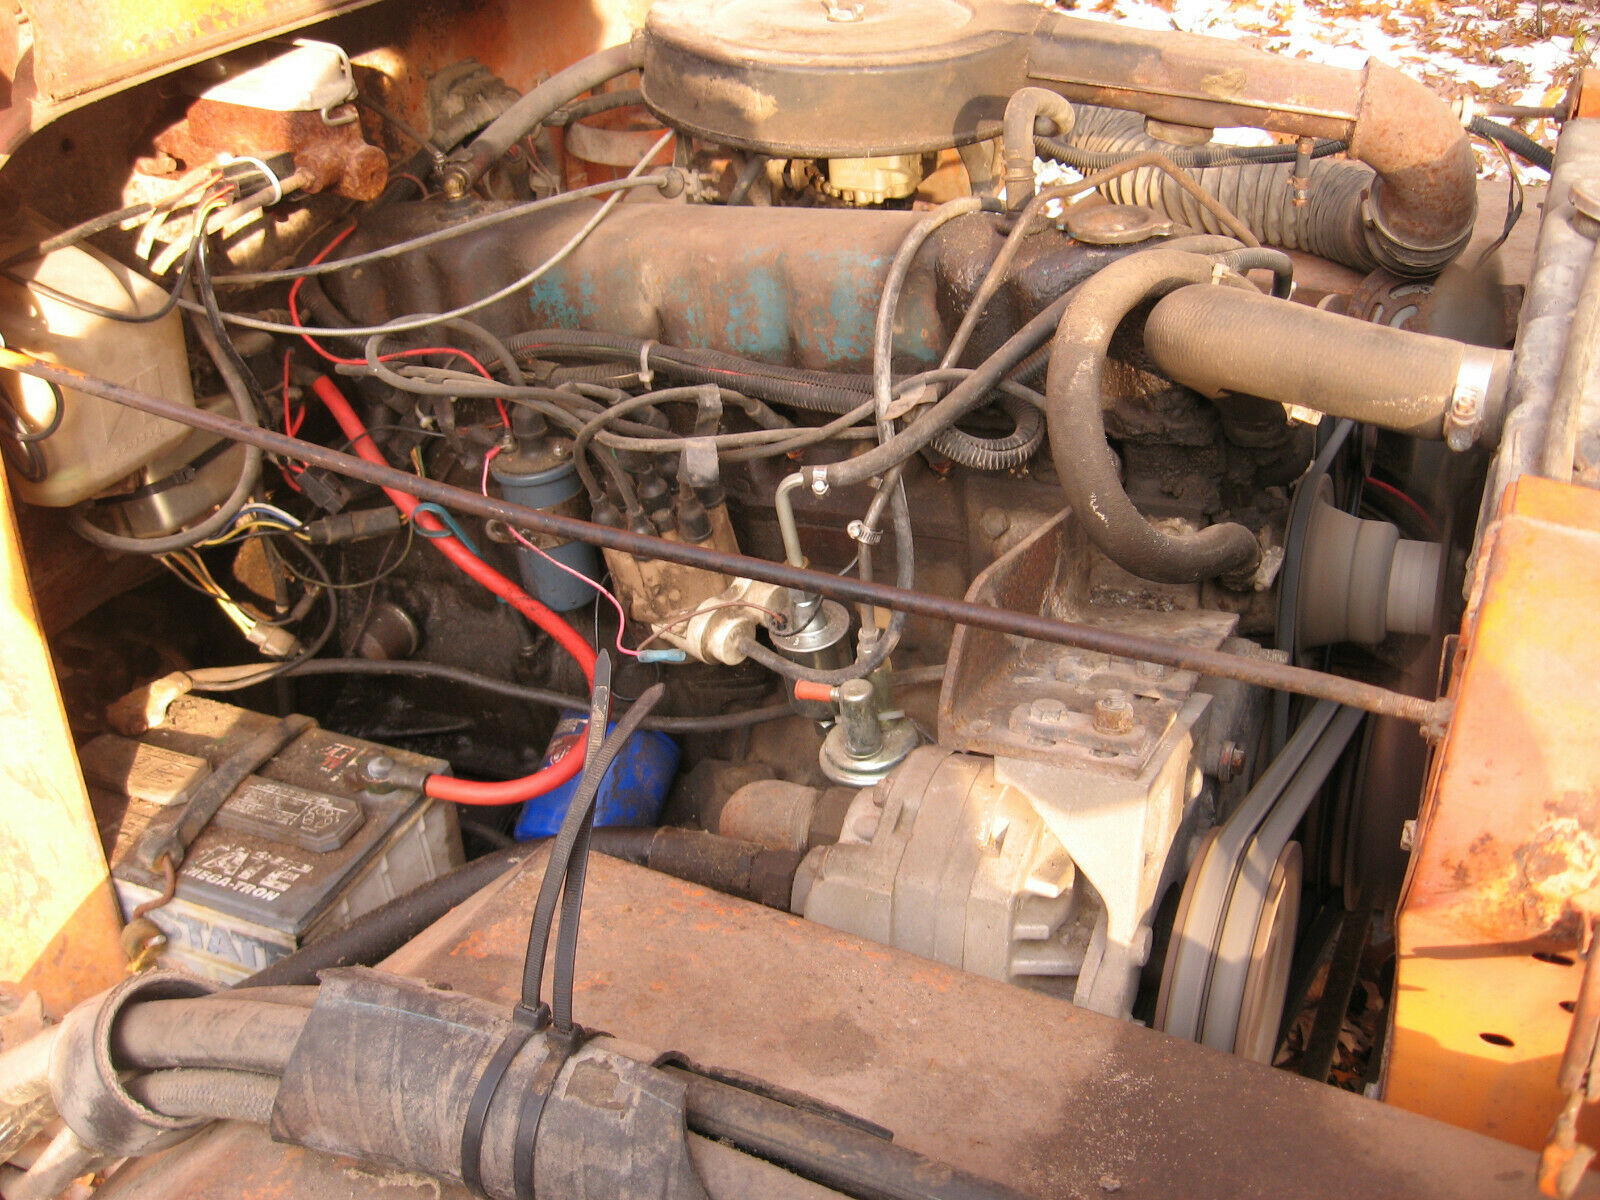
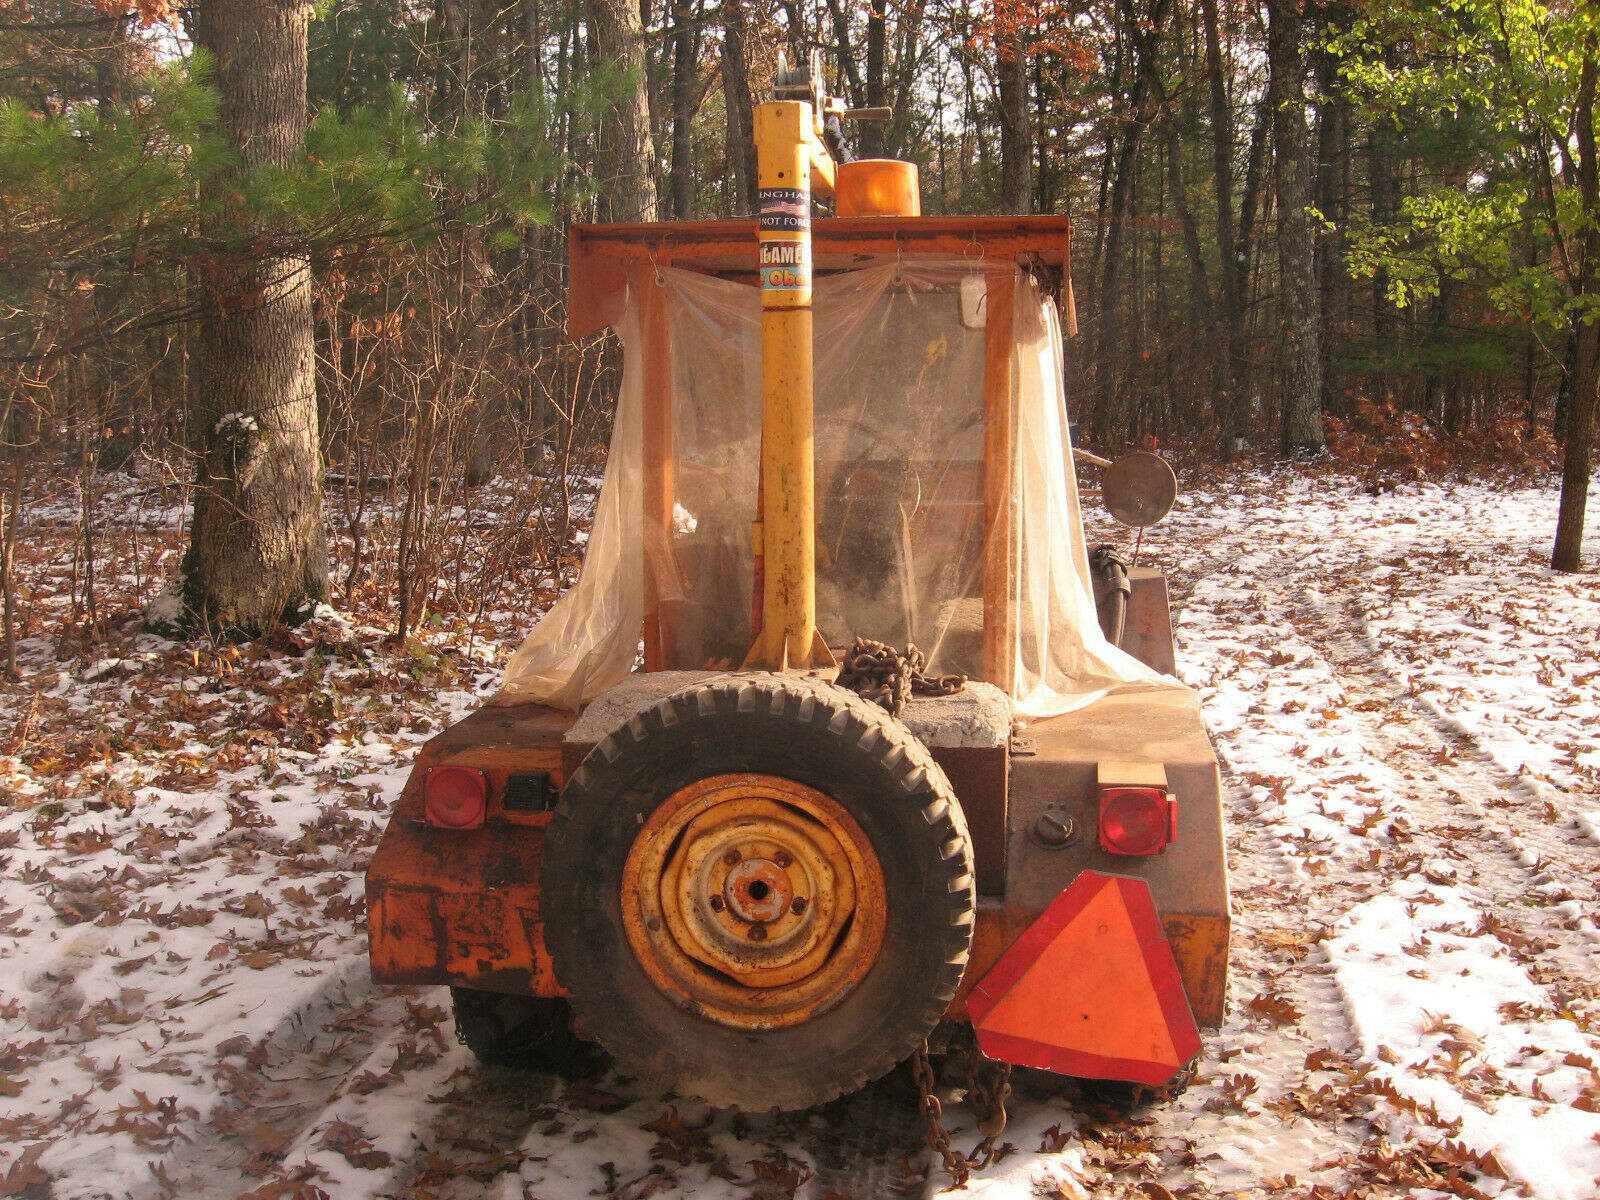
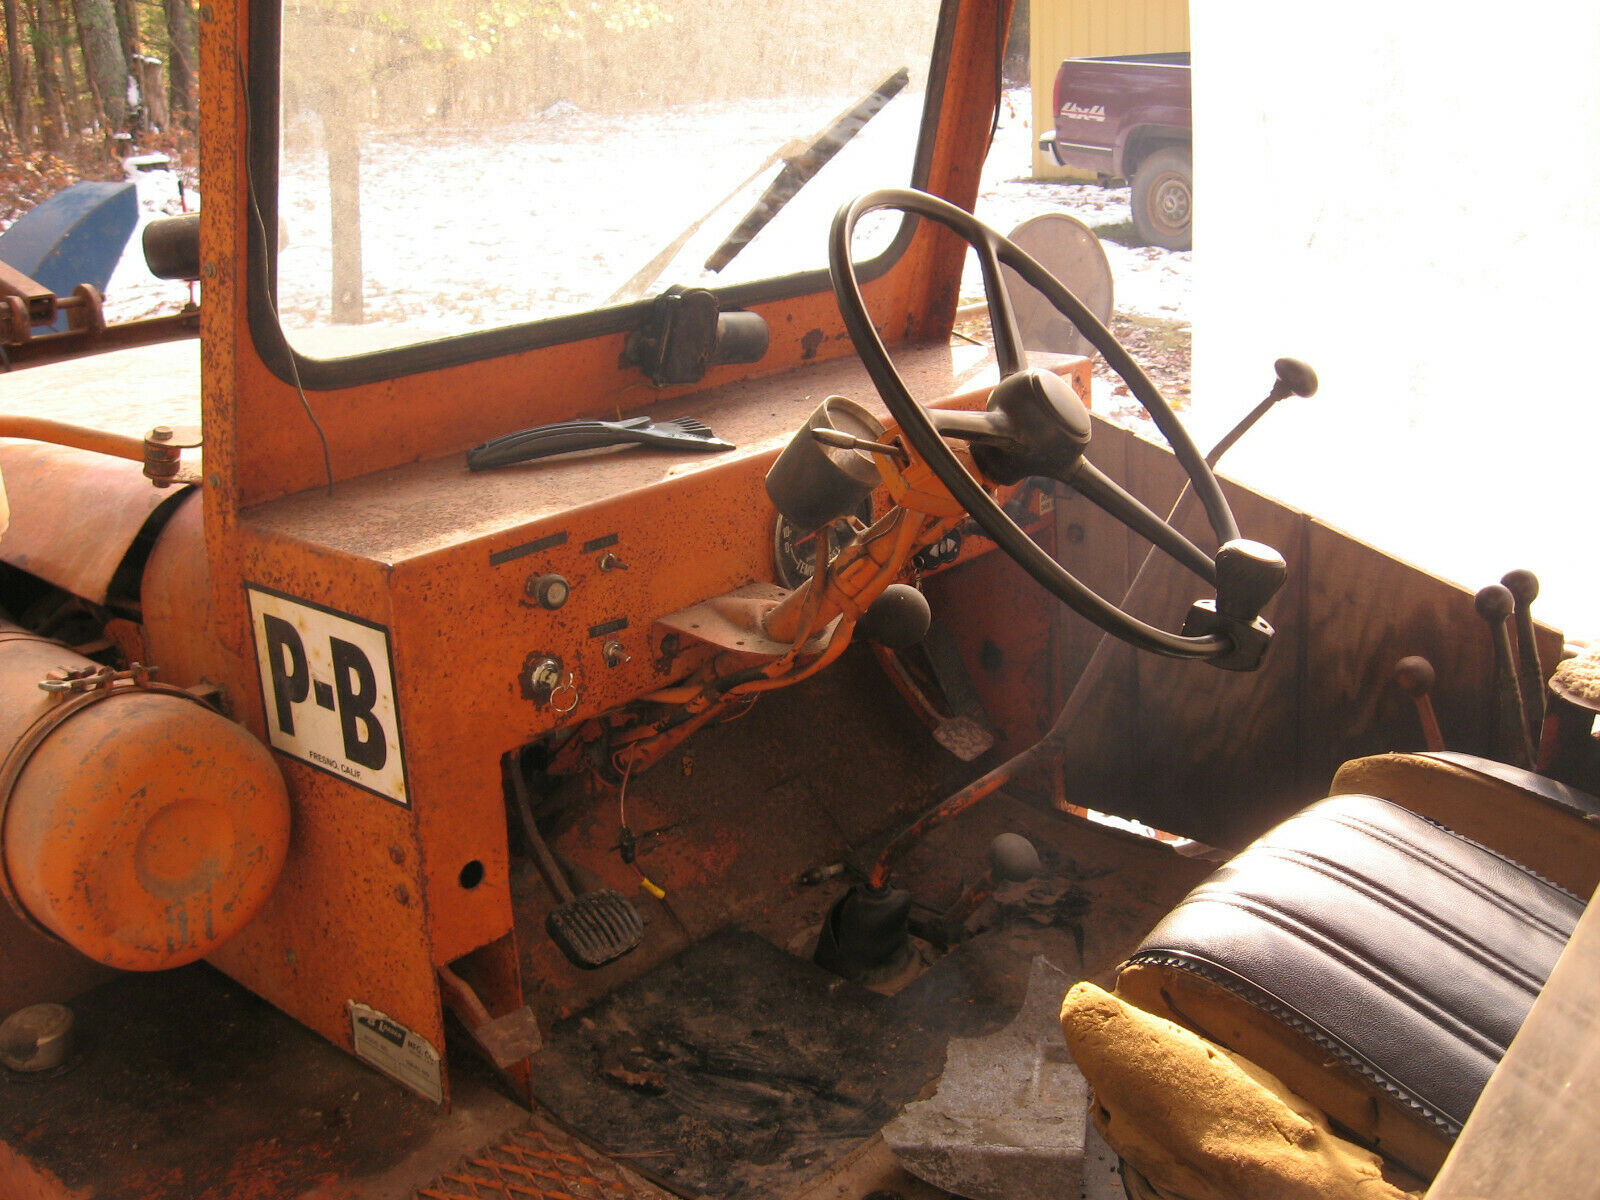
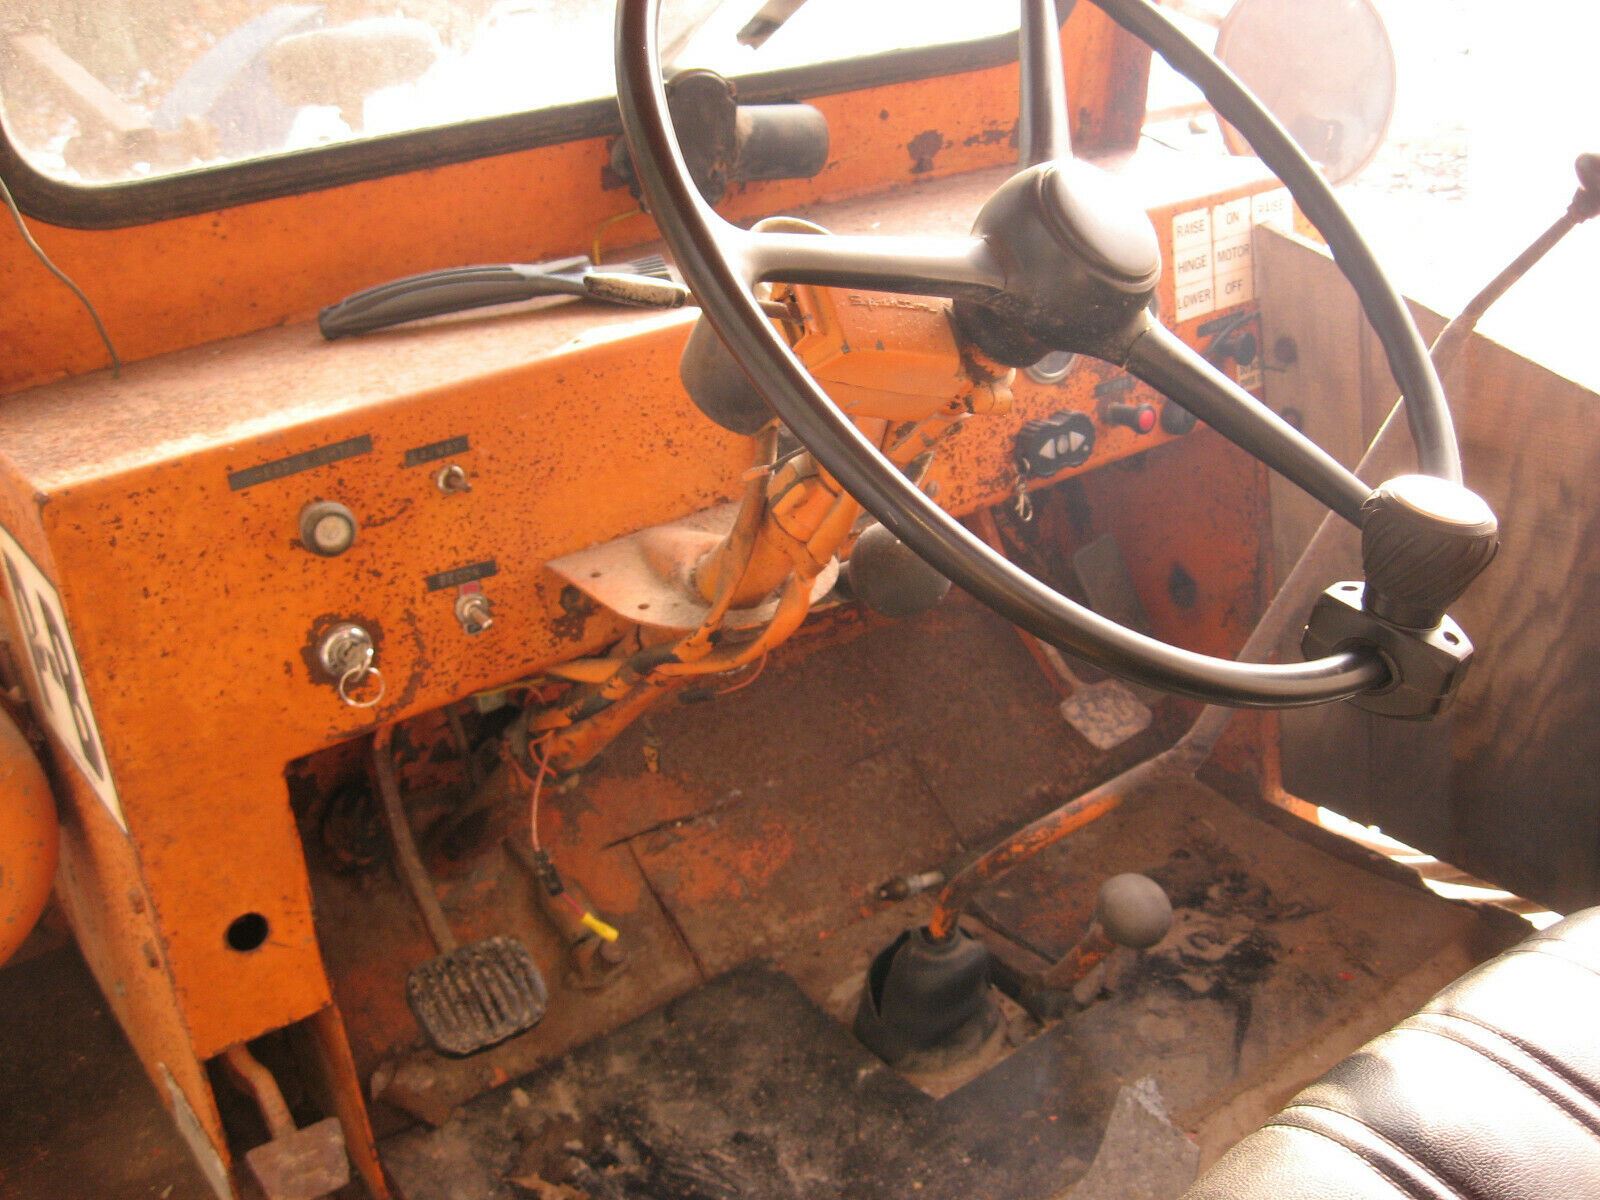
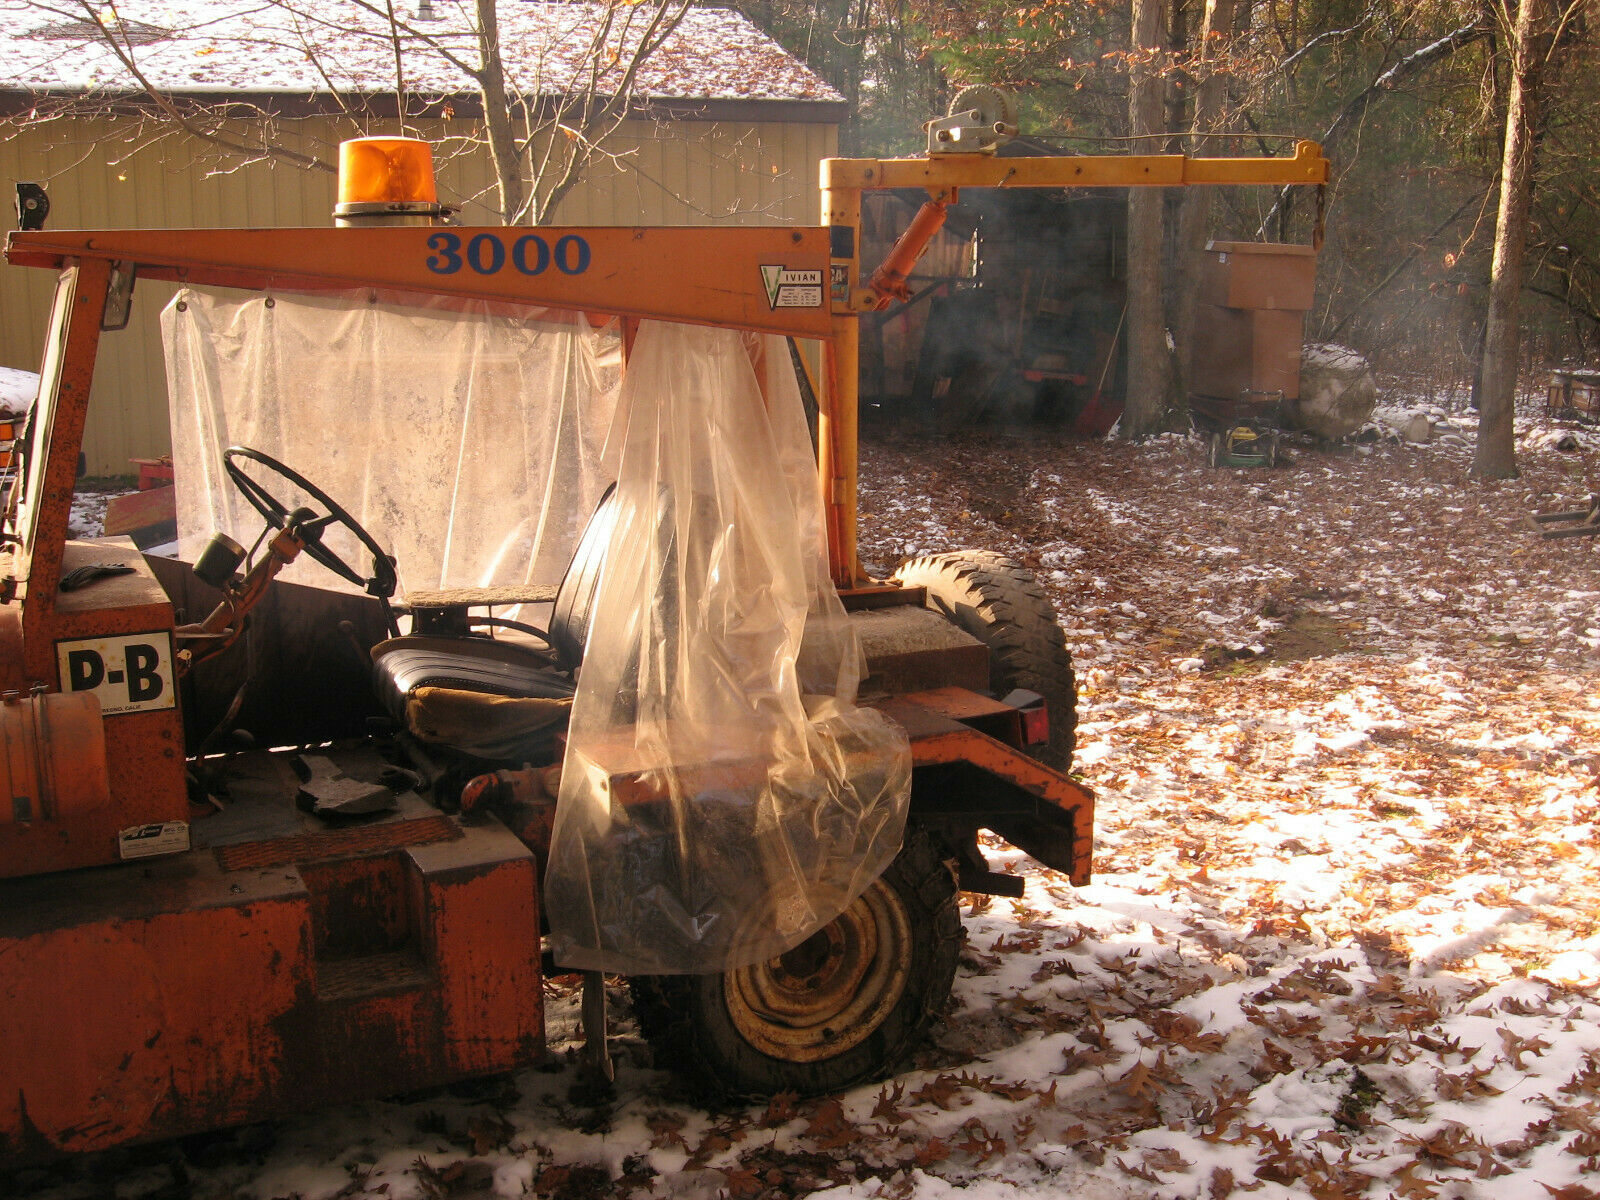
It started life as a 1975 Jeep CJ5 Chassis. As near as we can tell, it was converted when new into a street-sweeper by the PB Loader company (which is still in existence today). Sometime later in life, someone got the bright idea to remove the street sweeper broom and replace it with a 62 inch quick attach skid-steer style snowblower (Ford 715 Model). We understand that the PB loader company made a similar model for airport tug use.
You Tube Videos of machine in operation: (copy and paste the links below into address bar to view)
I purchased this unit almost 8 years ago (in early 2012) with the purpose of fixing it up to use for snowblowing the private road that I live on as well as my own drive and property. The machine was in pretty distressed condition when I got it and I have done many repairs and upgrades to get it in to working condition. With the exception of one year when I worked out a deal with a neighbor, I have used this machine every year to clear northern Michigan snowfall from over 1/2 mile of private road, plus parking area, etc.
More about it:
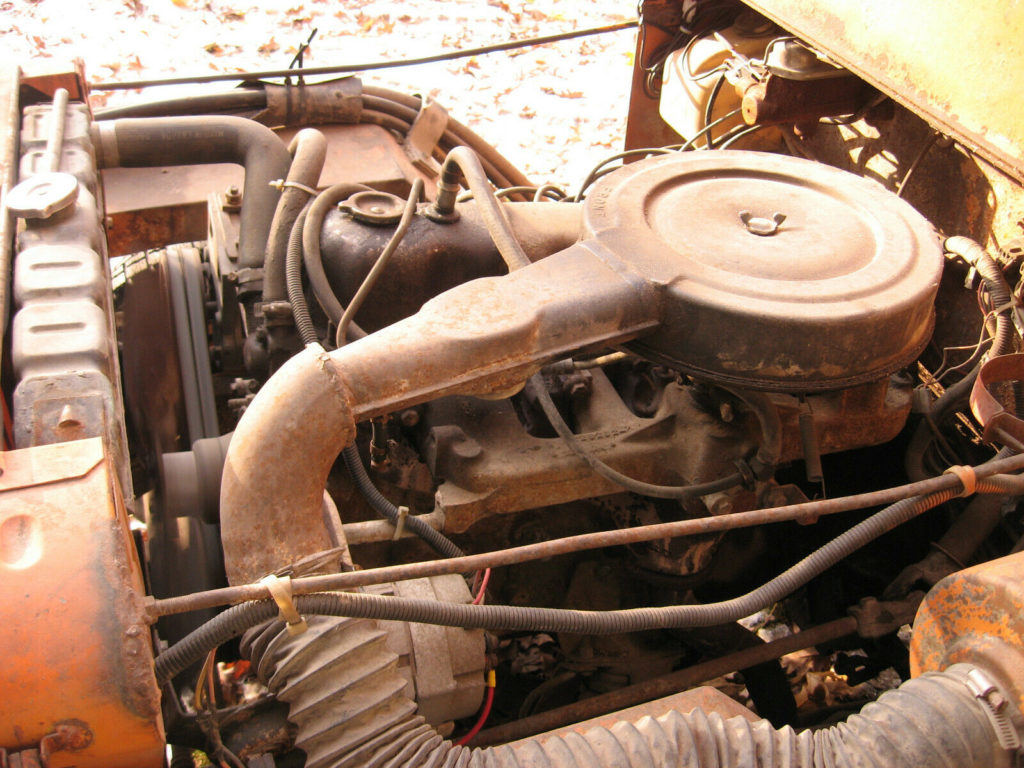
The Jeep is equipped with the venerable inline 6 cylinder engine and 3 Speed Transmission. It is 4 wheel drive of course, and the 4x4 works. I have equipped the back with tire chains, and in 4 low with tire chains it is nearly unstoppable if you use any common sense. When clearing deep snowfalls, you can go forward until it will not go forward any longer, back up a bit and keep going, over and over! It just keeps fighting! It has (4) snow tires on it with very good tread depth. It is geared very low with 4.27 axles, so will move very slowly which is ideal for blowing snow.
Snowblower portion:
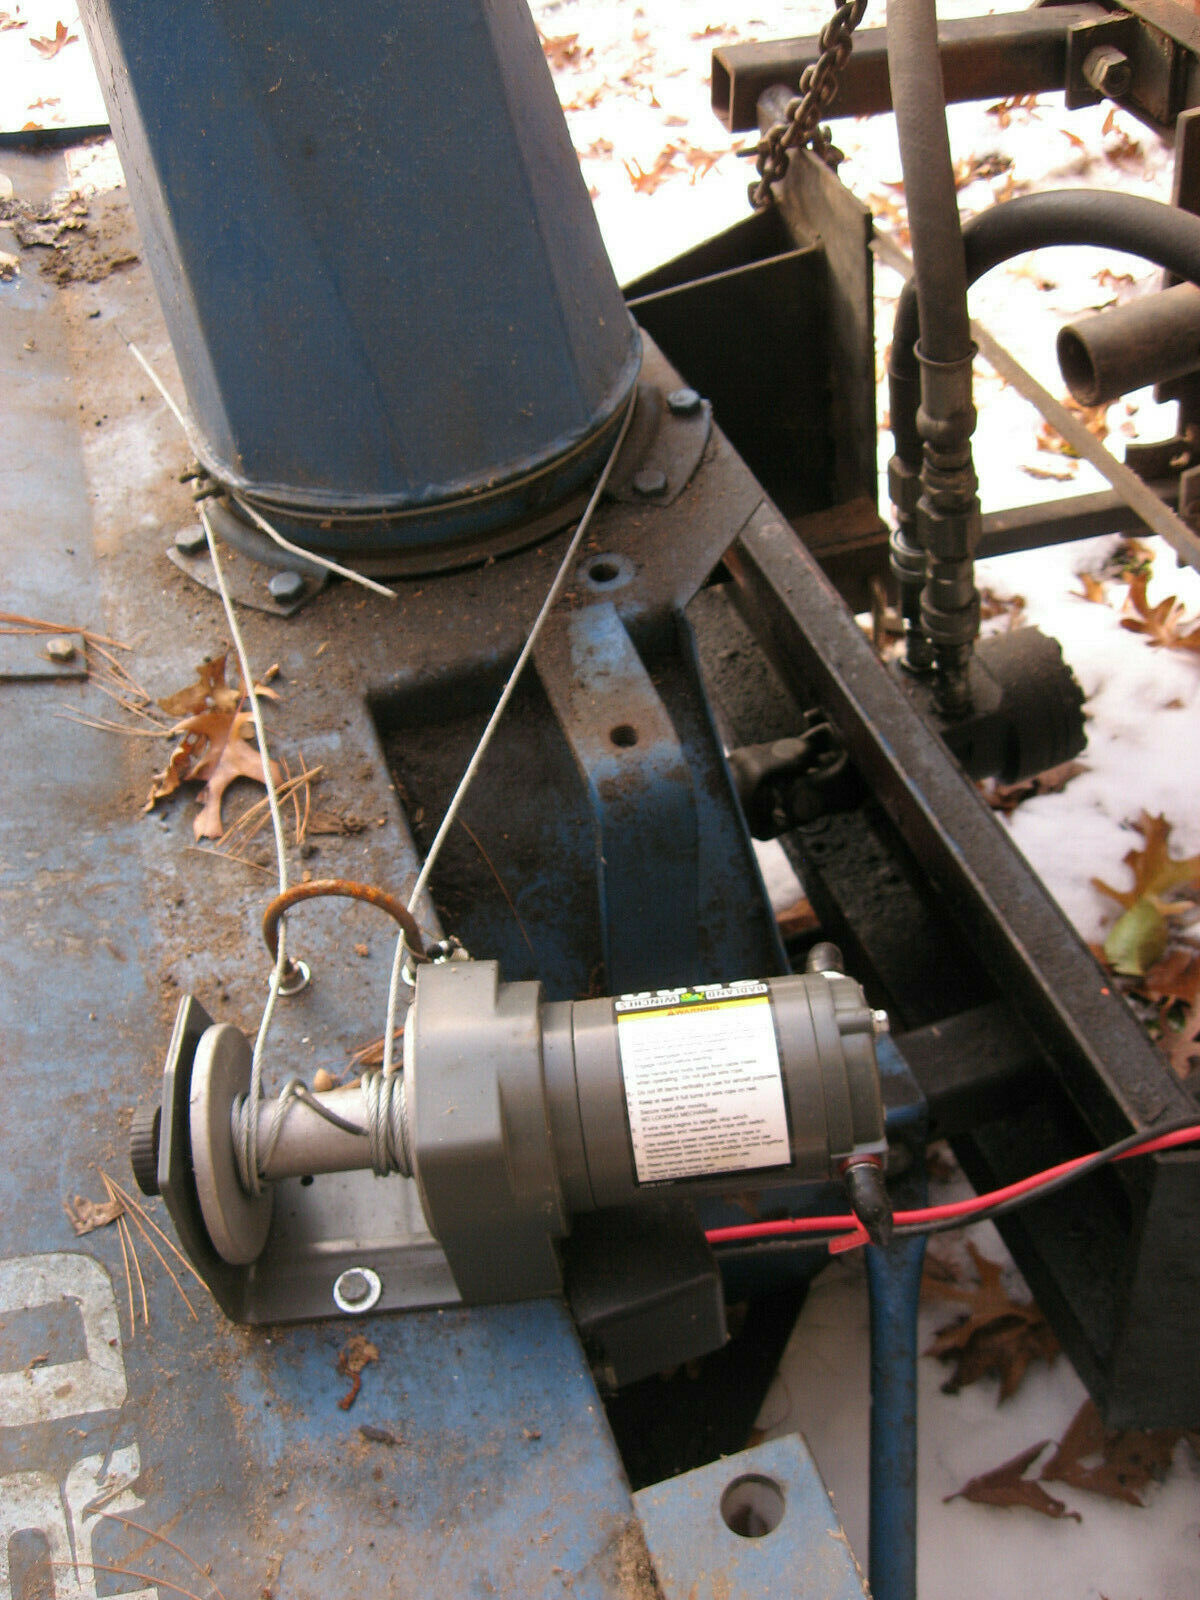
The original steet-sweeper was hydraulic driven, so the machine has a massive hydraulic pump (which alone is probably worth over $1,000) as well as a very large hydraulic reservoir. The snowblower is a Ford 715 which is driven hydraulically and is hydraulically raised and lowered like a plow. It originally had hydraulic turn on the chute, but that system was problematic, so I converted it to electric with remote control which works superbly.
Rear hoist:
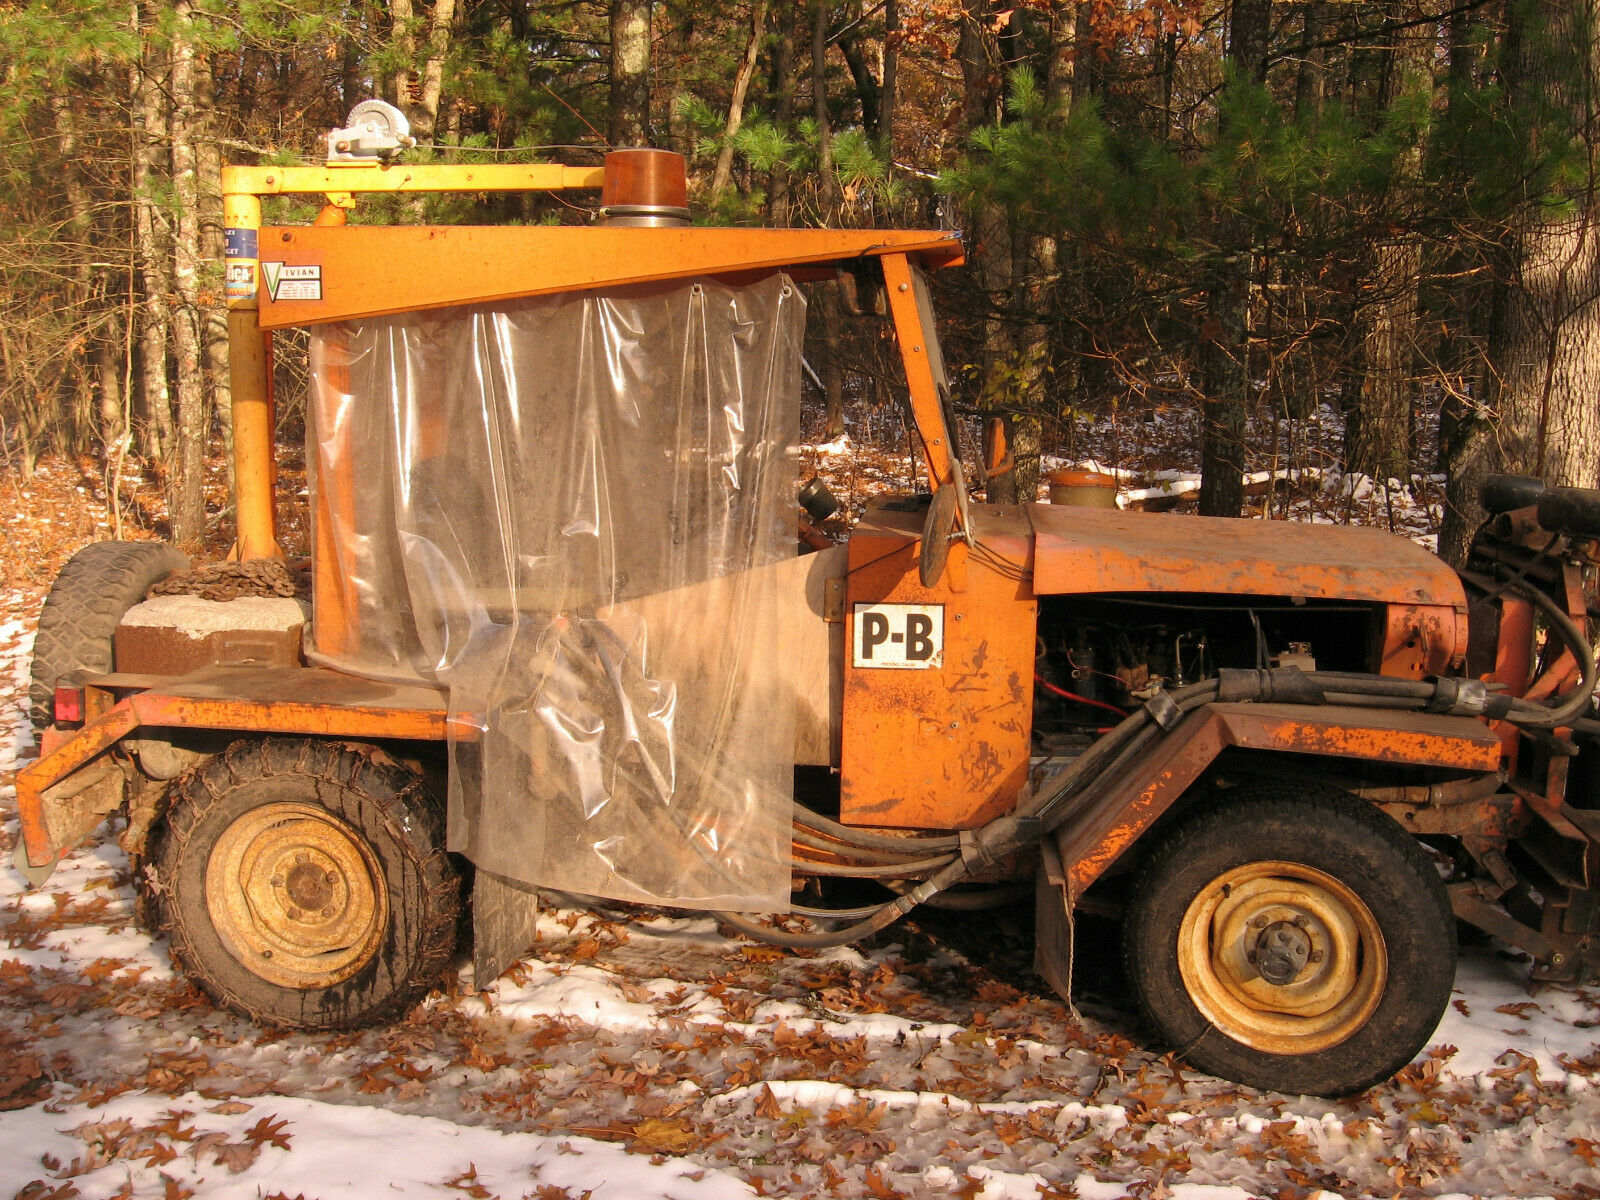
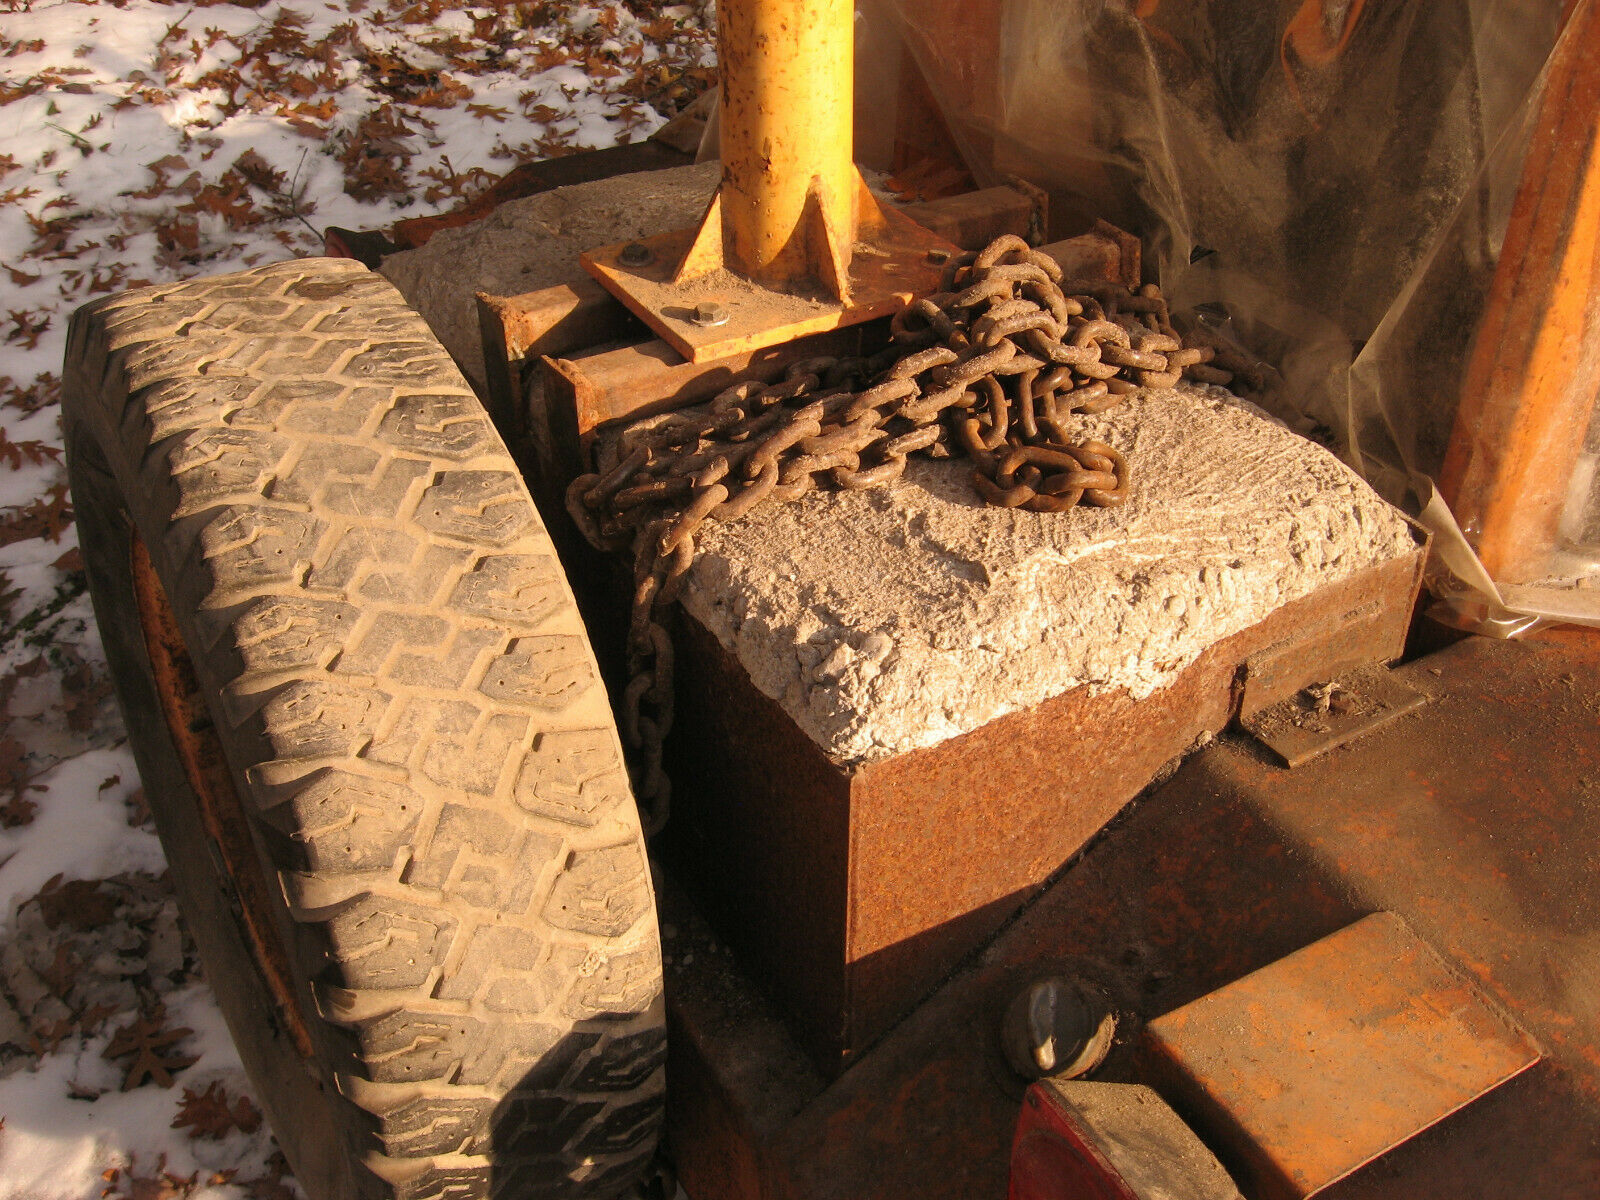
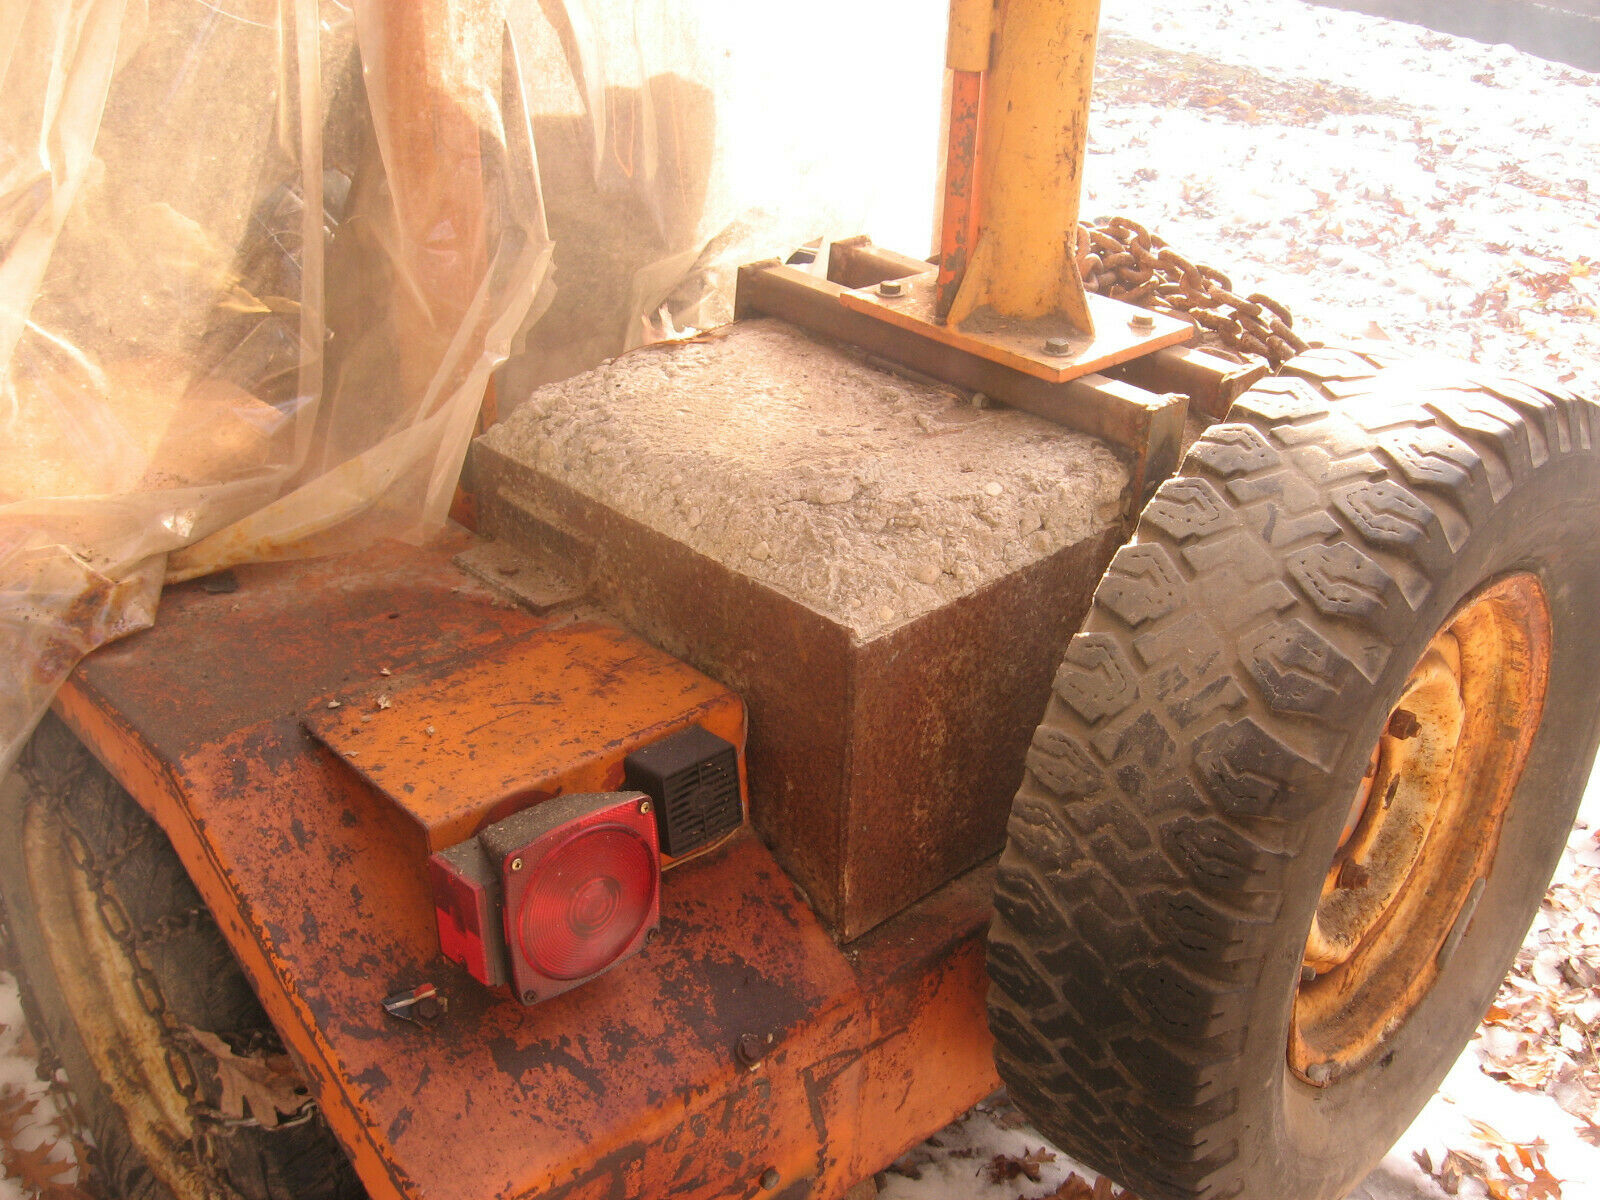
The folks before me who converted the machine into a snowblower added a large steel box to the back and poured it full of concrete to add weight to the back for traction and counteract the very heavy snowblower hanging out front. I had the idea to add a crane hoist intended for a pickup truck to the back and welded brackets to the weight box to which the crane is in turn bolted. It is extremely handy for moving heavy things around. We have used it mostly for moving engines. Although I certainly would not advise it, I moved a V8 Chevy diesel engine with it this summer.
Other additions:
This past winter I added an LED light bar to the top which really lights up the night and makes things much easier when blowing snow at night. I also added plastic side curtains which you call pull closed to keep snow off you when the wind is blowing hard the wrong way when you are snowblowing, these do keep things a little warmer too.
What to do with it?
A reasonable question would be what would you do this Jeep? Of course you could continue to use it as a snowblowing machine and all around utility vehicle. It almost doubles as a tractor since it is geared low and moves slowly in 4 low. We use it to push and pull cars and other machines around, and I have also used it to pull things up and down the road to smooth it out. The rear mounted spare tire works great for backing up to things and pushing them. You could also do a lot of other creative things with all of the hydraulic power such as run a wood splitter. If you would prefer to plow snow rather than blow it, it could be converted into a plow vehicle very easily. The same ram that lifts the snowblower would easily lift a plow and the short wheelbase would make it a much more maneuverable plow vehicle than a pickup truck. I would really like to see someone buy this that loves old Jeeps that would preserve and restore it. It would be a most unique addition to an "old Jeep" collection - I have never seen another one like it! It would make a great little parade vehicle.
The ugly:
This is a 44 year old Jeep and has lots of needs. It starts, runs, and works just as it is. Someone could purchase it and use it to move snow this winter without doing anything to it except probably a new battery. I even filled the gas tank to the top this summer, fully expecting to use it this winter. I have used it around the property multiple times during the summer. The engine is pretty worn though and has a lot of blowby. It smokes blue quite a bit and if used hard will generate excess crankcase pressure and push oil out the dipstick tube. If I plan to run it hard I just remove the oil cap to prevent buildup of excess crankcase pressure and it works perfectly fine that way - I have done this for years. A slightly more elegant solution would be to put in a higher flow PCV system... but I have not gotten to that. The fuel gauge (and therefore the coolant gauge which runs off the fuel gauge's) voltage regulator stopped working this past year. I purchased the new fuel gauge but have not put it in yet. It goes with the machine. This is a workhorse - not a showpiece!
Why am I getting rid of it?
Natural question! It seems all of us up here in the snow country are always in search of a better way to move snow. Between my Dad and I, we have had Dodge and Chevy plow trucks, John Deere and Bolens garden and Large frame tractors with snowblowers, a compact tractor, and this Jeep! I have switched plans again and moved up to a piece of hydrostaticlly driven commercial equipment with a heated cab. I don't have good circulation so spending 3+ hours on a machine without heat was a little tough. In the interest of full disclosure though, I want to talk honestly to the prospective buyer who would think about using this as a snowblower. As with many things that are "home-built", it does the job, but possibly not as well as something that was originally designed for a certain task. It is my opinion that anything that blows snow should also be hydrostat drive. The problem with a gear drive machine is that when you get in heavy snow, you have to step in to the throttle to get more power to the blower - however when you do this, you also jamb more snow into the blower, which is self-defeating - so you end up having to work around this. In light snow, the machine works great and you can move right along and throw snow quite a distance (see picture above of machine blowing snow taken from in the cab). In very deep or heavy snow, you have to compensate for design short-comings. On the first pass through an area, it may be necessary to raise the blower up off the ground so you are not blowing the entire depth at one time. A second pass is then made to blow the rest of the snow. On subsequent passes through that area, if the snow is too deep or heavy, you can avoid taking a "bite" equal to the full width of the blower - for example only fill half of the blower if necessary. I have used this machine for 8 years to clear what is ultimately several miles of snowblowing by the time you take several swipes up and down the road to achieve desired width - it does work! We usually get a snowfall of at least a foot in depth at least once a winter. It just take some technique and getting used to how to run it.
New Parts:
I have replaced the pickup coil and the ignition module in the couple of years to cure a stalling problem. The pickup coil was actually the problem, so I have an extra good ignition module. I have also installed a complete new clutch assembly about 2 years ago. The starter has also been replaced at least three u-joints The headlights work, the brakes work, and the brake light works most of the time. There is a reverse beeper for safety that works and the rotating beacon on top works also. The windshield wiper also works. I have converted it to electric fuel pump, and the pump is new. It starts right up and runs well - and the sound and smell of a carbureted engine are good for the soul of those of us who remember those days.