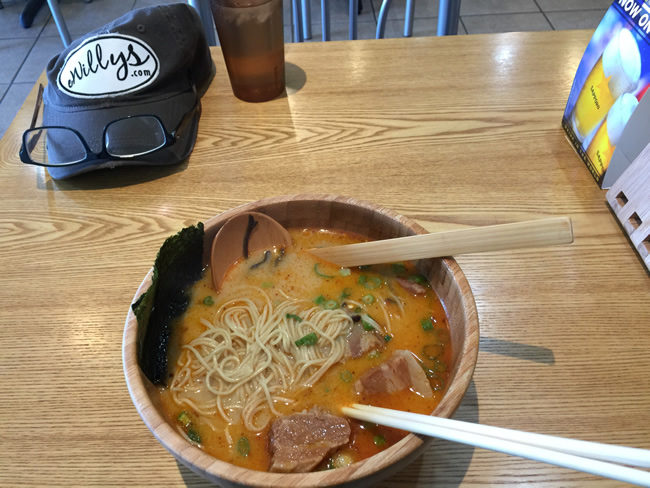
More progress on Rusty, one part at a time. I wanted to remove the u-joints so I could sand blast and paint the driveline.
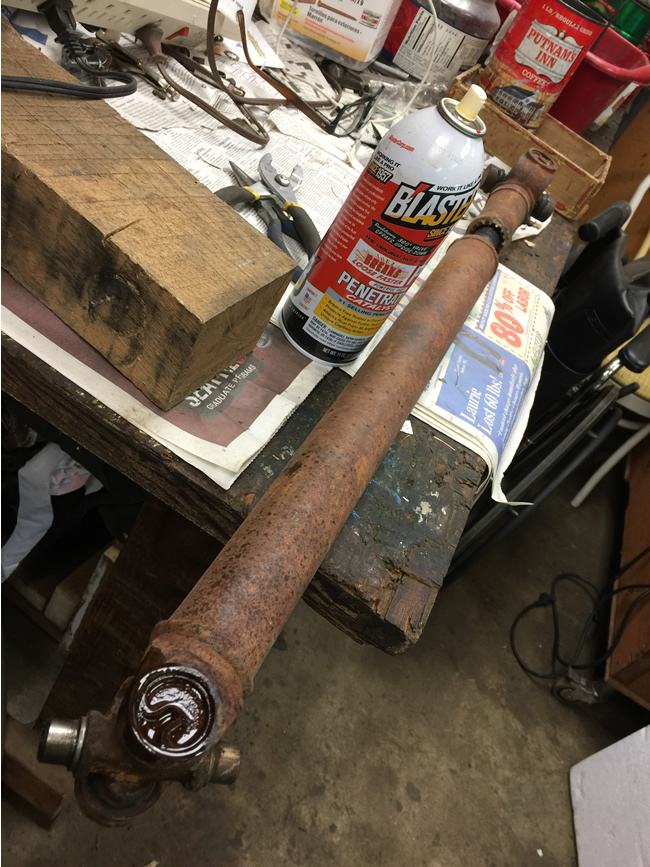
To remove them, I used my favorite vice, something that's been around longer than me. Using two different sized sockets (one to slide through and one to catch the u-joint as it slides through, I pressed it through. Make sure the grease nipple is NOT on the side you are pressing or it will cause you problems. This shows the u-joint after the springs are removed, but before I began pressing.
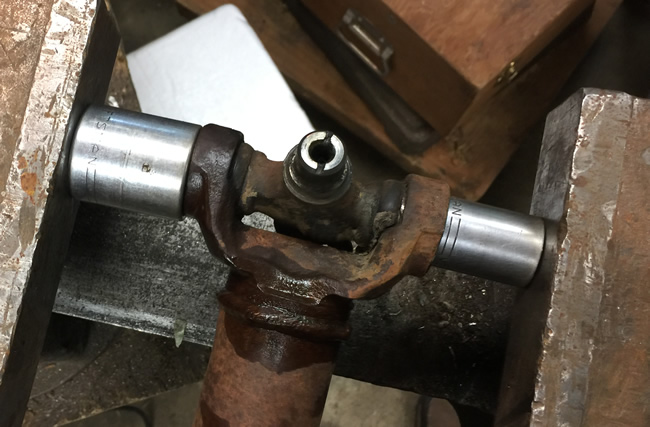
This shows the u-joint after pressing it through.
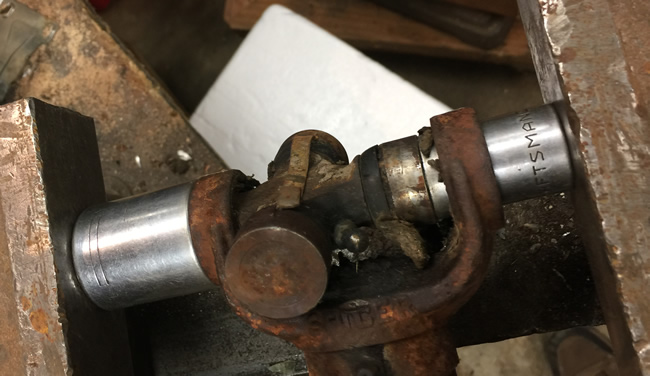
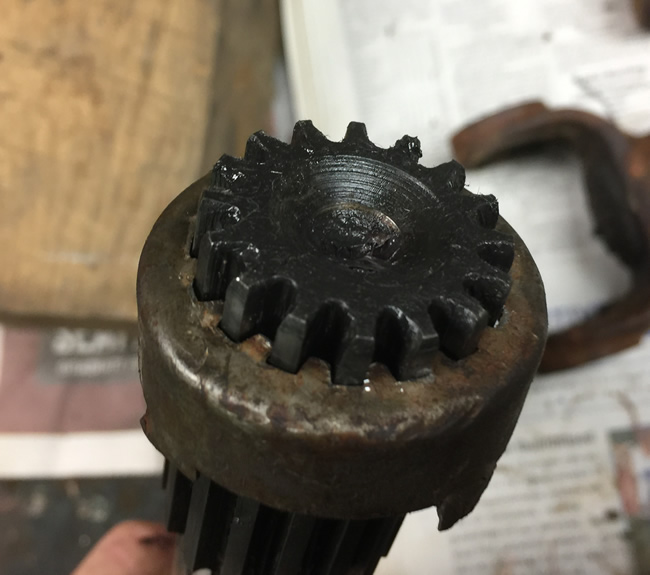
When I pulled the u-joint apart, I discovered this cover piece was bent quite a bit, so I set out to fix it.
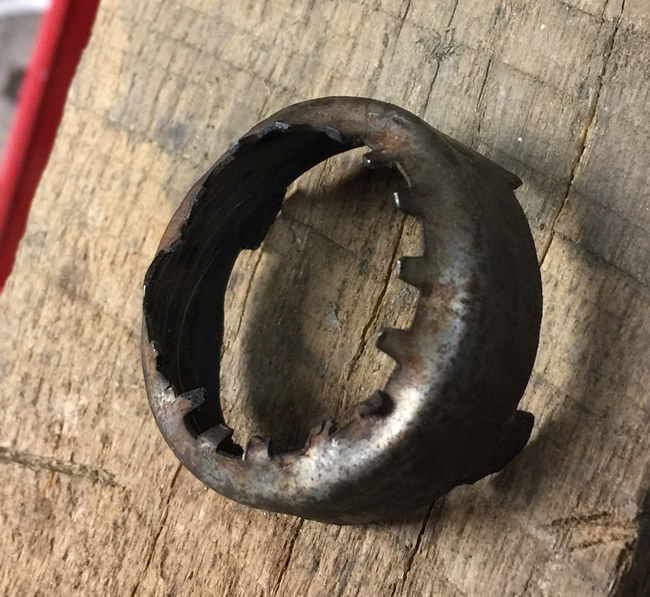
The fix was simple. The hard part was finding a perfectly sized socket to correct the teeth evenly.
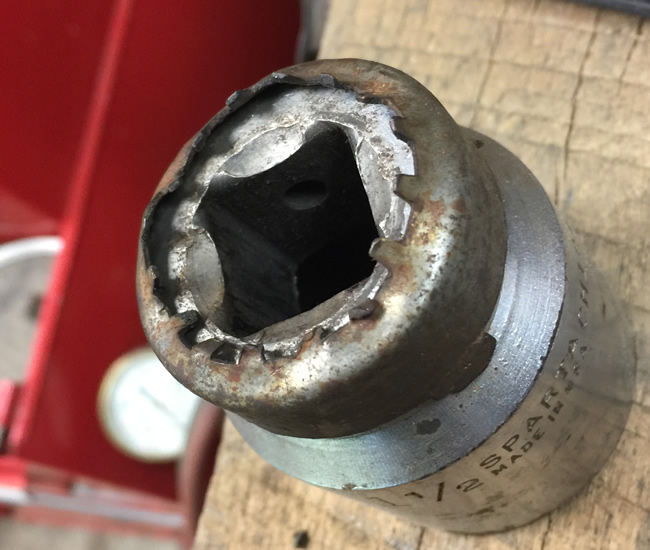
Mucho better!
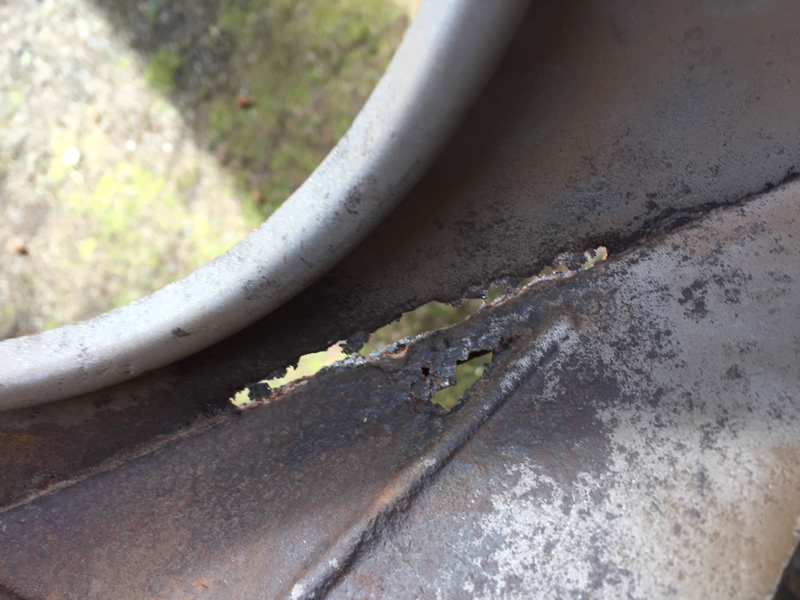
When I turned my attention to the heater, I encountered a problem. The inner piece (the piece at the top in the pic below) had a long, narrow, rust area.
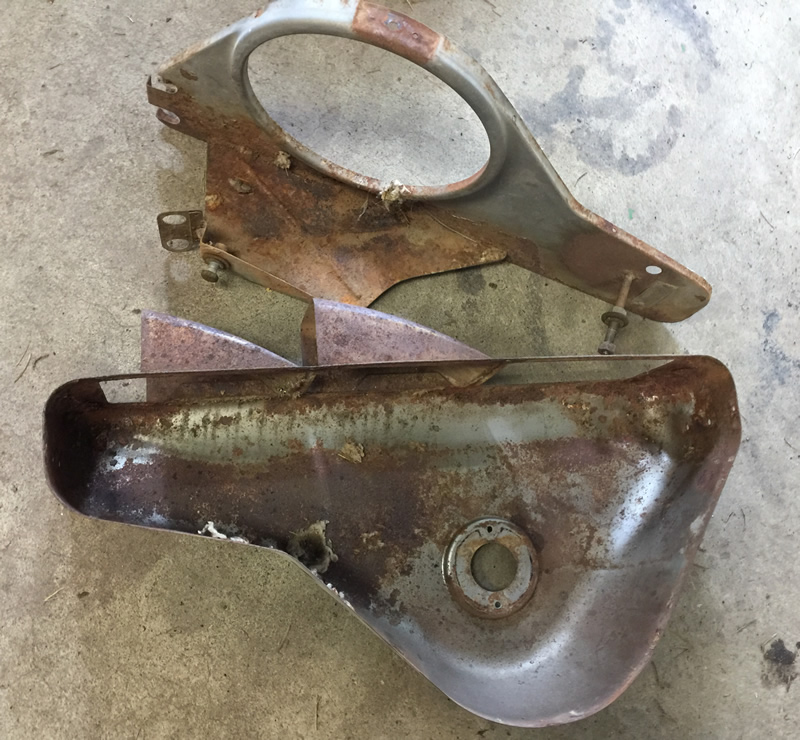
This is a closeup of the rust. It's repairable, but before I make the effort to sand blast both pieces and fix the hole, I want to make sure my heater core is repairable. If the core isn't worth repairing, I will be searching for another heater.
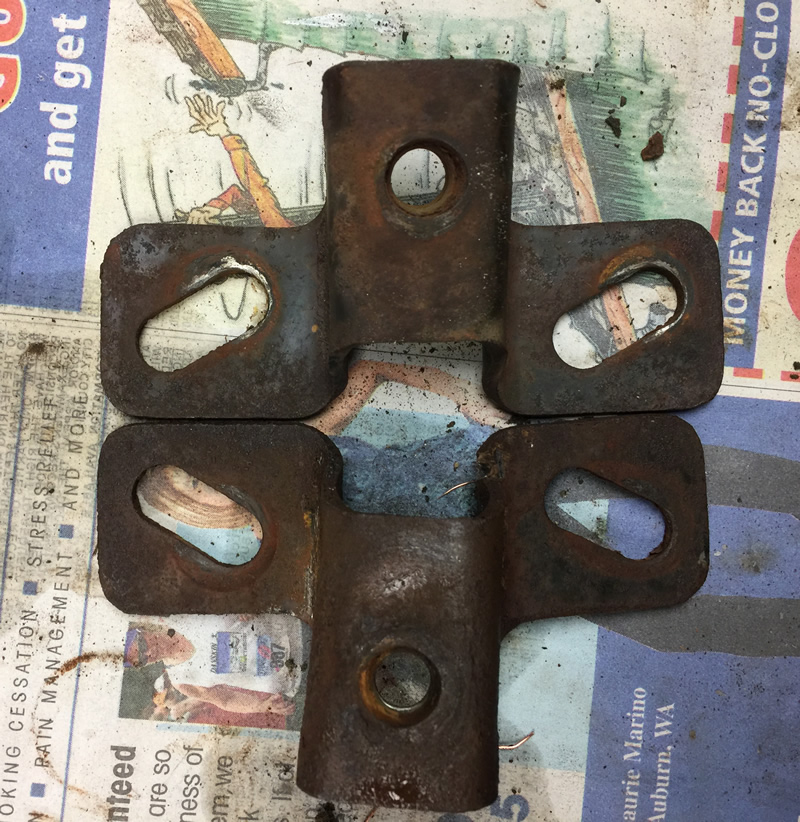
When I pulled my windshield mounts off the body, one had a noticeable bend to it (the one at the bottom in the below photo). I am not sure if it is worth repairing or not, given the metal is already weakened. If I had unlimited time, I'd attempt to straighten it, then add a small bridge across to strengthen it. If anyone happens to have an extra, I'll take it!
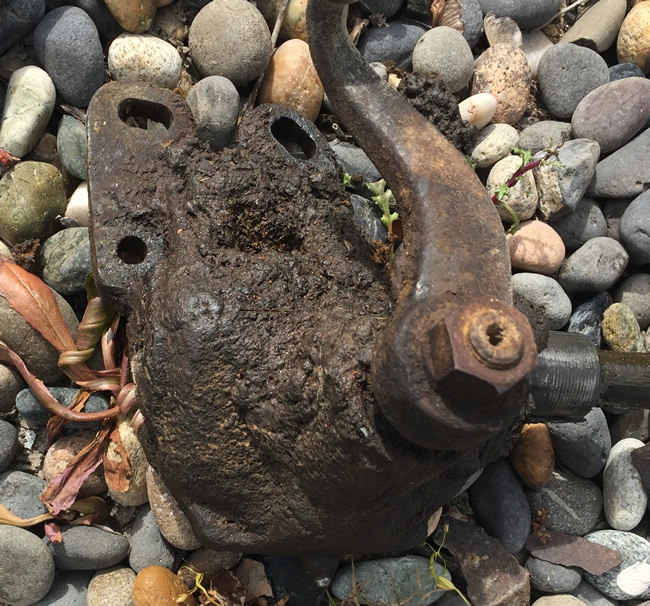
It turned out there was a steering box under all that mud after all! I plan to pressure wash it a little cleaner tomorrow.
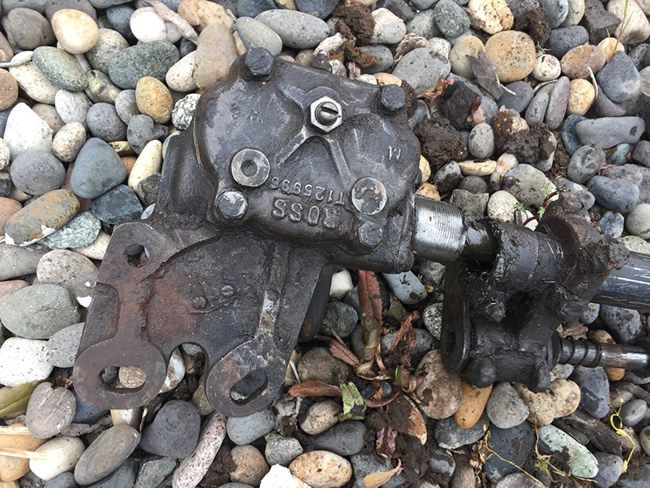
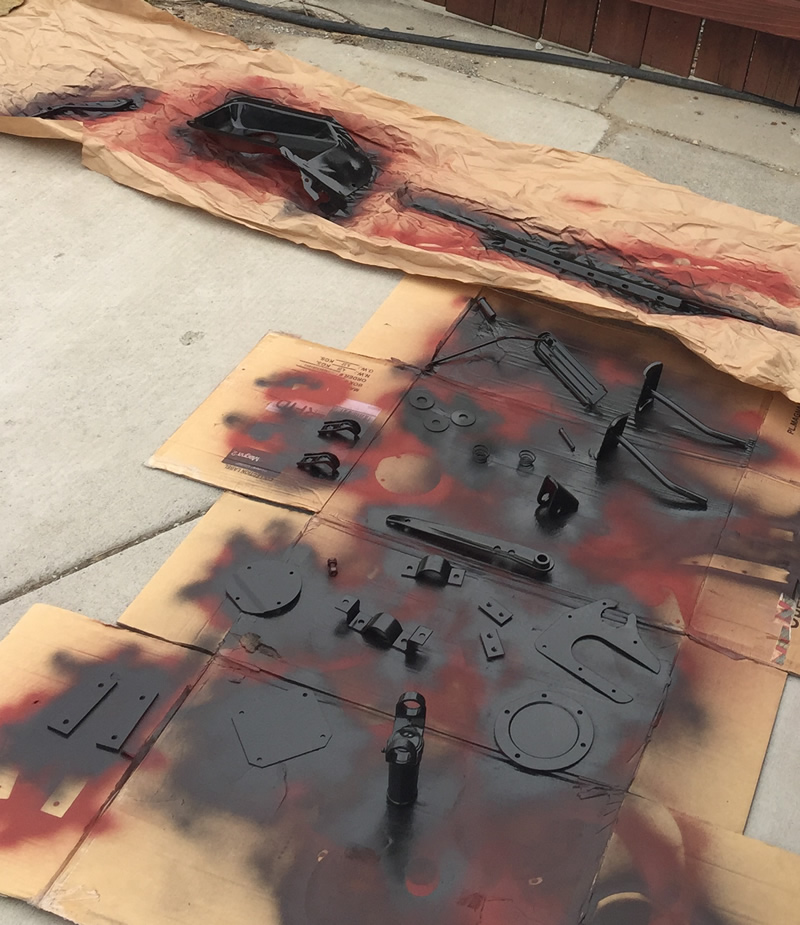
And, more painting (primered red and 2 coats of matte black) ... Ideally, this would be done in a closed environment. But, I've concluded this will not be a full, perfect restoration, so it will look good for the trip. At some future point, I can do everything better.


6 Comments
Leave a Reply